Best Ceiling Fan Repair Tools to Buy in July 2026

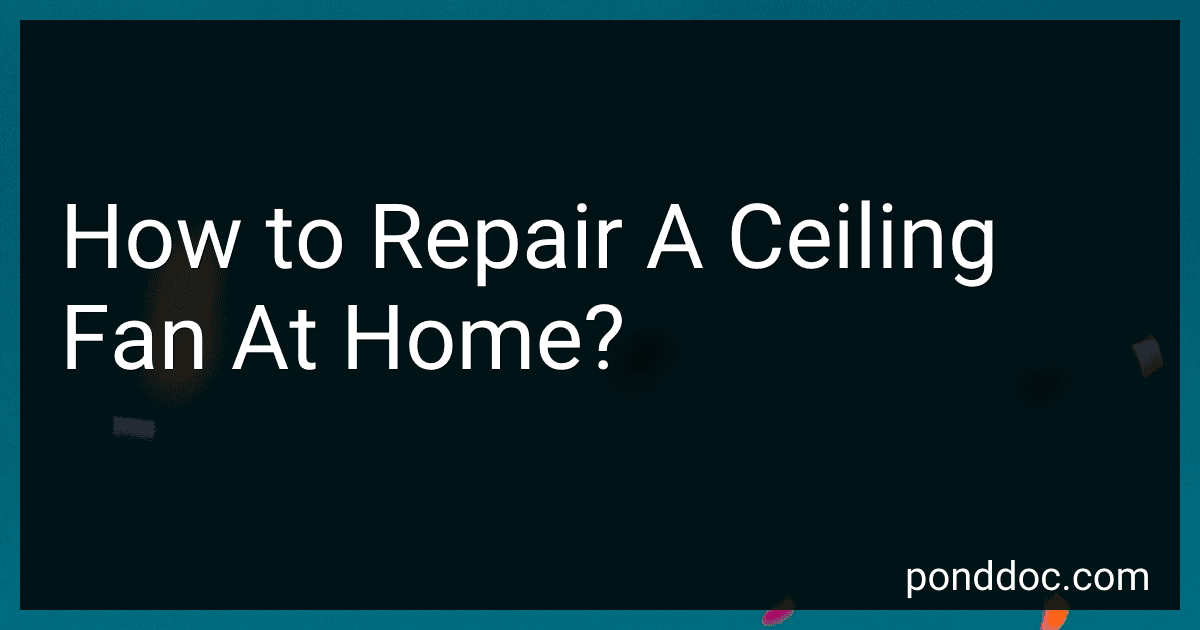
Ceiling Fan Light Switch Zing Ear Pull Chain ZE-109 Fan Light Switch, On-Off Speed with Pull Chain Compatible with Ceiling Fans, Lamps and Wall Lights (1, Bronze)
- EASY PULL-CHAIN ACTIVATION FOR HASSLE-FREE LIGHTING CONTROL.
- UL & CSA CERTIFIED FOR SAFETY AND RELIABILITY IN HOMES.
- DURABLE MATERIALS ENSURE LONG-LASTING USE AND PERFORMANCE.


Ceiling Fan Switch 3 Speed 4 Wire Zing Ear ZE 268S6 Pull Chain Switch Control Replacement 3 Speed Control S Witch Ceiling Fans, Wall Lamps, Cabinet Light
- CONTROL FAN SPEED EASILY: HIGH, MEDIUM, LOW WITH OFF OPTIONS.
- UL & CSA CERTIFIED FOR SAFETY AND RELIABILITY IN ANY HOME.
- VERSATILE COMPATIBILITY WITH POPULAR FAN BRANDS FOR SEAMLESS USE.
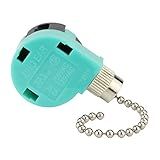
LPHUMEX Universal Ceiling Fan Remote Control Kit, 3-in-1 AC Motor Ceiling Fan Light Timing & Speed Remote, for Hunter/Harbor Breeze/Westinghouse/Honeywell/Other Ceiling Fan lamp
- EASY 5-WIRE INSTALLATION, NO NEED TO REMOVE FAN OR LIGHT KIT.
- VERSATILE 3-IN-1 REMOTE SUITS MULTIPLE FAN BRANDS EFFORTLESSLY.
- STRONG SIGNAL ALLOWS CONTROL FROM ANY ROOM IN YOUR HOME.
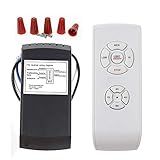
Akahttbn Ceiling Fan Pull Chain Ornaments Extension Chains with Decorative Light Bulb and Cord 13.6 Inches Fan Pull Chain Set For Ceiling Light Lamp Chain (Nickel)
-
ADJUSTABLE 13.6 FAN PULL CHAINS: CUSTOMIZE TO YOUR PREFERENCE!
-
DURABLE COPPER-PLATED DESIGN: RUST-RESISTANT FOR LONG-LASTING USE!
-
VERSATILE USE: PERFECT FOR FANS, LIGHTS, AND HOME DECOR ENHANCEMENTS!
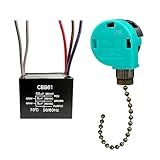
YukiHalu Ceiling Fan Pull Chain Switch 3 Speed 4 Wire, Ceiling Fan Capacitor CBB61 4.5uf + 6uf + 5uf 5 Wire 250V, Light Switch for Fan and Light (Antique)
- THREE FAN SPEEDS FOR ULTIMATE COMFORT CONTROL!
- REVIVE YOUR FAN: REPLACE OLD CAPACITORS EASILY!
- UNIVERSAL FIT: COMPATIBLE WITH MAJOR CEILING FAN BRANDS!
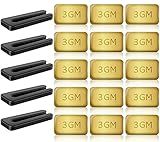
HFYHWT 20PCS Ceiling Fan Balancing Kit, 5 Sets High Calibration Blade Balance Tool Including 5 Pcs Resilient Clips and 15 Pcs Metal Self-Adhesive 3G Weight
-
ACHIEVE PROFESSIONAL RESULTS WITH OUR EASY-TO-USE BALANCE KIT!
-
ENJOY SAFE, WOBBLE-FREE OPERATION AND EXTEND YOUR FAN’S LIFESPAN.
-
UNIVERSAL COMPATIBILITY SUITS VIRTUALLY ALL CEILING FAN BRANDS!
If you are experiencing issues with your ceiling fan, you may be able to repair it at home by following these steps:
- Turn off the power: Before you begin any repair work, ensure the power to the ceiling fan is turned off to avoid any accidents. Locate the circuit breaker or switch that controls the fan and turn it off.
- Inspect the fan blades: Start by checking the blades for any dust buildup or debris. If you notice excessive dirt, clean the blades using a damp cloth or a gentle cleaner. Be cautious not to bend or damage the blades.
- Lubricate the motor: Lack of proper lubrication can cause your ceiling fan to make noise or operate less effectively. Access the motor housing by removing the outer cover or canopy, if applicable. Apply a few drops of lubricating oil to the motor's bearings.
- Check for loose connections: Carefully inspect all the wiring connections in your ceiling fan. If you find any loose or disconnected wires, use a screwdriver or pliers to tighten them securely. Make sure to match the wires' colors appropriately during the reconnection.
- Test the pull chain switches: If your ceiling fan has pull chain switches for speed or light control, examine if any are faulty or stuck. Replace any malfunctioning switches with new ones, ensuring they are compatible with your fan model.
- Balance the fan: An imbalanced ceiling fan can wobble or produce noise. Use a balancing kit (usually provided with the fan) or small weights to even out the blades. Attach the weights to the blades one at a time and run the fan to determine which blade requires balancing.
- Evaluate the capacitor: The capacitor is an electrical component that helps start and control the fan's speed. If your ceiling fan is not operating correctly, the capacitor may be faulty. Consult the fan's manual or a professional to identify and replace the capacitor if needed.
- Replace any broken or damaged parts: If you find broken or damaged components during your inspection, such as a cracked blade or dysfunctional motor, you may need to replace them. Contact the manufacturer or a local home improvement store for suitable replacement parts.
Remember, if you are unsure about any aspect of repairing your ceiling fan, it is always best to consult a professional electrician or a qualified technician.
What is the proper way to dismantle a ceiling fan for repair?
Dismantling a ceiling fan for repair requires caution and attention to detail. Here is a step-by-step guide to help you disassemble a ceiling fan properly:
- Turn off the power: Before starting any work, make sure to turn off the power supply to the ceiling fan by switching off the circuit breaker or unplugging it.
- Safety precautions: Always wear protective gloves and safety goggles to ensure your safety during the disassembly process.
- Remove the fan blades: Use a screwdriver to remove the screws that secure the blades to the fan motor. Gently remove each blade one at a time while keeping track of the appropriate screws for reassembly.
- Unhook the fan motor housing: Most ceiling fans have a cover or housing that conceals the motor. Look for any screws holding it in place and remove them. Carefully unhook or detach the housing to expose the motor.
- Disconnect the electrical connections: Once the motor is accessible, locate the connecting wires between the fan and electrical box. Typically, a set of three wires will be connected together using wire nuts. Unscrew the wire nuts to separate the wires. Remember to take a picture or note the wire colors and connections for reinstallation.
- Remove additional components: Depending on the specific model, there may be additional components or parts that need to be removed. These can include the canopy, downrod, switches, or light fixtures. Follow the manufacturer's instructions for removing any extra parts and keep track of the corresponding screws or nuts.
- Inspect and repair: With the fan fully disassembled, inspect each component for any signs of damage or wear. Look for loose wires, burnt-out capacitors, or any other issues that may need repair or replacement. If necessary, consult the fan's manual or contact the manufacturer for guidance on specific repairs.
Remember to take your time and work carefully during the disassembly process. It is equally important to keep track of each component and the corresponding screws or nuts, as this will aid in the reassembly process.
What is the lifespan of a ceiling fan?
The lifespan of a ceiling fan can vary depending on various factors such as the quality of the fan, usage frequency, maintenance, and environmental conditions. On average, a well-maintained and high-quality ceiling fan is expected to last for approximately 10 to 15 years. However, with proper care and periodic cleaning, some ceiling fans can last even longer.
How to troubleshoot a ceiling fan making noise?
Here are some steps you can take to troubleshoot a ceiling fan that is making noise:
- Safety first: Before troubleshooting, ensure the fan is turned off and the power supply to the fan is switched off at the breaker box.
- Clean the fan: Dust and debris can accumulate on the fan blades, causing them to be unbalanced and make noise. Use a clean, dry cloth or a vacuum cleaner with a brush attachment to carefully clean both sides of the fan blades.
- Tighten loose screws: Check all the screws, bolts, and nuts that hold the fan blades, motor housing, and light kit (if applicable) together. Use a screwdriver or wrench to tighten any loose components, as loose parts can rattle and produce noise.
- Check for bent or misaligned blades: Visually inspect each fan blade and make sure they are all straight and properly aligned. If you notice any bent blades, gently push them back into the correct position using your hands. Ensure that the blades are evenly spaced and parallel to each other.
- Lubricate the motor: Most ceiling fan models have a small oil hole located on the motor housing. Use a few drops of lightweight household oil (such as 3-in-1 oil or sewing machine oil) on the motor shaft and any other moving parts of the fan. This can help reduce friction and quieten the noise.
- Balance the blades: Ceiling fans have balancing kits available, which usually consist of small weights that can be attached to the blades to correct any imbalance. Start by identifying the blade that is causing the noise or wobbling the most. Attach the weight to the top or bottom side of that blade, then turn on the fan to check if the noise has improved. If necessary, adjust the position of the weight until the fan runs smoothly and quietly.
- Check the mounting bracket and canopy: Ensure that the mounting bracket is securely attached to the ceiling and that the canopy is properly aligned and tight. Loose or misaligned parts can cause vibrations and noise.
- Inspect the motor housing: If the noise persists, carefully remove the motor housing cover (after disconnecting the power supply) and examine the motor for any visible signs of damage, such as loose or worn out parts, frayed wiring, or debris trapped inside. If necessary, consult the fan manufacturer's instructions or contact customer support for further guidance on repairing or replacing the motor.
If the above steps do not resolve the issue or if you are uncomfortable conducting the troubleshooting yourself, it is recommended to contact a professional electrician or the manufacturer's customer support for further assistance.
How to repair a ceiling fan that won't turn on?
If your ceiling fan won't turn on, it could be due to a few different issues. Here are some troubleshooting steps to help you repair it:
- Check the power source: Ensure that the fan is plugged in properly and that the circuit breaker or fuse for the fan's electrical connection is not tripped or blown. If it is, reset the breaker or replace the fuse.
- Test the fan with different functions: Most ceiling fans have multiple functions like lights, fan speed, and direction. Check whether any of these functions work; if one function works while the others don't, the issue may be with the switch or wiring specific to that function.
- Check the wall switch: Make sure the wall switch is on and working properly. You can do this by testing the switch with a different electrical device or by bypassing the switch momentarily. If the fan turns on when you bypass the switch, the problem might be with the switch itself.
- Inspect the remote control or pull chain: If your fan has a remote control, try replacing the batteries and ensure that the remote is functioning correctly. If the fan has a pull chain, make sure it is properly attached and not broken. Test the pull chain by gently pulling on it to see if it engages the fan.
- Test the motor: If the above steps haven't solved the problem, it's possible that the motor has burned out. To verify this, turn off the power to the fan, remove the fan blades, and locate the motor housing. Carefully remove the housing and examine the motor for any visible burn marks or damage. If you find any, you may need to replace the motor.
- Contact a professional: If you are uncomfortable working with electrical components or if none of the above steps fix the issue, it's recommended to contact a professional electrician or ceiling fan repair specialist. They will have the expertise to diagnose and fix the problem safely.
Remember to always ensure the power is off before working on any electrical components, and it's always best to consult the fan's user manual for specific troubleshooting steps and safety guidelines.
How to repair a ceiling fan with a loose pull chain?
If you have a ceiling fan with a loose pull chain, here are some steps to help you repair it:
- Turn off the power: Before starting any repair work, make sure the power to the ceiling fan is turned off to avoid any electrical accidents.
- Lower the fan: Lower the ceiling fan so that it hangs low enough for you to access the pull chain easily. This can usually be done by unscrewing a canopy that covers the electrical box on the ceiling.
- Examine the pull chain: Inspect the pull chain to identify any visible issues. Check if it's tangled, frayed, or disconnected from the switch inside the fan. If any of these problems are present, you may need to replace the chain entirely.
- Remove the old pull chain: If needed, locate the retaining nut or screw that holds the old chain in place. Loosen the nut or remove the screw to release the old chain from the switch.
- Replace the pull chain: Insert the new pull chain into the switch and secure it with the retaining nut or screw. Ensure it is properly tightened to prevent any future issues.
- Reassemble the fan: Carefully lift the fan back up to the ceiling and secure it with the canopy. Make sure all screws and connections are properly tightened.
- Turn on the power: Once everything is securely in place, turn on the power to the ceiling fan and test the pull chain to ensure it's functioning properly.
If these steps don't resolve the issue, it may be best to contact a professional electrician or a fan repair specialist for further assistance.