Best Shark Vacuum Filters to Buy in July 2026
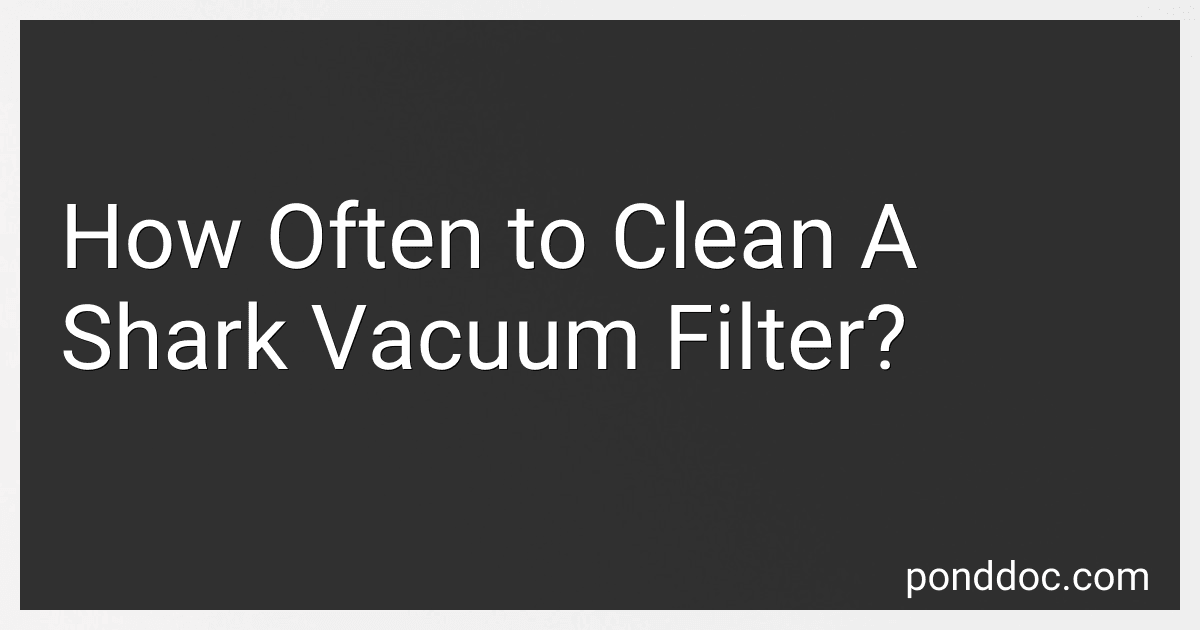
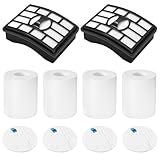
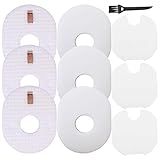
2 + 4 Pack Filters for Shark Vacuum Navigator Lift Away Filter Replacement ZU503AMZ NV350 NV351 NV352 NV355 NV356E NV357 NV360 NV370 UV440 UV540, Parts XFF350 XHF350
-
PERFECT FIT FOR MULTIPLE SHARK MODELS: NV350 TO NV370 SERIES!
-
HIGH-EFFICIENCY H13 HEPA FILTERS BLOCK SECONDARY AIR POLLUTION.
-
DURABLE, WASHABLE, AND REUSABLE FILTERS FOR COST-SAVING MAINTENANCE.


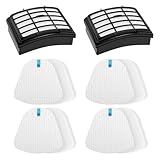
Shark Replacement Filter Set XFF350 Navigator Lift-Away NV350, NV351, NV3521, Felt + 1 Foam
- PERFECT FIT FOR SHARK NAVIGATOR LIFT MODELS NV355, NV356, NV357.
- INCLUDES 2 WASHABLE AND REUSABLE FILTERS FOR COST SAVINGS.
- COMPATIBLE WITH SHARK EURO-PRO PART NUMBER XFF350 FOR CONVENIENCE.
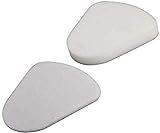
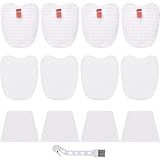
4+2 Pack Filters for Shark Vacuum Navigator Lift Away Filter Replacement Models NV350 NV351 NV352 NV355 NV356E NV360 UV440 UV540 CU500 XFF350 XHF350
-
PERFECT FIT FOR MULTIPLE SHARK MODELS - NO HASSLE REPLACEMENT!
-
INCLUDES 4 FOAM, 4 FELT, & 2 HEPA FILTERS FOR MAXIMUM EFFICIENCY!
-
WASHABLE & REUSABLE FILTERS - ECO-FRIENDLY AND COST-EFFECTIVE!
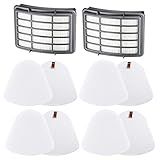
Colorfullife Filters for Shark Rotator Pro Lift-Away NV500, NV501, NV502, NV503, NV505, NV510, NV520,NV552,UV560, Xff500 Xhf500 (Not Fit NV650,NV750 Series)
- COMPATIBLE WITH SHARK NV500 SERIES FOR EASY REPLACEMENT!
- ECO-FRIENDLY & DURABLE: WASHABLE AND REUSABLE DESIGN!
- COMPLETE KIT: 4 FOAM & FELT FILTERS + 2 POST-MOTOR FILTERS!
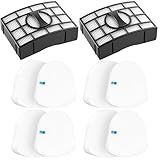
Leadaybetter 8 Pre-Filters (4 Foam+4 Felt) and 4 Post-Filters for Shark Rocket Zero-M Ultra-Light Corded Stick HV345 ZS350 ZS350C ZS351 ZS351C ZS352 Vacuums, Replaces Part # XPMFK320 & 1084FTV320
- PERFECT FIT FOR MULTIPLE SHARK ROCKET VACUUM MODELS-ENSURE COMPATIBILITY!
- WASHABLE, REUSABLE FILTERS; EASY TO INSTALL FOR HASSLE-FREE MAINTENANCE.
- INCLUDES 4 POST, FOAM, AND FELT FILTERS PLUS CLEANING BRUSH FOR VALUE!
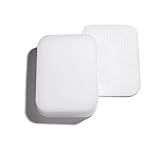
Shark Genuine OEM Foam & Felt Filter Navigator® Zero-M® Pet Pro Upright, Models ZU60, ZU62s, NV151, NV250s, ZU60, ZU62s, OEM Part Number 1239FT60
- ENSURE OPTIMAL PERFORMANCE WITH GENUINE SHARK PARTS!
- INCLUDES TWO QUALITY FILTERS FOR CLEANER AIR & LONGER LIFE.
- VERIFY COMPATIBILITY WITH YOUR MODEL FOR PERFECT FIT!
Anewise Filter Replacement for Shark Navigator Lift Away Deluxe Professional Vacuum ZU503AMZ NV350 NV351 NV352 NV355 NV357 NV360 NV370 UV440 UV540, Parts XFF350 & XHF350, 1 HEPA + 2 Pre-Felt Filters
-
PERFECT FIT FOR VARIOUS SHARK NAVIGATOR MODELS-CHECK COMPATIBILITY!
-
PREMIUM FILTER KIT INCLUDES HEPA, FOAM, AND FELT FILTERS FOR CLEANLINESS.
-
WASHABLE AND REUSABLE FILTERS-SAVE MONEY WHILE MAINTAINING PERFORMANCE!

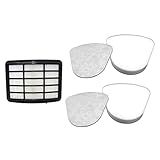
2 + 4 Pack Vacuum Filters Replacement Compatible for Shark Rotator Pro Lift-Away NV500, NV501, NV502, NV503, NV505, NV510, NV520, NV552, UV560, NV642, ZU780, ZU782, ZU785, Part Xff500 Xhf500
- PERFECT FIT: DESIGNED FOR SHARK NV500 SERIES, NOT FOR OTHERS.
- ECO-FRIENDLY: MADE WITH HIGH-STRENGTH, SUSTAINABLE MATERIALS.
- COMPLETE KIT: INCLUDES 4 FOAM & FELT FILTERS PLUS 2 HEPA FILTERS.
Dttery 3 Post + 3 Foam & Felt Filters Kit Replacement for Shark Rocket Ultra-Light Vacuum HV292, HV300, HV300W, HV301, HV302, HV303, HV305, HV308, HV310, UV450 Part XFFV300
- INCLUDES 9 FILTERS: 3 FOAM, PRE-MOTOR, AND POST-MOTOR PER KIT!
- COMPATIBLE WITH VARIOUS SHARK ROCKET MODELS FOR VERSATILE USE.
- ECO-FRIENDLY: WASHABLE AND REUSABLE FILTERS SAVE COSTS LONG-TERM!
Colorfullife Replacement Filter for Shark CU530 UV650 UV725 ZU560 ZU560C ZU561 ZU562 ZU572 ZD400 ZD402 ZD201 Rotator Navigator Lift-Away Upright Vacuum,Part XFFK560, XHEPA560, XFFKZD400, XHFZD400
-
COMPATIBLE WITH MULTIPLE SHARK MODELS FOR VERSATILE USE AND EFFICIENCY.
-
HIGH-QUALITY FILTRATION TRAPS DUST, HAIR & ALLERGENS, IMPROVING AIR QUALITY.
-
WASHABLE & REUSABLE FILTERS SIMPLIFY MAINTENANCE AND SAVE YOU MONEY.
Cleaning the shark vacuum filter is essential for maintaining its performance. The frequency of cleaning depends on several factors, such as the amount of dirt and debris being collected, the size of your living space, and how often you use the vacuum.
In general, experts recommend cleaning the shark vacuum filter at least once every three months. However, if you have pets that shed a lot or if you vacuum frequently in a high-traffic area with more dirt and dust, you may need to clean the filter more often.
To determine if the filter needs cleaning, you can simply check its condition. If the filter appears visibly dirty or clogged, it is time for a cleaning. A dirty filter can negatively impact the vacuum's suction power and overall performance.
The cleaning process for a shark vacuum filter is relatively simple. First, remove the dust cup containing the filter from the vacuum. Open the dust cup and shake out any large debris. Then, tap the filter gently against a trashcan or sink to remove excess dirt.
Next, rinse the filter under running water until the water runs clear. Avoid using harsh chemicals or cleaning agents, as they can damage the filter. Allow the filter to air-dry completely before placing it back into the vacuum. It's important to make sure the filter is completely dry to prevent mold or mildew growth.
Regularly cleaning the shark vacuum filter will help maintain its performance and prolong its lifespan. Following the manufacturer's guidelines and recommendations specific to your model is also important for proper maintenance.
What are some common mistakes to avoid when cleaning a shark vacuum filter?
When cleaning a shark vacuum filter, there are a few common mistakes that people often make. Here are some mistakes to avoid:
- Not checking manufacturer's instructions: It's important to always refer to the user manual or manufacturer's instructions before cleaning the shark vacuum filter. Different models may have specific recommendations or requirements, so be sure to follow the suggested process accordingly.
- Using harsh cleaning agents: Avoid using harsh chemicals or cleaning agents, such as bleach or strong detergents, as they can damage the filter material. Stick to mild dish soap or a recommended cleaner provided by the manufacturer for effective and safe cleaning.
- Not allowing the filter to dry completely: After cleaning the shark vacuum filter, it's crucial to allow it to dry thoroughly before reinstalling it. Putting a wet or damp filter back into the vacuum can cause mold, mildew, or unpleasant odors. Ensure the filter is completely dry to maintain optimal performance.
- Neglecting to clean regularly: Regular maintenance is essential for the proper functioning of the vacuum cleaner. Some people forget or neglect to clean the shark vacuum filter regularly. Depending on the usage and the manufacturer's instructions, filters should be cleaned at least once a month, or more frequently if necessary.
- Failing to replace a worn-out filter: Over time, even with regular cleaning, vacuum filters can become worn-out or damaged. If you notice excessive dirt escaping from the vacuum or decreased suction power, it may be time to replace the filter. Avoid using a worn-out filter, as it can negatively impact the vacuum's performance and airflow.
- Rushing the cleaning process: Take your time when cleaning the shark vacuum filter. Thoroughly remove all dust and debris from the filter's surface, rinse it under running water, and make sure all areas are clean. Rushing the process may result in a poorly cleaned filter, reducing the vacuum's efficiency.
Overall, by following the manufacturer's instructions, using appropriate cleaning methods, and maintaining a regular cleaning schedule, you can avoid these common mistakes and ensure your shark vacuum filter is clean and functioning optimally.
What is the lifespan of a shark vacuum filter?
The lifespan of a shark vacuum filter can vary depending on factors such as the model of the vacuum, frequency of use, and maintenance. Generally, the filters of shark vacuums can last anywhere from 3 to 12 months with regular use. However, it is recommended to clean the filter frequently and replace it as needed to ensure the optimal performance and longevity of the vacuum.
How long does it take to clean a shark vacuum filter?
The time it takes to clean a shark vacuum filter can vary depending on the specific model and the condition of the filter. On average, it can take anywhere between 5 to 15 minutes to clean a shark vacuum filter thoroughly.
How to clean a shark vacuum filter?
To clean a shark vacuum filter, follow these steps:
- Turn off and unplug the vacuum: Ensure the vacuum is switched off and unplugged before attempting to clean the filter.
- Remove the dust cup: Open the dust cup by pressing the release button or unlocking mechanism. Take out the cup and empty its contents into a trash bag.
- Remove the filter: Locate the filter inside the dust cup compartment or at the back of the vacuum. Depending on the model, it may be a foam filter, a felt filter, or both. Gently remove the filter(s) from the vacuum.
- Shake off loose debris: Take the filter(s) outside or over a garbage bin and shake them gently to remove any loose dirt and debris. This will help get rid of larger particles before proceeding to the next step.
- Rinse under water: Rinse the filter(s) under lukewarm water, using your hands to gently squeeze and rinse until the water runs clear. Try not to use any soap or detergent, as it might damage the filter's surface.
- Dry the filter: After rinsing, gently squeeze out the excess water from the filter(s) without twisting or wringing them. Lay the filter(s) flat on a clean towel or paper towel and allow them to air dry for at least 24 hours, or until completely dry.
- Reassemble the vacuum: Once the filter(s) is thoroughly dry, carefully reinsert them back into their respective compartments in the vacuum. Make sure they are properly aligned and securely in place.
- Clean the dust cup and any attachments: While the filter(s) are drying, take the opportunity to wipe down the dust cup and any other attachments with a damp cloth. This will help remove any dirt or residue that may have accumulated.
- Dispose of filter, if necessary: Some shark vacuum filters may need to be replaced rather than cleaned, especially if they are damaged or heavily soiled. Refer to the owner's manual or manufacturer's instructions to determine if your filter is reusable or needs to be replaced.
By following these steps, you can effectively clean your shark vacuum filter and ensure optimal performance of your vacuum.
What can I use to clean a shark vacuum filter?
To clean a Shark vacuum filter, you can use the following steps:
- Unplug the vacuum cleaner and remove the dirt canister or dust cup.
- Empty the contents of the canister into a trash bag.
- Locate the filter(s) in your Shark vacuum. Generally, there are at least two filters: a pre-motor filter and a post-motor filter.
- Tap the filters gently over a trash bag or sink to remove loose debris.
- Rinse the filters under lukewarm water. Be sure to remove any visible dirt or debris using your fingers.
- If the filters are especially dirty, you can use a mild detergent or dish soap to clean them. Gently lather the filters, and then rinse them thoroughly to remove any soap residue.
- Squeeze out excess water from the filters, but be careful not to twist or wring them, as it can damage the filter material.
- Leave the filters to air dry for at least 24 hours or until completely dry. Ensure they are completely dry before reinserting them into the vacuum cleaner.
- Once the filters are dry, reassemble the vacuum cleaner by placing the filters back into their respective positions and reattaching the dirt canister or dust cup.
- Plug in the vacuum cleaner and it will be ready to use with clean filters.
Remember to refer to your specific Shark vacuum model's user manual for any specific instructions or recommendations from the manufacturer.