Best Bulb Planters for Grass to Buy in July 2026
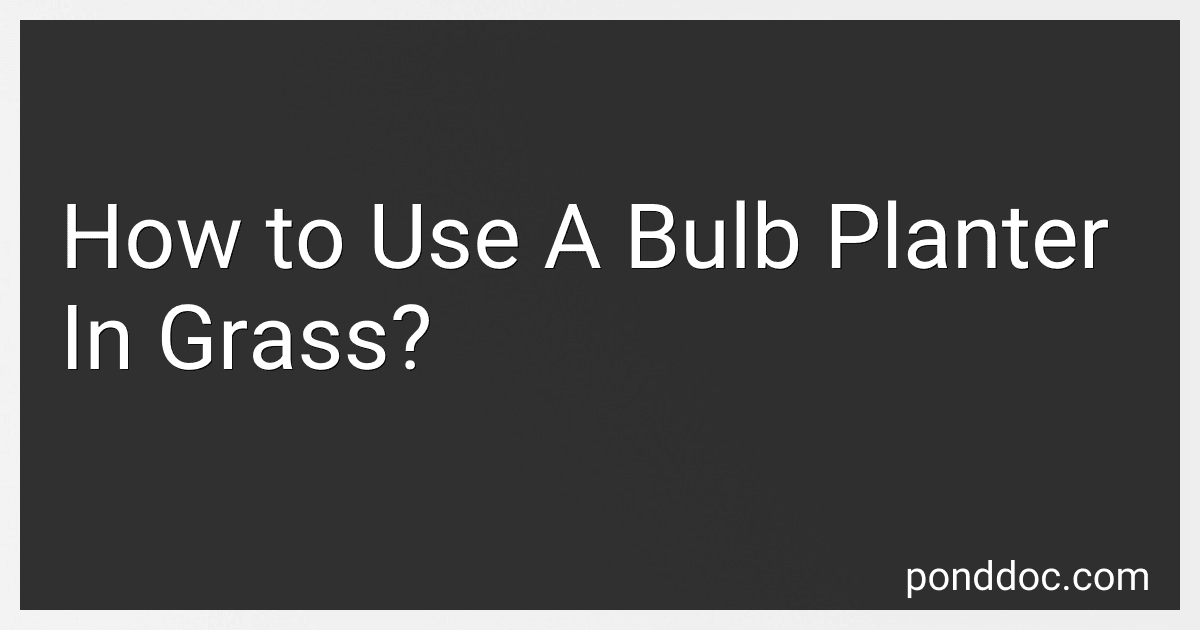
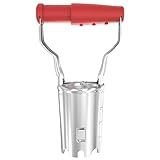
Edward Tools Bulb Planter - Bend Free Tool for Planting Bulbs, Depth Marker for More consistent Planting Tulips, Daffodils, Dahlias (Assorted)
- QUICK PLANTING WITH AUTOMATIC SOIL RELEASE MECHANISM.
- DURABLE REINFORCED STEEL FOR EASY DIGGING IN TOUGH SOILS.
- DEPTH MARKER ENSURES CONSISTENT PLANTING FOR OPTIMAL GROWTH.


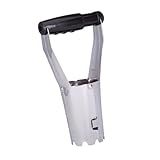
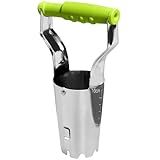
Garden Weasel Bulb Planter - Long Handle | Annuals, Ground Cover, Vegetables, Spring and Fall Bulbs | Sod Cutter, Remover, and Plugger, Grass Planter, Bulb Planting Tool | 91350
- EFFORTLESSLY PLANT BULBS WITHOUT BENDING-JUST STEP AND DIG!
- TRUSTED PROFESSIONAL-GRADE TOOL ENSURES UNMATCHED PLANTING PERFORMANCE.
- BUILT TO LAST: PREMIUM MATERIALS GUARANTEE DECADES OF RELIABLE USE.
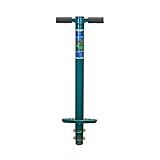
ProPlugger 5-in-1 Planting Tool - Sod Plugger, Bulb and Flower Planter
- EFFORTLESSLY DIG PERFECT HOLES, STANDING UP WITH OUR EASY TOOL.
- VERSATILE FOR BULBS, VEGGIES, WEEDING, AND FERTILIZING TASKS.
- DURABLE DESIGN BACKED BY A 100% SATISFACTION GUARANTEE.

Colwelt Bulb Planter Tool Long Handle, Serrated Base Gardening Bulb Transplanter with Soft Grip, Heavy Duty Long Handled Bulb Planter Sod Plugger for Digging Holes to Plant Tulips, Iris, Daffodils
- EFFORTLESS PLANTING: STEP, TWIST, PULL FOR QUICK BULB PLACEMENT!
- ERGONOMIC DESIGN: PLANT FROM A STANDING POSITION, SAVE YOUR BACK!
- DURABLE CONSTRUCTION: HEAVY-DUTY, RUST-RESISTANT FOR LONG-LASTING USE!
Bulb Planter Tool, 33.5 inch Long Handle Garden Sod Plugger to Dig Hole, Heavy Duty Metal Garden Tools for Soil Test Planting or Weeding Spring Flowers Bulbs,Bedding Plants,Tulips, Lilies, Potato
-
ERGONOMIC DESIGN: MINIMIZE STRAIN, ENHANCE COMFORT FOR LONG PLANTING TASKS.
-
EFFICIENT FOOT PEDAL: BOOST PLANTING SPEED WHILE CONSERVING ENERGY EFFORTLESSLY.
-
DURABLE & VERSATILE: HIGH CARBON STEEL FOR TOUGH SOILS, ADAPTABLE FOR VARIOUS TASKS.
FLORA GUARD Bulb Planter with Depth Markers - Automatic Soil Releasing Seed Bulb Transplanter for Planting/Digging Tulips, Daffodils, Dahlias and More
-
ERGONOMIC DESIGN: COMFORTABLY GRIPS FOR EFFORTLESS PLANTING AND LESS STRAIN.
-
AUTOMATIC SOIL RELEASE: SQUEEZE TO EJECT SOIL QUICKLY AND EASILY FOR FAST PLANTING.
-
LIFETIME WARRANTY: INVEST ONCE; ENJOY A DURABLE TOOL BACKED BY LIFETIME WARRANTY.
GREBSTK Sturdy Stainless Steel Gardening Bulb Transplanter Tool with Depth Mark and Soil Release Handle for Planting Bulbs
- EFFORTLESS SOIL RELEASE: SAVE TIME WITH ONE-THUMB OPERATION!
- DURABLE STAINLESS STEEL: BUILT TO LAST THROUGH ALL YOUR PLANTING NEEDS.
- VERSATILE PLANTING DEPTH: PERFECT FOR BULBS, VEGGIES, AND MORE!
Using a bulb planter in grass is a simple and efficient way to plant bulbs and flowers in your lawn. Here's how you can do it:
- Choose the right bulb planter: There are different types of bulb planters available, including handheld models and auger-style ones that attach to a drill. Select the one that suits your needs.
- Prepare the area: Before planting, choose the spot in your lawn where you want to plant the bulbs. Remove any obstacles such as rocks, debris, or grass. Loosen the soil in the area using a garden fork or a rake.
- Mark the spots: Use stakes or small flags to mark the spots where you will be planting the bulbs. This will help you keep track of the locations while using the bulb planter.
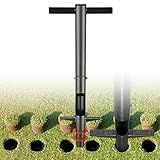
- Insert the bulb planter: Position the bulb planter over the marked spot in the grass. Push it down into the ground, using gentle pressure at first to avoid damaging the turf or grass roots. Twist the bulb planter slightly to create a hole in the soil.
- Extract the bulb planter: Once the hole is deep enough, gently lift the bulb planter out of the ground. Some bulb planters have a mechanism to help remove the soil core for easier planting.
- Place the bulb: With the hole prepared, place a bulb or flower into the hole, making sure it is at the right depth as recommended on the bulb's packaging. The flat side of the bulb or the roots should be facing downwards.
- Cover the hole: Push the soil core back into the hole using your hands or feet, lightly firming it around the bulb. Make sure the bulb is adequately covered with soil but not buried too deeply.
- Repeat the process: Move on to the next marked spot and repeat steps 4 to 7 for each bulb you wish to plant. Remember to leave adequate spacing between the bulbs, following the instructions for the specific plants.
- Water the area: After planting all the bulbs, water the area thoroughly, ensuring that the soil is evenly moist. This will aid in root development and help the bulbs settle in the ground.
- Mark the area: If desired, use additional markers or flags to indicate the planted areas. This will help prevent accidental damage by lawnmowers or other machinery before the bulbs start to sprout.
By using a bulb planter in grass, you can easily and efficiently add colorful blooms to your lawn, creating a beautiful display of flowers in the spring.
How to prevent weeds from growing around bulbs planted with a bulb planter?
Here are some effective ways to prevent weeds from growing around bulbs planted with a bulb planter:
- Mulch: Apply a layer of organic mulch, such as wood chips, straw, or shredded leaves, around the bulb planting area. Aim for a thickness of at least 2-4 inches. Mulch blocks sunlight from reaching the soil surface, which prevents weed seed germination.
- Weed barrier fabric: Lay down weed barrier fabric or landscape fabric before planting the bulbs. These materials create a physical barrier that prevents weed growth. Cut holes or slits in the fabric to accommodate the bulbs.
- Hand weeding: Regularly inspect the bulb planting area and promptly remove any emerging weeds by hand. Try to pull out the entire root system to ensure they don't regrow. This method is most effective for smaller areas or where the presence of weeds is minimal.
- Herbicides: Apply a pre-emergent herbicide specifically formulated for bulb plantings. These herbicides create a barrier in the soil that inhibits weed seed germination. However, use herbicides with caution and follow the instructions carefully, as some can harm the bulbs or surrounding plants.
- Companion planting: Introduce companion plants that naturally suppress weed growth. For example, spreading groundcovers like creeping thyme or creeping phlox around the bulb planting can help smother weeds by creating dense coverage. Research companion plants that work well in your specific growing conditions.
- Regular maintenance: Keep the area well-maintained by removing any debris, fallen leaves, or dead plant material. Weeds can take advantage of these conditions, so regularly clean and tidy the area around the bulbs.
Remember, prevention is key, so it's essential to implement these practices before weeds become established. Combining a few of these methods can provide an effective long-term solution and help ensure the successful growth of your bulbs.
How to use a bulb planter in grass?
To use a bulb planter in grass, follow these steps:
- Choose the location: Select an area in your grass where you want to plant bulbs. Make sure the area receives adequate sunlight and has well-drained soil.
- Prepare the soil: Before using the bulb planter, loosen the soil by raking or digging it. Remove any rocks, weeds, or debris that may hinder the planting process.
- Select bulbs: Choose the bulbs you want to plant. Different bulbs have different planting depths, so refer to the packaging or do some research to determine the appropriate depth for your specific bulbs.
- Insert the bulb planter: Position the bulb planter on the desired spot in the grass, making sure it's perpendicular to the ground. Push it into the soil by exerting downward pressure with your foot or by using the built-in handles (if available). The bulb planter should penetrate the grass and turf.
- Extract a plug: Once the bulb planter is fully inserted into the soil, twist it slightly to create a hole or remove a plug of soil. This hole/plug will be used for planting the bulbs.
- Plant the bulbs: Place the bulb into the hole/plug created by the bulb planter. Ensure that the bulb is positioned with the pointed end facing upwards, and the flat base is snugly nestled in the hole. If you're planting multiple bulbs, place them at the appropriate spacing based on the bulb's size and planting instructions.
- Cover and firm the soil: Push the plug of soil back into the hole, completely covering the bulb(s). Lightly press down on the soil to firm it around the bulbs, ensuring good soil-to-bulb contact.
- Repeat the process: If you have more bulbs to plant, repeat steps 4-7 for each additional planting hole.
- Water the area: After planting, thoroughly water the area to help settle the soil and encourage root development. Keep the soil consistently moist but not waterlogged during the growing season.
- Monitor and care: Keep an eye on the planted bulbs and provide them with proper care, such as regular watering and fertilizing as needed.
By following these steps, you can efficiently use a bulb planter to plant bulbs in your grass, enhancing the beauty of your landscaping.
What is the best depth for planting bulbs with a bulb planter?
The best depth for planting bulbs with a bulb planter typically depends on the specific type of bulb being planted. As a general guideline, most bulbs should be planted at a depth that is roughly three times the height of the bulb. This means that smaller bulbs may be planted more shallowly, while larger bulbs may require deeper planting. It's always a good idea to refer to the specific instructions provided with the bulbs or consult gardening resources for recommendations tailored to the specific types of bulbs you are planting.
What is the impact of soil quality on using a bulb planter effectively?
The impact of soil quality on using a bulb planter effectively can be significant. Here are a few factors to consider:
- Ease of penetration: A high-quality soil that is loose, well-drained, and free of rocks or obstacles will allow the bulb planter to penetrate the ground smoothly. This makes it easier to create holes of the desired depth for planting bulbs. In contrast, compacted or clayey soils can be more difficult to penetrate, requiring more force and making it harder to control the depth of the hole.
- Soil moisture: Soil moisture content affects how well a bulb planter can be used. Ideally, the soil should be moist but not waterlogged. Dry or extremely wet soil can hinder the effectiveness of the bulb planter. Dry soil may be hard and compacted, making it challenging to create a well-defined hole, while overly wet soil can be muddy and stick to the planter, resulting in messy planting.
- Soil consistency: The texture and consistency of the soil also play a role. Loose, friable soil is preferred for bulb planting, as it allows roots to establish and bulbs to expand easily. Sandy or loamy soils generally work well with bulb planters. On the other hand, heavy clay soils tend to compact easily, making it more difficult to create a suitable hole and resulting in poorer drainage for the bulbs.
- Nutrient availability: Soil quality can impact the overall health and growth of the planted bulbs. Nutrient-rich soils provide essential elements for optimal bulb development, resulting in healthier plants and an improved flower display. Soil testing and amending with organic matter or fertilizers can help optimize nutrient availability for the bulbs.
In summary, good soil quality with appropriate moisture content, texture, and nutrient availability makes it easier to use a bulb planter effectively, ensuring proper planting depth, successful bulb establishment, and healthy plant growth.