Best Bulb Planters to Buy in July 2026
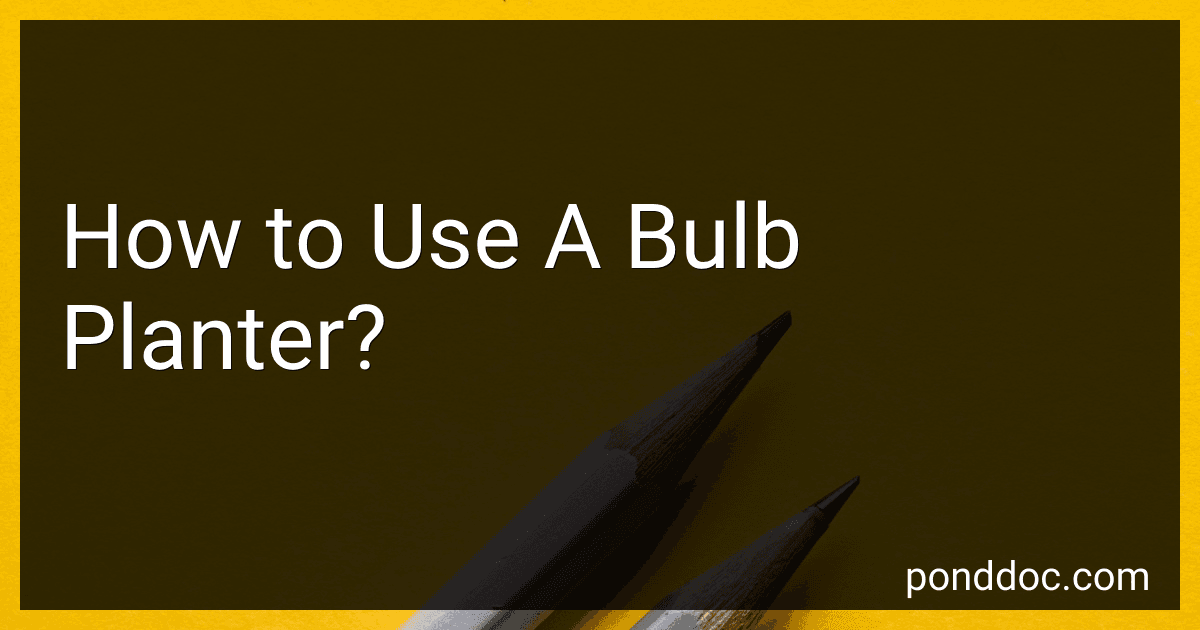
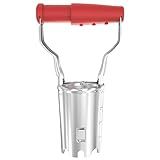
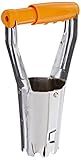
Edward Tools Bulb Planter - Bend Free Tool for Planting Bulbs, Depth Marker for More consistent Planting Tulips, Daffodils, Dahlias (Assorted)
- QUICK PLANTING WITH AUTOMATIC SOIL RELEASE MECHANISM!
- DURABLE REINFORCED STEEL FOR EFFORTLESS DIGGING IN TOUGH SOILS.
- CONSISTENT PLANTING DEPTHS WITH HANDY DEPTH MARKER FEATURE.


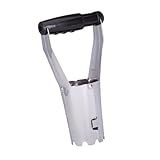
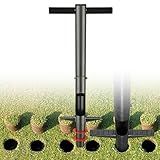
Garden Weasel Bulb Planter - Long Handle | Annuals, Ground Cover, Vegetables, Spring and Fall Bulbs | Sod Cutter, Remover, and Plugger, Grass Planter, Bulb Planting Tool | 91350
-
PLANT BULBS EFFORTLESSLY-NO BENDING, JUST STEP AND PLANT!
-
TRUSTED BY GARDENERS WORLDWIDE FOR UNMATCHED PERFORMANCE.
-
LIFETIME GUARANTEE ENSURES DURABILITY AND SATISFACTION!
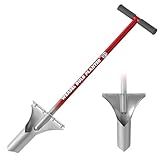
ProPlugger 5-in-1 Planting Tool - Sod Plugger, Bulb and Flower Planter
- EFFORTLESS PLANTING: DIG HOLES WHILE STANDING, REDUCING BACK STRAIN.
- VERSATILE USE: PERFECT FOR BULBS, VEGGIES, WEEDING, AND MORE.
- CONSISTENT DEPTH: ACHIEVE PERFECT PLANTING HOLES WITH INCLUDED RINGS.
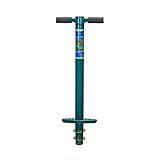
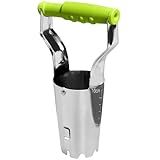
Colwelt Bulb Planter Tool Long Handle, Serrated Base Gardening Bulb Transplanter with Soft Grip, Heavy Duty Long Handled Bulb Planter Sod Plugger for Digging Holes to Plant Tulips, Iris, Daffodils
- EFFORTLESSLY PLANT BULBS WITH LONG HANDLE AND ERGONOMIC DESIGN.
- EASY-TO-USE: STEP, TWIST, PULL FOR QUICK AND EFFICIENT PLANTING.
- DURABLE, RUST-RESISTANT TOOL ENSURES YEARS OF RELIABLE PERFORMANCE.
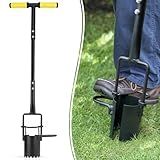
Bulb Planter Tool, 33.5 inch Long Handle Garden Sod Plugger to Dig Hole, Heavy Duty Metal Garden Tools for Soil Test Planting or Weeding Spring Flowers Bulbs,Bedding Plants,Tulips, Lilies, Potato
- ERGONOMIC DESIGN REDUCES FATIGUE FOR LONG PLANTING SESSIONS
- FOOT PEDAL ENHANCES EFFICIENCY, SPEEDS UP PLANTING PROCESS
- DURABLE, MULTI-PURPOSE TOOL FOR VARIOUS GARDENING NEEDS
FLORA GUARD Bulb Planter with Depth Markers - Automatic Soil Releasing Seed Bulb Transplanter for Planting/Digging Tulips, Daffodils, Dahlias and More
- ERGONOMIC DESIGN REDUCES HAND STRAIN FOR EFFORTLESS PLANTING.
- EFFICIENT GEAR MECHANISM ENSURES POWER-SAVING, EASY TO USE.
- LIFETIME WARRANTY GUARANTEES DURABILITY FOR ALL YOUR GARDENING NEEDS.
GREBSTK Sturdy Stainless Steel Gardening Bulb Transplanter Tool with Depth Mark and Soil Release Handle for Planting Bulbs
- QUICK SOIL RELEASE: SAVE TIME WITH AUTOMATIC PLANTING FEATURE.
- DURABLE STAINLESS STEEL: STURDY DESIGN FOR LONG-LASTING USE.
- VERSATILE TOOL: PERFECT FOR BULBS, FLOWERS, AND GARDEN PLANTING.
Fiskars Bulb Transplanter
- EFFORTLESSLY PLANT BULBS WITH A SPRING-LOADED RELEASE HANDLE!
- GRADATION MARKS ENSURE PERFECT PLANTING DEPTH EVERY TIME!
- ENJOY PEACE OF MIND WITH OUR LIFETIME WARRANTY INCLUDED!
Using a bulb planter is a simple and efficient way to plant bulbs in your garden. Here are the steps involved in using a bulb planter:
- Choose the right bulb planter: Select a bulb planter tool that suits your needs. There are different types available, including handheld bulb planters with a long handle or a handheld trowel-like design with a circular blade.
- Prepare the soil: Before using the bulb planter, make sure the soil is prepared. Remove any weeds, rocks, or debris from the planting area. Loosen the soil using a garden fork or shovel to ensure proper drainage.
- Determine the planting depth: Each bulb variety has specific planting depth requirements. It is important to know the recommended depth for the bulbs you are planting. This information is usually provided on the packaging or nursery tag.
- Position the bulb planter: Hold the bulb planter vertically and push it into the soil, using a twisting motion if necessary. Apply firm pressure to penetrate the soil.
- Extract a plug of soil: Once the bulb planter has reached the desired planting depth, gently lift the tool while keeping it vertical. This will extract a plug of soil from the ground.
- Place the bulb: Place the bulb into the hole created by the bulb planter. Ensure that the root end of the bulb is facing downwards. The pointed end (if present) should face upwards.
- Cover the bulb: Carefully replace the extracted soil plug back into the hole, covering the bulb completely. Ensure there are no air pockets around the bulb.
- Repeat the process: Repeat the above steps to plant more bulbs, spacing them according to the recommended distance between each plant.
- Water and care for the bulbs: After planting all the bulbs, thoroughly water the area to settle the soil and provide moisture for the bulb's growth. Follow any specific care instructions for the bulb variety you have planted, such as providing adequate sunlight, fertilizing, and preventing pests or diseases.
Using a bulb planter simplifies the process of planting bulbs, allowing for accurate depth and spacing while reducing strain on your hands and back. With proper care, your bulbs will grow and beautify your garden in their respective seasons.
What are the benefits of using a bulb planter instead of traditional planting methods?
Using a bulb planter offers several benefits compared to traditional planting methods:
- Time and Effort Saving: Bulb planters are specifically designed to make the process of planting bulbs quicker and easier. They have a hollow cylindrical shape that creates a perfectly sized hole for bulbs, eliminating the need for digging individual holes with a spade or trowel.
- Consistent Hole Depth: Bulb planters ensure that the bulbs are planted at a consistent depth, which is crucial for proper growth and development. This helps in achieving an even appearance in the garden or flowerbed, as plants will emerge at a uniform height.
- Precise Placement: The design of a bulb planter allows for precise placement of bulbs. This is particularly advantageous when planting larger quantities of bulbs or when trying to create specific patterns or arrangements. It ensures that bulbs are evenly spaced and correctly positioned.
- Reduced Risk of Damage: When using a bulb planter, there is less chance of accidentally damaging bulbs during the planting process. Traditional methods such as digging with a spade or trowel can sometimes result in accidentally slicing or scraping the bulbs, which may affect their viability.
- Less Strain on the Body: Planting bulbs can be physically demanding work, especially if done on a large scale. Bulb planters help to reduce strain on the body, as they require less bending, squatting, and repetitive motion. This makes bulb planting more accessible and enjoyable for individuals with physical limitations or those seeking a more convenient gardening experience.
- Focused Soil Amendments: Bulb planters allow for more targeted soil amendments. By removing a plug of soil from the ground and then replacing it around the bulb, it becomes easier to amend the specific soil that will directly surround the bulb. This allows for the addition of nutrients or organic matter to promote healthy growth.
Overall, using a bulb planter streamlines the planting process, ensures proper depth and placement, minimizes damage to bulbs, reduces physical strain, and offers greater control over soil conditions.
How to maintain and clean a bulb planter after use?
To maintain and clean a bulb planter after use, follow these steps:
- Empty the soil: Before cleaning, gently tap the bulb planter on the ground to loosen and remove any remaining soil or plant debris. Empty the soil into a compost bin or dispose of it properly.
- Rinse with water: Use a hose or tap water to rinse off any remaining soil from the bulb planter. Pay attention to the inside and outside surfaces, as well as the handle and any crevices.
- Scrub with a brush: If there are stubborn dirt or stains, use a brush with stiff bristles to scrub the bulb planter. Make sure to clean all areas thoroughly, including the inside of the tube and the cutting edge.
- Use a mild detergent: If the bulb planter is still dirty, fill a bucket with warm water and add a small amount of mild detergent. Dip the brush into the soapy water and scrub the planter again.
- Rinse thoroughly: After scrubbing, rinse the bulb planter with clean water to remove any soap residue. Ensure there are no remaining dirt particles or detergent.
- Dry completely: Allow the bulb planter to air dry completely before storing it. Make sure there is no excess moisture, as it can cause rust or corrosion.
- Oil the cutting edge: To prevent rust, you can lightly coat the cutting edge of the bulb planter with mineral oil. This will help protect it during storage and keep it in good condition.
- Store properly: Once the bulb planter is clean and dry, store it in a clean and dry place. Keep it away from excessive moisture, direct sunlight, or extreme temperatures.
Regularly maintaining and cleaning your bulb planter will ensure its longevity and effectiveness when used for future planting projects.
What is the proper depth for planting different types of bulbs with a bulb planter?
The proper depth for planting different types of bulbs with a bulb planter may vary slightly depending on the specific type of bulb. However, as a general guideline, you can follow these recommended planting depths:
- Small bulbs such as crocuses, snowdrops, and grape hyacinths: Plant these bulbs at a depth of about 2-3 inches (5-8 cm).
- Medium-sized bulbs such as tulips, daffodils, and hyacinths: Plant these bulbs at a depth of 6-8 inches (15-20 cm).
- Large bulbs such as lilies and alliums: Plant these bulbs at a depth of about 8-10 inches (20-25 cm).
It's worth noting that these are general guidelines, and some specific bulb varieties may have slightly different recommendations. It's always best to check the packaging or specific growing instructions for the bulbs you are planting to ensure optimal depth and spacing.