Best Tools to Prevent Soil Compaction to Buy in July 2026
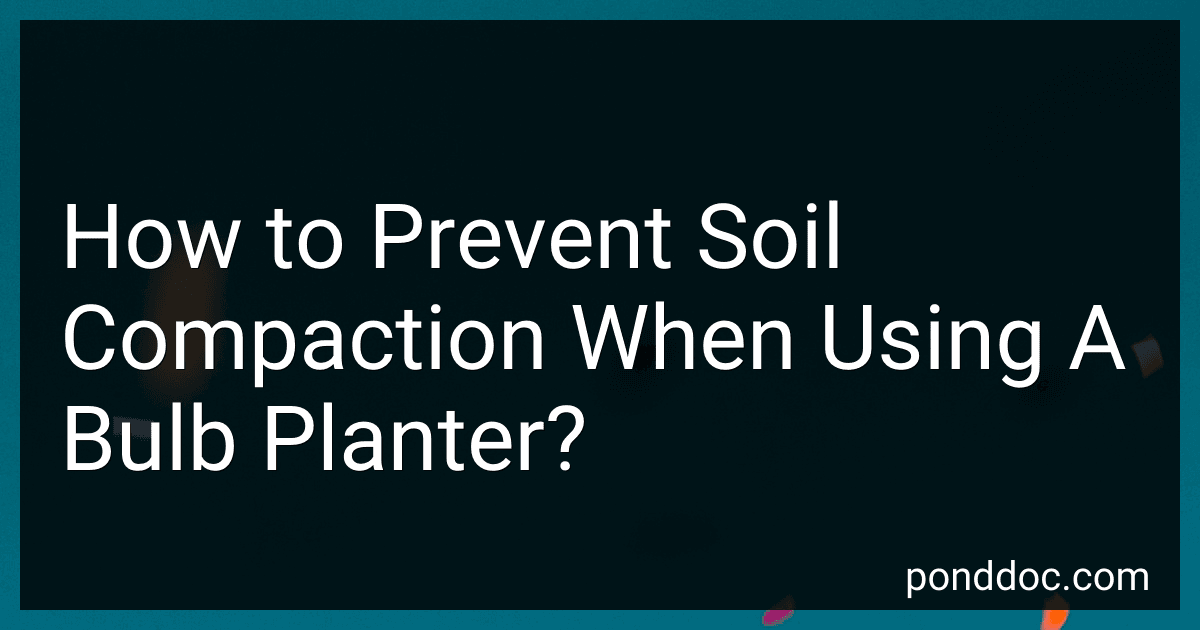
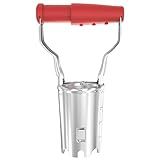
Edward Tools Bulb Planter - Bend Free Tool for Planting Bulbs, Depth Marker for More consistent Planting Tulips, Daffodils, Dahlias (Assorted)
- QUICK PLANTING WITH AUTOMATIC SOIL RELEASE MECHANISM.
- DURABLE REINFORCED STEEL FOR EASY DIGGING IN TOUGH SOILS.
- DEPTH MARKER ENSURES CONSISTENT PLANTING FOR PERFECT BLOOMS.


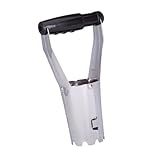
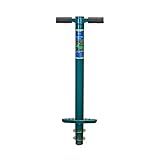
Colwelt Bulb Planter Tool Long Handle, Serrated Base Gardening Bulb Transplanter with Soft Grip, Heavy Duty Long Handled Bulb Planter Sod Plugger for Digging Holes to Plant Tulips, Iris, Daffodils
-
EFFORTLESS PLANTING: STEP, TWIST, AND PULL FOR QUICK HOLE DIGGING!
-
COMFORTABLE USE: LONG HANDLE DESIGN ELIMINATES BENDING, SAVES YOUR BACK.
-
DURABLE QUALITY: HEAVY-DUTY, RUST-RESISTANT STEEL FOR LONG-LASTING PERFORMANCE.
Toresano Bulb Planter, Bulbs Transplanter Designed for Automatic Soil Release with Depth Marker for Dgging Holes and Planting Tool for Tulips, Daffodils, Dahlias
-
REINFORCED STEEL DESIGN: BEND-RESISTANT, PERFECT FOR HEAVY SOIL DIGGING.
-
DURABLE CONSTRUCTION: HIGH-HARDNESS MATERIALS FOR LONG-LASTING USE.
-
PRECISE DEPTH CONTROL: CLEARLY MARKED SCALE FOR UNIFORM PLANTING EVERY TIME.

Fiskars Bulb Transplanter
- PLANT BULBS QUICKLY WITH OUR USER-FRIENDLY DESIGN!
- SPRING-LOADED HANDLE ENSURES MESS-FREE PLANTING EVERY TIME.
- ACCURATE GRADATION MARKS GUARANTEE PERFECT PLANTING DEPTH!

Garden Weasel Bulb Planter - Long Handle | Annuals, Ground Cover, Vegetables, Spring and Fall Bulbs | Sod Cutter, Remover, and Plugger, Grass Planter, Bulb Planting Tool | 91350
- EFFORTLESSLY PLANT BULBS WITH NO BENDING OR KNEELING NEEDED!
- TOP-RATED PROFESSIONAL GRADE FOR UNMATCHED PLANTING PERFORMANCE.
- LIFETIME GUARANTEE AND EXCELLENT US-BASED CUSTOMER SUPPORT!
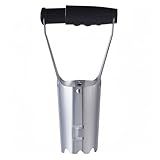
Omesata Sod Plugger, Bulb Planter with Long Handle and Serrated Base Garden Tool, Bulb Transplanter Also Grass Plug Tool for Digging Holes to Plant Tulips, Iris, Daffodils
- EFFORTLESSLY PENETRATE ROCKY SOIL WITH SHARP SERRATED BASE DESIGN.
- 5-IN-1 TOOL LETS YOU PLANT COMFORTABLY WHILE STANDING-NO STRAIN!
- DURABLE IRON CONSTRUCTION ENSURES STABILITY AND LONG-LASTING USE.
ProPlugger 5-in-1 Planting Tool - Sod Plugger, Bulb and Flower Planter
- EFFORTLESSLY PLANT FROM A STANDING POSITION – PROTECTS YOUR BACK!
- QUICKLY DIG PRECISE 2, 4, OR 6 HOLES WITH INCLUDED DEPTH RINGS.
- VERSATILE TOOL FOR BULBS, VEGGIES, WEEDING & FERTILIZING – ALL IN ONE!
FLORA GUARD Bulb Planter with Depth Markers - Automatic Soil Releasing Seed Bulb Transplanter for Planting/Digging Tulips, Daffodils, Dahlias and More
-
ERGONOMIC DESIGN FOR EASY, STRAIN-FREE PLANTING EVERY TIME!
-
EFFICIENT GEAR SYSTEM SAVES EFFORT AND SPEEDS UP TRANSPLANTING!
-
LIFETIME WARRANTY ENSURES LONG-LASTING QUALITY AND RELIABILITY!
Soil compaction can be a common problem when using a bulb planter, as the pressure exerted by the tool can tightly pack the soil, making it difficult for roots to penetrate and plants to thrive. However, there are a few techniques that can help prevent soil compaction when using a bulb planter.
Firstly, it's important to prepare the soil before using the bulb planter. Begin by loosening the soil in the planting area using a garden fork or a tiller. Breaking up compacted soil will not only improve drainage but also create a loose and friable texture that encourages root growth.
When using the bulb planter, avoid excessive force or pressure. Instead of forcefully pushing the planter into the ground, try turning slightly while applying gentle downward pressure to create a clean and deep hole. Applying gentle pressure allows the soil to be displaced more easily without causing compaction.
It's also advisable to moisten the soil before using the bulb planter. Dry soil can be more prone to compaction, so lightly watering the area a day or two before planting can help create a more favorable planting environment. Be cautious not to over-water the soil, as overly wet conditions can also lead to compaction.
Another technique to prevent soil compaction is to place a layer of organic matter, such as compost or leaf mulch, at the bottom of the planting hole. This layer will not only improve soil structure but also provide some cushioning to prevent direct contact between the bulb planter and the soil. Organic matter also enhances soil fertility, promotes drainage, and encourages root development.
After planting the bulbs, it's important to avoid unnecessary soil disturbance. Refrain from compacting the soil by stepping on or around the planting area. Instead, gently firm the soil around the bulbs using your hands.
Lastly, regular soil maintenance practices such as aeration, adding organic amendments, and avoiding heavy machinery in the gardening area can help prevent soil compaction in the long term.
By following these techniques, you can minimize soil compaction when using a bulb planter and promote healthy root development and growth for your plants.
How to prepare the soil before using a bulb planter?
Preparing the soil before using a bulb planter is important to ensure optimal growth and flowering of the bulbs. Here are the steps to prepare the soil before using a bulb planter:
- Select the planting area: Choose a location for your bulbs that receives adequate sunlight and has well-draining soil. Most bulbs prefer full sun or partial shade, so consider the light requirements of the specific bulb you are planting.
- Clear the area: Remove any weeds, rocks, and debris from the planting area. Clearing the area will not only provide space for the bulbs to grow but also reduces competition for nutrients.
- Loosen the soil: Using a garden fork or a tiller, work the soil to a depth of about 6-8 inches. Loosening the soil helps to improve drainage and allows roots to penetrate easily.
- Remove grass or sod (if required): If you're planting bulbs in an area covered with grass or sod, you will need to remove it. Lift the grass layer with a shovel or use a sod cutter to remove it entirely.
- Improve drainage: If your soil has poor drainage, you can amend it by adding organic matter like compost, well-rotted manure, or peat moss. These amendments help loosen the soil, improve aeration, and enhance water drainage.
- Test the soil pH: Bulbs generally prefer a slightly acidic to neutral soil pH. Use a soil testing kit to determine the pH level of your soil. If the pH is too high or low, adjust it accordingly by adding lime to raise it or sulfur to lower it.
- Add fertilizer: Bulbs require nutrients for healthy growth and flowering. Incorporate a slow-release bulb fertilizer or bone meal into the soil as per the package instructions. This will provide essential nutrients for the bulbs throughout their growing period.
- Rake the soil surface: After adding amendments and fertilizer, rake the soil surface to break up any large clumps and create a smooth, level planting bed. Remove any additional debris or rocks that may have surfaced during the preparation process.
- Use the bulb planter: Once the soil is prepared, use a bulb planter to dig holes at the appropriate depth for the specific bulbs you are planting. Follow the instructions provided with your bulb planter to ensure proper depth and spacing for optimal growth.
- Plant the bulbs: Place the bulbs in the holes, ensuring that they are oriented correctly (pointy side up in most cases). Gently backfill the holes with soil, covering the bulbs completely, and lightly firm down the soil to remove any air pockets.
After planting, water the area thoroughly to settle the soil around the bulbs. Continue to water as needed throughout the growing season, and follow any specific care instructions for the respective bulb varieties you have planted.
What is the role of organic matter in preventing soil compaction?
Organic matter plays a significant role in preventing soil compaction in several ways:
- Improved soil structure: Organic matter helps to improve soil structure, making it more porous and well-aggregated. This allows for better air and water movement within the soil, reducing the likelihood of compaction. The presence of organic matter promotes the formation of stable soil aggregates, creating pore spaces that enhance root penetration and overall soil porosity.
- Increased water-holding capacity: Organic matter has the capacity to hold and retain moisture in the soil. When soil is adequately moist, it is less prone to compaction. The presence of organic matter helps to improve soil moisture retention, preventing it from drying out and becoming more compacted.
- Enhanced microbial activity: Organic matter serves as a food source for soil organisms, including bacteria, fungi, and earthworms. These organisms, in turn, facilitate the decomposition of organic matter and help in releasing various nutrients into the soil. Their activity further promotes the formation of soil aggregates and aids in maintaining soil porosity, preventing compaction.
- Enhanced soil fertility: Organic matter is a source of essential nutrients such as nitrogen, phosphorus, and potassium. These nutrients are released gradually through the decomposition of organic matter, improving soil fertility. A fertile soil allows for healthier plant growth, with robust root systems that help to stabilize soil structure and prevent compaction.
- Improved soil moisture infiltration: Soil compaction can lead to reduced water infiltration rates, causing runoff and waterlogging. Organic matter enhances the ability of soil to absorb and retain water, improving water infiltration rates. This helps to reduce surface runoff and prevent compaction caused by excessive surface water, particularly during heavy rainfall events.
Overall, the presence of organic matter in the soil contributes to better soil structure, increased water-holding capacity, enhanced microbial activity, improved soil fertility, and adequate water infiltration. These factors collectively help to prevent soil compaction, maintaining a healthy and productive soil environment.
How to test soil compaction levels in your garden?
Testing soil compaction levels in your garden can be done using several methods. Here are a few common and effective ways to test soil compaction:
- Visual Observation: Start by visually inspecting your garden's soil. Look for signs such as surface crusting, hardpan formation, or soil cracking. These indicators suggest possible soil compaction.
- Penetration Test: Use a soil probe, screwdriver, or even a garden trowel to assess the soil compaction. Insert the tool into the soil and measure the depth it reaches with little resistance. Difficult penetration indicates compacted soil.
- Percolation Test: Dig a small hole (around 6-8 inches deep) in your garden bed. Fill it with water and observe the drainage rate. If the water is slow to drain, it could indicate soil compaction, particularly if it forms a puddle on the surface.
- Sod Cutter Method: If you have a grassy area or turf in your garden, you can use a sod cutter to examine the root depth. Lift a square of grass and inspect the roots. If they appear shallow or restricted, it could indicate compacted soil.
- Soil Analysis: Collect soil samples from multiple areas in your garden, ensuring you take samples from different depths (0-3 inches and 3-6 inches). Send these samples to a soil testing laboratory for a professional analysis. The report will provide information on soil compaction levels along with other relevant data.
Remember, these methods provide a general indication of soil compaction. For a more accurate assessment, consulting with a local agronomist or garden soil expert is recommended. They can provide valuable insights and suggest remediation methods specific to your garden's needs.