Best Bulb Planters to Buy in July 2026
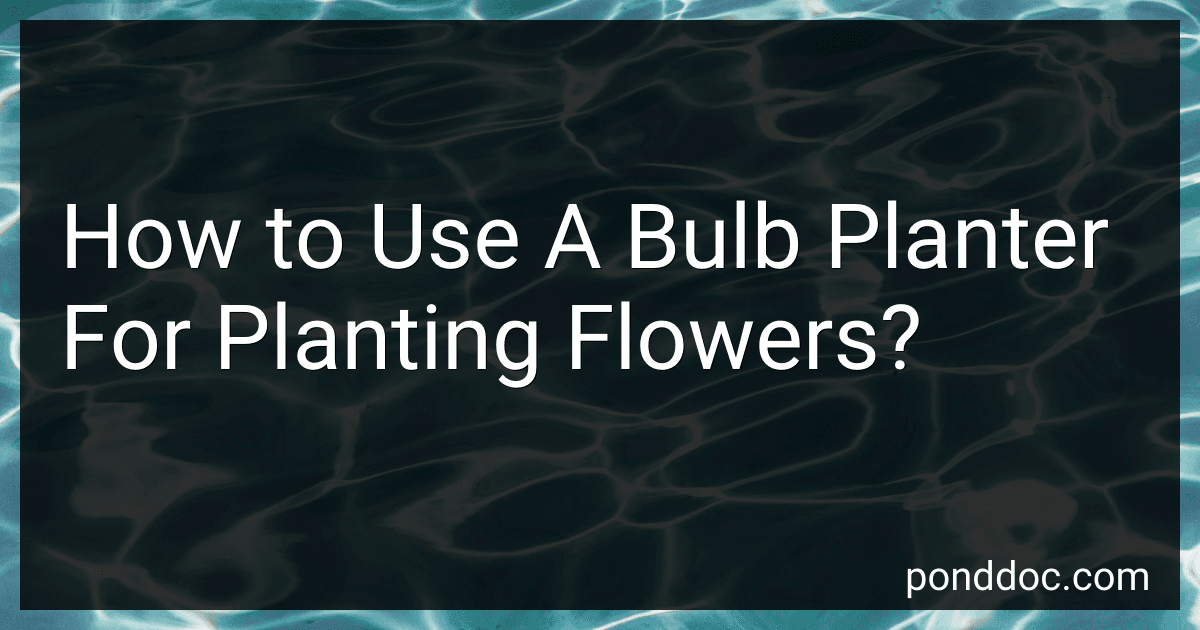
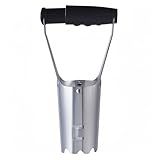
Garden Weasel Bulb Planter - Long Handle | Annuals, Ground Cover, Vegetables, Spring and Fall Bulbs | Sod Cutter, Remover, and Plugger, Grass Planter, Bulb Planting Tool | 91350
- EFFORTLESS PLANTING: STEP, TWIST, AND PLANT WITHOUT BENDING!
- TOP-SELLING TOOL: TRUSTED DESIGN ENSURES UNMATCHED PLANTING PERFORMANCE.
- LIFETIME GUARANTEE: SATISFACTION GUARANTEED WITH A NO-HASSLE WARRANTY.


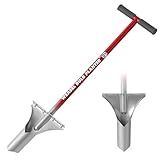
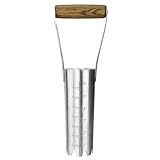
Edward Tools Bulb Planter - Bend Free Tool for Planting Bulbs - Automatic Soil Release for Digging/refilling Hole - Depth Marker for More consistent Planting Tulips, Daffodils, Dahlias
- QUICK PLANTING WITH AUTOMATIC SOIL RELEASE MECHANISM.
- DURABLE REINFORCED STEEL FOR EFFORTLESS DIGGING IN TOUGH SOIL.
- CONSISTENT PLANTING DEPTHS WITH BUILT-IN DEPTH MARKER.
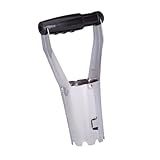
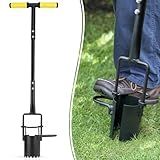
5-in-1 ProPlugger Bulb Planter - Long Handle, Sod Plugger, Weeding Tool - Made in USA
- EFFORTLESS PLANTING: STAND, TWIST, AND PULL FOR QUICK HOLES!
- VERSATILE TOOL: DIG, WEED, AND FERTILIZE ALL IN ONE!
- ERGONOMIC DESIGN: SAVE YOUR BACK WITH COMFORTABLE GRIPS!
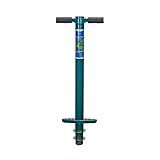
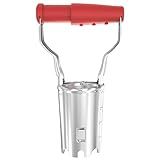
Toresano Bulb Planter, Bulbs Transplanter Designed for Automatic Soil Release with Depth Marker for Dgging Holes and Planting Tool for Tulips, Daffodils, Dahlias
- DURABLE STEEL DESIGN: REINFORCED CONSTRUCTION ENSURES NO BENDING.
- PRECISION DEPTH CONTROL: EASILY ACHIEVE ACCURATE PLANTING DEPTHS EVERY TIME.
- EFFORTLESS PLANTING: AUTOMATIC SOIL RELEASE FOR FASTER, EASIER DIGGING.
Haliaeetus Bulb Planter Tool, 6 inches Depth Mark Hand Bulb Planter, Non-Bending Stainless Steel Bulb Planter Digger, Garden Bulb Transplanter with Comfortable Wood Handle for Planting Tulip, Daffodil
- PLANT 150 BULBS/HOUR: BOOST EFFICIENCY OVER HAND SHOVELS TENFOLD!
- DEPTH MARKINGS: EASY MEASUREMENTS ENSURE PERFECT BULB PLANTING EVERY TIME!
- DURABLE DESIGN: STURDY STAINLESS STEEL RESISTS BENDING FOR EASY DIGGING!
FLORA GUARD Bulb Planter with Depth Markers - Automatic Soil Releasing Seed Bulb Transplanter for Planting/Digging Tulips, Daffodils, Dahlias and More
-
ERGONOMIC DESIGN & DURABILITY: EASY TO USE, LONG-LASTING HANDLES.
-
EFFICIENT POWER-SAVING TRANSPLANTING: GEAR TYPE BOTTOM FOR SMOOTH DIGGING.
-
AUTOMATIC SOIL RELEASE: QUICK SOIL EJECTION REDUCES HAND STRAIN.
Colwelt Bulb Planter Tool Long Handle, Serrated Base Gardening Bulb Transplanter with Soft Grip, Heavy Duty Long Handled Bulb Planter Sod Plugger for Digging Holes to Plant Tulips, Iris, Daffodils
- EFFORTLESSLY DIG PERFECT HOLES FOR SPRING BULBS WITH EASE!
- PLANT STANDING UP-REDUCE BACK PAIN AND SAVE TIME!
- DURABLE, RUST-RESISTANT STEEL FOR LONG-LASTING PERFORMANCE!
To use a bulb planter for planting flowers, follow these steps:
- Select a suitable location: Choose an appropriate area in your garden where you want to plant the flowers. Consider the amount of sunlight and soil conditions required for the specific flower bulbs you are planting.
- Prepare the soil: Ensure that the soil is well-prepared and free from any weeds, rocks, or other debris. Loosen the soil using a garden fork or tiller to improve its texture and drainage.
- Dig a hole: Determine the desired depth for planting your flower bulbs. This can usually be found on the packaging or instructions that came with the bulbs. Attach the bulb planter to a long-handled tool, such as a shovel or trowel, and push it into the soil at the desired location. Twist the tool back and forth to create a circular hole.
- Extract a core: After creating the hole, push the bulb planter further into the soil to extract a small core of soil. This core will provide room for placing the bulb in the hole without disrupting the surrounding soil.
- Place the bulb: Gently place the flower bulb into the hole, ensuring that it sits upright. If you are planting multiple bulbs, space them accordingly to avoid overcrowding.
- Cover the bulb: Once the bulb is positioned correctly, use the soil core previously extracted to cover the bulb entirely. Press the soil down lightly to ensure good soil-to-bulb contact.
- Repeat the process: Continue using the bulb planter to dig more holes and plant additional flower bulbs, following the same procedure for each one.
- Water and mulch: After planting all the bulbs, water the area thoroughly to help settle the soil and initiate the growth process. Consider adding a layer of organic mulch around the planted bulbs to retain moisture, suppress weeds, and provide insulation.
- Monitor and care: Keep an eye on the planted area and ensure that the soil remains moist until the bulbs establish roots. Follow any specific care instructions provided for the particular flower bulbs you planted, regarding watering, fertilizing, and sunlight requirements.
By using a bulb planter, you can efficiently and evenly plant flower bulbs, saving time and effort while ensuring proper planting depth and uniform spacing for healthy and beautiful flower growth.
What are the benefits of using a bulb planter instead of other methods?
Using a bulb planter has several benefits compared to other methods of planting bulbs. Some of these benefits include:
- Precision: A bulb planter allows for precise placement of bulbs at the desired depth and spacing, ensuring optimal growing conditions. This accuracy is difficult to achieve using alternative methods such as hand-digging holes.
- Efficiency: Bulb planters offer a fast and efficient method of planting bulbs, saving time and effort. They allow for quick digging of consistent-sized holes, enabling users to plant bulbs in a more organized and systematic manner.
- Consistency: With a bulb planter, you can ensure that all bulbs are planted at a uniform depth, resulting in more even growth and blooming. This can be challenging with other methods, especially when planting a large number of bulbs.
- Less soil disruption: Bulb planters minimize soil disturbance around the planting hole, leaving the surrounding area relatively undisturbed. This can be particularly beneficial in established garden beds or areas with delicate plants where minimal disruption is desired.
- Reduced strain: Using a bulb planter requires less physical effort compared to manually digging individual holes. This can be advantageous for people with limited strength or mobility, making bulb planting more accessible to a wider range of gardeners.
- Versatility: Some bulb planters come with depth settings or adjustable features, allowing for versatility in planting different bulb sizes and types. This adaptability makes bulb planters suitable for various bulb varieties, including small bulbs like crocuses or larger bulbs like tulips.
In summary, using a bulb planter offers precision, efficiency, consistency, reduced soil disruption, reduced physical strain, and versatility, making it a convenient and effective tool for planting bulbs.
Is it necessary to water the bulbs immediately after using a bulb planter?
It is generally recommended to water bulbs immediately after planting them with a bulb planter. Watering helps to settle the soil and provide moisture to the newly planted bulbs, promoting healthy root growth. Additionally, watering can help eliminate air pockets around the bulbs, ensuring good contact between the roots and the soil. However, it is important to follow the specific instructions provided for the bulbs being planted, as some bulbs may have different watering requirements.
How to protect bulbs from rodents or other pests after using a bulb planter?
After using a bulb planter to plant bulbs, it is important to take steps to protect them from rodents and other pests that may be attracted to them. Here are a few suggestions:
- Use wire mesh or hardware cloth: Place a layer of wire mesh or hardware cloth over the bulbs before covering them with soil. This will create a barrier that keeps the rodents and pests from accessing the bulbs.
- Dig a deeper hole: When using a bulb planter, the hole made by the tool may be shallow, leaving the bulbs closer to the surface where rodents can easily reach them. To prevent this, dig a slightly deeper hole before planting the bulbs, and then use the bulb planter to position the bulbs at the desired depth.
- Apply deterrents: Consider using natural deterrents to repel rodents and pests. This could include sprinkling cayenne pepper, garlic powder, or other strong-smelling substances around the area where the bulbs are planted. Additionally, there are commercially available repellents specifically designed to deter rodents and pests from devouring bulbs.
- Use companion plants: Some plants naturally repel pests, so consider planting them alongside your bulbs. For example, plants like daffodils and alliums have properties that rodents and pests tend to dislike. Planting these as companions around your bulbs can provide added protection.
- Create a physical barrier: Erecting a physical barrier around the planting area can deter rodents and other pests. This could be a mesh fence or chicken wire buried a few inches underground to prevent burrowing. Ensure the barrier is tall enough to keep out pests like rabbits.
- Keep the area tidy: Removing any debris or potential hiding spots around the planting area, such as piles of leaves or wood, can discourage rodents and pests from setting up nearby. Maintaining a clean and tidy garden reduces the likelihood of pests making themselves at home.
Remember, no method is completely foolproof, and different approaches may work better in specific situations. Experimenting with a combination of these methods can help increase the chances of success in protecting your bulbs from rodents and other pests.