Best Bulb Planters to Buy in July 2026
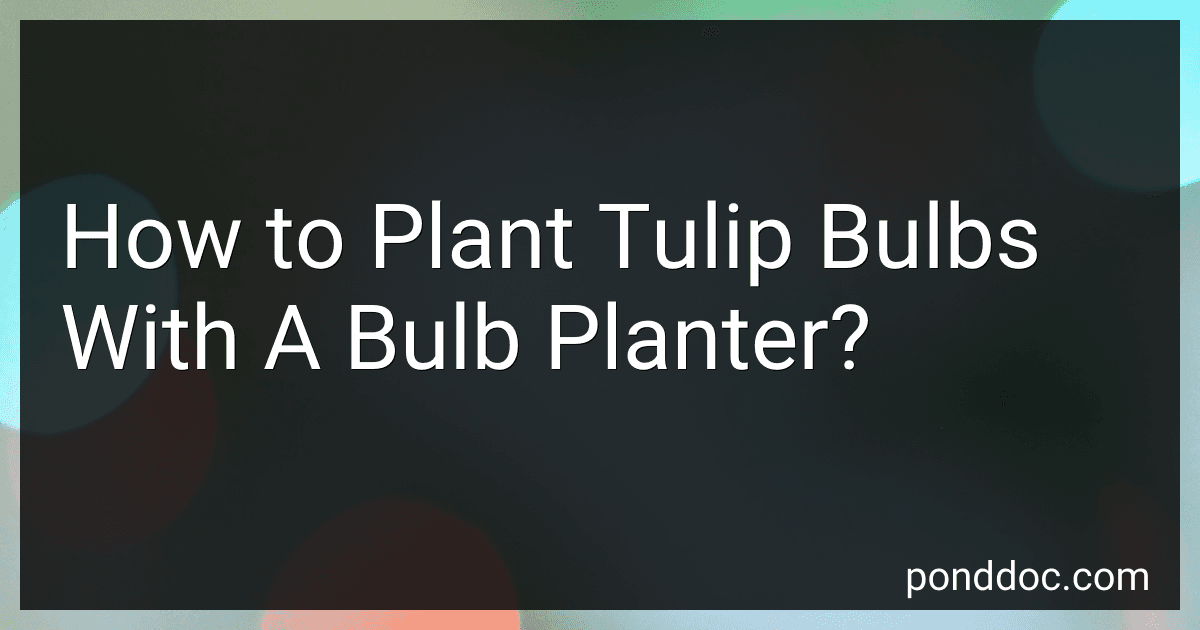
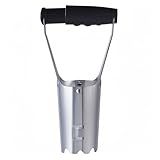
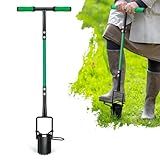
Garden Weasel Bulb Planter - Long Handle | Annuals, Ground Cover, Vegetables, Spring and Fall Bulbs | Sod Cutter, Remover, and Plugger, Grass Planter, Bulb Planting Tool | 91350
- EFFORTLESS PLANTING: NO BENDING-JUST STEP AND PLANT WITH EASE!
- BUILT TO LAST: PREMIUM MATERIALS ENSURE DECADES OF RELIABLE USE.
- LIFETIME GUARANTEE: ENJOY PEACE OF MIND WITH OUR NO-HASSLE WARRANTY.


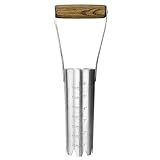
Edward Tools Bulb Planter - Bend Free Tool for Planting Bulbs - Automatic Soil Release for Digging/refilling Hole - Depth Marker for More consistent Planting Tulips, Daffodils, Dahlias
- QUICK PLANTING WITH AUTOMATIC SOIL RELEASE MECHANISM!
- DURABLE REINFORCED STEEL FOR EFFORTLESS DIGGING IN TOUGH SOILS.
- CONSISTENT PLANTING DEPTH WITH HANDY DEPTH MARKER INCLUDED.
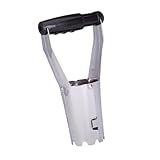
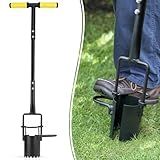
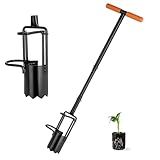
5-in-1 ProPlugger Bulb Planter - Long Handle, Sod Plugger, Weeding Tool - Made in USA
- EFFORTLESSLY PLANT IN MOIST SOIL-MAXIMIZE EFFICIENCY AND RESULTS!
- EASY DEPTH CONTROL WITH RINGS-DIG CONSISTENTLY PERFECT HOLES.
- VERSATILE TOOL FOR PLANTING, WEEDING, AND FERTILIZING-MULTI-FUNCTIONAL!
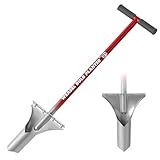
Toresano Bulb Planter, Bulbs Transplanter Designed for Automatic Soil Release with Depth Marker for Dgging Holes and Planting Tool for Tulips, Daffodils, Dahlias
-
DURABLE STEEL BUILD: REINFORCED FOR EASY DIGGING IN HEAVY SOIL.
-
PRECISE PLANTING: DEPTH SCALE ENSURES ACCURATE, UNIFORM PLANTING EVERY TIME.
-
TIME-SAVING DESIGN: AUTOMATIC SOIL RELEASE FOR QUICK AND EFFORTLESS DIGGING.
Haliaeetus Bulb Planter Tool, 6 inches Depth Mark Hand Bulb Planter, Non-Bending Stainless Steel Bulb Planter Digger, Garden Bulb Transplanter with Comfortable Wood Handle for Planting Tulip, Daffodil
- PLANT 150 BULBS IN AN HOUR-10X FASTER THAN USING A SHOVEL!
- BUILT-IN DEPTH MARKINGS ENSURE PERFECT PLANTING EVERY TIME.
- DURABLE STAINLESS STEEL DESIGN RESISTS BENDING AND LASTS LONGER!

FLORA GUARD Bulb Planter with Depth Markers - Automatic Soil Releasing Seed Bulb Transplanter for Planting/Digging Tulips, Daffodils, Dahlias and More
- ERGONOMIC DESIGN: EASY TO USE, REDUCES STRAIN FOR EFFORTLESS PLANTING.
- AUTOMATIC SOIL RELEASE: QUICK EJECTION OF SOIL SPEEDS UP YOUR PROCESS.
- LIFETIME WARRANTY: INVEST IN QUALITY WITH A GUARANTEE THAT LASTS!
Colwelt Bulb Planter Tool Long Handle, Serrated Base Gardening Bulb Transplanter with Soft Grip, Heavy Duty Long Handled Bulb Planter Sod Plugger for Digging Holes to Plant Tulips, Iris, Daffodils
- EFFORTLESSLY PLANT BULBS IN PERFECT HOLES, SAVING YOU TIME AND ENERGY!
- INNOVATIVE DESIGN ALLOWS FOR EASY DIGGING WHILE STANDING-NO BENDING!
- DURABLE, RUST-RESISTANT STEEL ENSURES LONG-LASTING RELIABILITY AND USE.
Fabulas Bulb Planter Tool Long Handle, Plant Hole Digger with Soft Grip and Serrated Base, Heavy Duty 5-in-1 Sod Lawn Grass Plugger Tool Planting Digger Garden Transplanter for Tulips Iris Flower
- VERSATILE 5-IN-1 TOOL: PLANT BULBS, AERATE SOIL, AND REMOVE WEEDS EASILY.
- ERGONOMIC DESIGN: ADJUSTABLE HANDLE REDUCES STRAIN, PERFECT FOR ALL GARDENERS.
- DURABLE & SAFE: HEAVY-DUTY METAL CONSTRUCTION ENSURES LONG-LASTING USE.
Altdorff Bulb Planter Tool, Sod Plugger with Long Handle Serrated Base, 5-in-1 Lawn Plug Garden Tool for Transplanting, Digging, Grass Plug, Soil Sampler, Planting for Tulips, Iris, Daffodils
-
MULTI-FUNCTIONAL DESIGN: 5 TOOLS IN 1 FOR EFFICIENT YARD WORK.
-
ERGONOMIC USE: PLANT FROM A STANDING POSITION TO PROTECT YOUR BACK.
-
DURABLE BUILD: HEAVY-DUTY IRON CONSTRUCTION FOR LONG-LASTING PERFORMANCE.
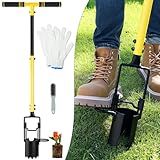
BARAYSTUS Bulb Planter Tool Long Handle, Tulip Bulb Planter Tool with Serrated Base & Double Pedal, Soft T Grip Sod Plugger, Heavy Duty Bulb Planter Tool for Digging Holes Sowing Plant Bulb
- DURABLE CARBON STEEL CONSTRUCTION: RUST-RESISTANT FOR LONG-LASTING USE.
- ERGONOMIC 40 HANDLE: REDUCES BACK STRAIN FOR COMFORTABLE GARDENING.
- EFFICIENT SERRATED DESIGN: EASILY PENETRATES VARIOUS SOIL TYPES EFFORTLESSLY.
Planting tulip bulbs with a bulb planter is a simple and efficient method that ensures proper depth and spacing. Here are the steps to follow:
- Choose a suitable location: Tulips prefer well-drained soil and full sun or light shade. Select an area with good drainage and enough sunlight for the bulbs to flourish.
- Prepare the soil: Before planting, loosen the soil using a gardening fork or spade. Remove any weeds or debris and break up clumps of soil to create a loose, friable planting bed.
- Dig the holes: Attach the bulb planter to the handle if it is detachable. Position the bulb planter on the ground, press down, and twist slightly to create a round hole in the soil. This tool will ensure consistent hole depth and spacing.
- Insert the bulbs: Place a tulip bulb into the hole, with the pointed end facing upwards. Gently push the bulb into the soil until it sits at the appropriate depth. The package instructions will specify the ideal planting depth for your tulip variety or consult gardening references for general guidelines.
- Repeat the process: Use the bulb planter to dig the next hole, ensuring adequate spacing between each bulb. Continue planting until you have placed all the tulip bulbs.
- Cover and firm the soil: After all the bulbs are in place, cover the holes with soil, removing any excess soil if necessary. Firmly press the soil around each bulb to eliminate air pockets and promote good contact.
- Water the area: Water the newly planted bulbs thoroughly, ensuring the soil is evenly moist. This helps settle the soil and initiates root development.
- Mulch, if desired: Apply a layer of organic mulch, such as wood chips or straw, around the planted area. Mulching helps retain soil moisture, regulate temperature, and suppress weed growth.
- Monitor and care for the bulbs: Regularly check the soil moisture and provide water as needed, ensuring it doesn't become overly saturated. Follow any specific care instructions for your tulip variety.
By using a bulb planter, the process of planting tulip bulbs becomes faster and more efficient. With proper care and maintenance, you can look forward to the colorful blooms of tulips in the spring.
How often should I water the tulip bulbs planted with a bulb planter?
Tulip bulbs planted with a bulb planter should be watered immediately after planting to help settle the soil around the bulb. After that, the bulbs require minimal watering until they start to emerge above the soil surface in spring. Tulips are typically planted in the fall, and during the winter months, they rely on natural rainfall for moisture. However, if there's a prolonged dry spell or if the soil feels dry to the touch, you can water the bulbs lightly. Once the tulips start growing in spring, they will require more regular watering, especially during periods of drought.
How to care for tulip bulbs planted with a bulb planter during the winter months?
Caring for tulip bulbs planted with a bulb planter during the winter months is essential to ensure their healthy growth and blooming in the spring. Here are some tips to care for tulip bulbs during the winter:
- Mulch: After planting the tulip bulbs with a bulb planter, it is recommended to add a layer of mulch on top of the soil. This will help insulate and protect the bulbs from extreme cold temperatures. Organic materials such as straw, wood chips, or shredded leaves work well as mulch.
- Watering: During the winter months, tulip bulbs generally do not require frequent watering. However, it is important to keep the soil slightly moist. If the weather is dry, water the bulbs sparingly to prevent the soil from drying out completely.
- Protection: If your area experiences severe winters with frost or snow, consider adding a layer of protective covering over the tulip bulbs. You can use burlap, pine branches, or frost blankets to shield the bulbs from extreme cold, frost, or heavy snowfall.
- Avoid Overwatering: Although it is important to keep the soil slightly moist, overwatering can cause bulb rot. Tulip bulbs prefer well-draining soil, so make sure the excess water drains away to prevent waterlogging, which can lead to bulb decay.
- Pest Control: It is recommended to inspect the tulip bulbs regularly to check for any signs of pests, such as squirrels, voles, or mice. These critters may attempt to dig up and eat the bulbs. If you notice any signs of infestation, take appropriate measures to deter or remove the pests.
- Fertilization: During the winter, tulip bulbs are in a dormant stage, so fertilization is not necessary at this time. Save fertilization for the spring when the foliage starts emerging.
- Monitoring: Make sure to periodically monitor the tulip bulbs during the winter months. Check for any signs of damage, disease, or any other issues that may arise. Early detection will enable you to take prompt action and prevent any potential damage.
By following these care tips, you will help tulip bulbs planted with a bulb planter survive the winter and ensure a beautiful display of blooms in the spring.
How to use a bulb planter?
Using a bulb planter is a simple process. Here are the steps to effectively use a bulb planter:
- Choose the right bulb planter: There are various types and sizes of bulb planters available, so make sure to select the one that suits your needs. Consider the depth and width of the holes you want to create for your bulbs.
- Prepare the soil: Before using the bulb planter, ensure that the soil is well-prepared. Remove any weeds or debris from the desired planting area, and loosen the soil to make it easier for the bulb planter to penetrate.
- Position the bulb planter: Hold the bulb planter vertically and insert it into the soil at your desired planting location. Push it into the ground using a twisting motion, applying gentle pressure to penetrate the soil.
- Remove the core: Once the bulb planter is in the ground, twist it back and forth slightly while applying downward pressure to create a hole. Keep twisting until you feel the resistance decrease, indicating that the plug of soil has been removed from the hole.
- Place the bulb: With the hole ready, carefully drop the bulb into the hole with the pointed end facing upwards. Ensure the bulb is placed at the correct depth, typically two to three times deeper than the bulb's height.
- Remove the plug of soil: Lift the bulb planter straight up from the hole, taking out the core of soil. You can gently tap the planter against a hard surface to release the soil core. Dispose of the soil core aside.
- Repeat the process: If you wish to plant more bulbs, repeat the above steps, spacing the holes according to the recommended planting distance for the specific type of bulbs you are planting.
- Cover and water: Once all the bulbs are planted, use the soil displaced by the bulb planter to cover the holes, gently pressing the soil down to ensure the bulbs are secure. Water the area thoroughly to provide moisture for the newly planted bulbs.
Remember to clean the bulb planter after use, wiping off any dirt or soil residue. Proper cleaning and maintenance will help ensure the longevity and effectiveness of your bulb planter for future use.
What is the ideal soil type for planting tulip bulbs with a bulb planter?
The ideal soil type for planting tulip bulbs with a bulb planter is a well-draining soil with a good balance of moisture retention. Tulip bulbs prefer soil that is rich in organic matter and has good fertility. Ideally, the soil should be loose and friable, allowing the bulb planter to easily penetrate the soil and plant the bulbs at the recommended depth. A slightly acidic to neutral pH level (around 6 to 7) is also favorable for tulip bulbs.