Best Tools for Bulb Planting to Buy in July 2026
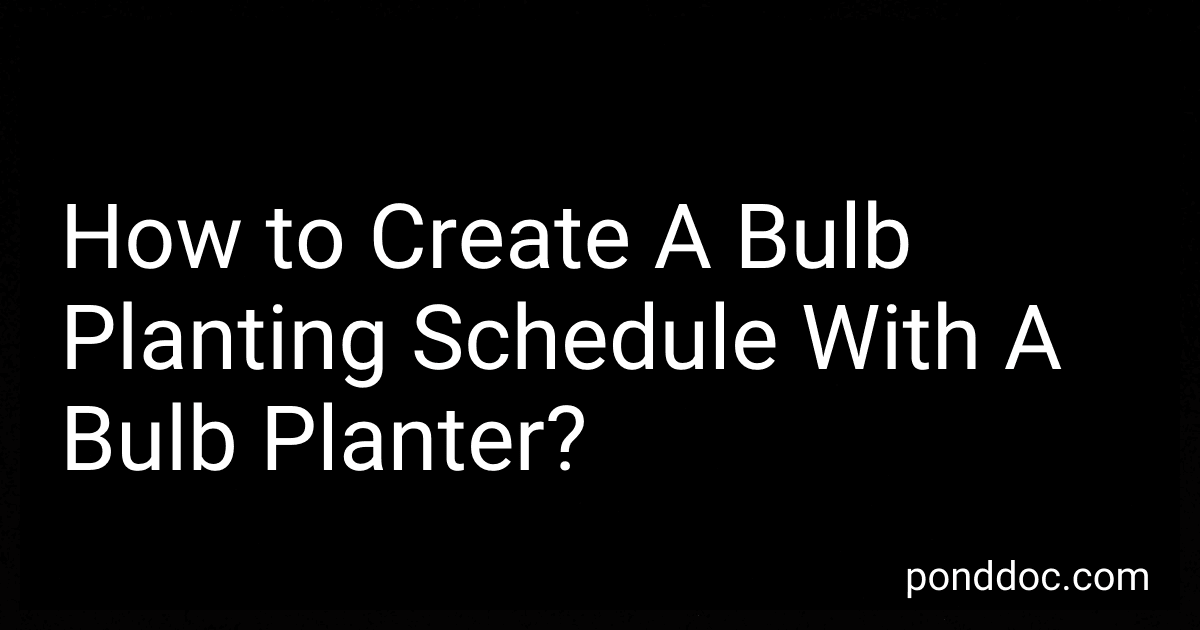
Edward Tools Bulb Planter - Bend Free Tool for Planting Bulbs, Depth Marker for More consistent Planting Tulips, Daffodils, Dahlias (Assorted)
- FAST PLANTING WITH AUTOMATIC SOIL RELEASE MECHANISM!
- DURABLE REINFORCED STEEL FOR EFFORTLESS DIGGING IN TOUGH SOIL.
- CONSISTENT DEPTH MARKER FOR PERFECT BULB PLANTING EVERY TIME!


ProPlugger 5-in-1 Planting Tool - Sod Plugger, Bulb and Flower Planter
-
EFFORTLESSLY PLANT WITH QUICK, PRECISE HOLES FROM A COMFORTABLE STANCE.
-
VERSATILE DESIGN FOR BULBS, VEGGIES, WEEDING, AND FERTILIZING TASKS.
-
DURABLE, USA-MADE TOOL WITH A MONEY-BACK GUARANTEE FOR SATISFACTION.

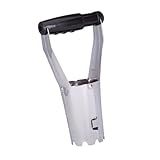
Colwelt Bulb Planter Tool Long Handle, Serrated Base Gardening Bulb Transplanter with Soft Grip, Heavy Duty Long Handled Bulb Planter Sod Plugger for Digging Holes to Plant Tulips, Iris, Daffodils
- EFFORTLESSLY PLANT BULBS FROM A STANDING POSITION-NO BENDING REQUIRED!
- QUICK & EASY: STEP, TWIST, PULL-PLANTING MADE SIMPLE AND EFFICIENT.
- DURABLE, RUST-RESISTANT DESIGN ENSURES YEARS OF RELIABLE PLANTING USE.
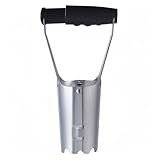
Toresano Bulb Planter, Bulbs Transplanter Designed for Automatic Soil Release with Depth Marker for Dgging Holes and Planting Tool for Tulips, Daffodils, Dahlias
- HEAVY-DUTY STEEL CONSTRUCTION FOR EASY DIGGING IN TOUGH SOIL.
- LONG-LASTING DURABILITY WITH HIGH-HARDNESS MATERIALS.
- ACCURATE DEPTH SCALE ENSURES UNIFORM PLANTING EVERY TIME.
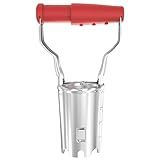
FLORA GUARD Bulb Planter with Depth Markers - Automatic Soil Releasing Seed Bulb Transplanter for Planting/Digging Tulips, Daffodils, Dahlias and More
-
ERGONOMIC DESIGN: EASY-TO-USE HANDLES REDUCE HAND STRAIN WHILE PLANTING.
-
EFFORTLESS SOIL RELEASE: QUICK, SPRING-LOADED EJECTION SPEEDS UP PLANTING.
-
LIFETIME WARRANTY: DURABLE CONSTRUCTION ENSURES LASTING QUALITY AND RELIABILITY.
GREBSTK Sturdy Stainless Steel Gardening Bulb Transplanter Tool with Depth Mark and Soil Release Handle for Planting Bulbs
- AUTOMATIC SOIL RELEASE SAVES TIME FOR QUICKER PLANTING!
- DURABLE STAINLESS STEEL DESIGN ENSURES LONG-LASTING USE.
- VERSATILE TOOL FOR ALL BULB TYPES, YEAR-ROUND GARDENING!
Creating a bulb planting schedule with a bulb planter can help ensure that you have a successful and beautiful garden filled with vibrant flowers. Here are the steps to do so:
- Determine the types of bulbs you want to plant: Research and choose the specific bulbs that you want to plant in your garden. Consider factors such as their blooming season, sunlight requirements, and climate suitability.
- Assess your garden site: Understand the conditions of your garden, including the amount of sunlight it receives, soil type, and drainage. Different bulbs have varying soil and light requirements, so it is important to match them with suitable areas in your garden.
- Plan your planting areas: Divide your garden into sections based on the specific bulbs you've chosen. Consider grouping bulbs with similar flowering times, light requirements, or colors together. This can help create a more organized and visually appealing display.
- Determine the planting time: Bulbs have specific planting seasons based on their dormant periods and flowering cycles. Consult reliable gardening resources or packaging information to understand the ideal planting time for each bulb you've chosen.
- Create a planting schedule: Based on the planting times for your bulbs, create a planting schedule that outlines when each type should be planted. Consider factors like frost dates, climate conditions, and the growth time required for each bulb.
- Use a bulb planter: To simplify the planting process and ensure uniformity, consider using a bulb planter. This specialized tool allows you to dig consistent, evenly spaced holes for planting bulbs. Follow the instructions that come with the bulb planter to use it effectively.
- Plant the bulbs: Using the bulb planter, dig holes at the appropriate depth for each type of bulb according to the package instructions. Place the bulbs into the holes, ensuring they are positioned correctly, and cover them with soil. Lightly tamp down the soil to secure the bulbs in place.
- Follow care instructions: After planting, follow the care instructions provided for each type of bulb. This may include measures like watering, fertilizing, and protecting the bulbs from pests or extreme weather conditions.
- Maintain records: Keep records of your bulb planting schedule, including the specific bulbs planted, dates of planting, and any relevant notes. This can help you track their progress and make adjustments for future planting seasons.
Remember to always consider the unique requirements of each bulb and adapt your schedule accordingly. With proper planning and the use of a bulb planter, you can efficiently create a stunning garden filled with beautiful blooms throughout the year.
What is the recommended distance between bulb plantings with a bulb planter?
The recommended distance between bulb plantings with a bulb planter is typically 6 to 8 inches (15 to 20 cm) apart. This spacing allows the bulbs enough room to grow and prevents overcrowding, which can inhibit their development. However, it ultimately depends on the specific instructions provided by the bulb manufacturer or the type of bulbs you are planting. It is always advisable to refer to the guidelines or recommendations mentioned with the bulbs or consult gardening resources for specific spacing requirements for different varieties.
How to store bulbs before planting with a bulb planter?
Before planting bulbs with a bulb planter, it's important to properly store them to ensure their health and successful growth. Here are the steps to store bulbs before planting:
- Check the bulbs: Inspect the bulbs for any signs of damage or disease. Discard any bulbs that are soft, rotten, or showing symptoms of fungal infections.
- Clean and dry the bulbs: Gently remove any excess soil or debris from the bulbs. Use a soft brush or cloth to clean them, but avoid using water as moist bulbs are prone to rotting. Allow the bulbs to air dry completely before storing them.
- Choose a suitable storage container: Select a suitable storage container that provides good airflow. Use mesh bags, trays, or paper bags with holes to ensure proper ventilation. Avoid plastic bags or airtight containers, as they can trap moisture and cause bulbs to rot.
- Prepare the storage medium: Prepare a suitable storage medium such as sand, peat moss, or vermiculite. These mediums help maintain a cool and dry environment for the bulbs. Fill the container with a layer of the medium.
- Layer the bulbs: Arrange the bulbs in a single layer on top of the medium, making sure they do not touch each other. Larger bulbs should be placed on the bottom, and smaller bulbs can be layered on top.
- Add another layer of storage medium: Apply another layer of the storage medium over the bulbs, ensuring they are completely covered. This helps protect the bulbs from temperature fluctuations and prevents them from drying out.
- Store in a cool, dry place: Place the container in a cool and dry location, away from direct sunlight. Ideally, the storage temperature should be around 40-50°F (4-10°C). Avoid storing bulbs near fruits, as some fruits release ethylene gas, which can damage the bulbs.
- Regularly check the bulbs: Periodically check the bulbs throughout the storage period to ensure they remain healthy. Remove any bulbs showing signs of decay or rot to prevent spreading to other bulbs.
By following these steps, you can store bulbs properly before using a bulb planter to plant them, ensuring their viability and successful growth.
What is the difference between a manual and automatic bulb planter?
A manual bulb planter is a handheld tool that requires human strength and effort to operate. It typically consists of a long handle with a sharp cylinder or tube at one end. To use a manual bulb planter, one needs to push the cylinder into the ground, twist it to create a hole, then remove the soil plug from the hole and place a bulb inside before replacing the soil plug.
On the other hand, an automatic bulb planter is a mechanized device that requires less physical effort. It is usually operated by a motor or a power source. Automatic bulb planters are designed to dig the holes, drop the bulbs into the holes, and cover them with soil without much manual intervention. These machines can be more efficient and save time when planting a large number of bulbs.
The main difference between the two is the level of manual effort required. Manual bulb planters need the user to physically push, twist, and remove the soil, making the process more labor-intensive. In contrast, automatic bulb planters use motorized or automated mechanisms to perform these tasks, reducing the physical effort needed.
How to monitor and track the progress of bulbs planted with a bulb planter in your schedule?
Here are some steps to help you monitor and track the progress of bulbs planted with a bulb planter in your schedule:
- Create a planting schedule: Before you start planting bulbs, create a schedule that outlines the planting dates and types of bulbs you plan to plant. This will help you know when to expect growth and track progress accordingly.
- Label your bulbs: As you plant each bulb, label them with their specific type and planting date. This will make it easier to identify and track individual bulbs.
- Take photos: Capture photos of the planted bulbs at each stage of growth. This can help you visually track their progress over time.
- Use a gardening journal or spreadsheet: Maintain a gardening journal or a spreadsheet dedicated to monitoring your bulb progress. Note the planting date, type of bulbs, and any observations or measurements you make throughout the growth period.
- Document growth milestones: Keep track of important milestones, such as the emergence of shoots, the development of leaves, and the blooming period. Note down dates and any notable changes or peculiarities you observe.
- Measure growth: Periodically measure the height of your bulbs as they grow. This will give you an objective measure of progress and allow you to track their growth rate.
- Implement a watering and care routine: Stick to a regular watering and care routine for your bulbs. Maintain records of watering schedules and any additional care practices you undertake, such as fertilizing or protecting against pests.
- Note any issues or challenges: If you encounter any issues like diseases, pests, or slow growth, make a note of them. This will help you analyze and troubleshoot any problems that may arise in the future.
- Compare with previous years: If you have planted bulbs in previous years, compare the progress and growth patterns to gain insights. This can help identify any variations or improvements in your current planting efforts.
- Reflect and plan for the future: Review your progress periodically and reflect on what worked well and what needs improvement. Use this information to better plan and optimize your future bulb planting endeavors.
By following these steps, you can effectively monitor and track the progress of bulbs planted with a bulb planter and have a comprehensive record of your gardening achievements.
What is the best way to label bulbs in a planting schedule?
When labeling bulbs in a planting schedule, the following methods can be effective:
- Numbering system: Assign a number to each type of bulb listed in the planting schedule. This can be a simple sequential numbering system such as Bulb 1, Bulb 2, etc. This approach is useful when managing a large number of bulb varieties.
- Color-coding: Use different colored markers or labels to represent different types of bulbs. For example, yellow for tulips, blue for hyacinths, and so on. This method provides a visual cue and makes it easier to identify bulbs at a glance.
- Abbreviations: Create standardized abbreviations for each type of bulb. For instance, use "TUL" for tulips, "DAF" for daffodils, "CRO" for crocuses, etc. This approach allows for a more concise representation while still allowing quick identification.
- Icon symbols: Assign specific icons or symbols for each type of bulb. It can be as simple as drawing a tulip shape for tulips, a daffodil shape for daffodils, and so on. This visual approach helps differentiate between different bulbs quickly.
- Combination approach: Combine multiple labeling methods mentioned above, depending on the complexity and diversity of the planting schedule. Utilize numbering, color-coding, abbreviations, or symbols in combination to create a comprehensive labeling system.
Ultimately, the best way to label bulbs in a planting schedule depends on personal preference, the number of bulb varieties, and the ease of identification. It is essential to choose a method that is clear, consistent, and easily understood by those involved in the planting process.
How to protect bulbs from pests when using a bulb planter?
To protect bulbs from pests when using a bulb planter, you can follow these steps:
- Choose the right location: Select a planting site that is free from pests, such as rodents or burrowing animals. Avoid areas with a significant population of voles, mice, or squirrels.
- Use protective barriers: Consider using hardware cloth or wire mesh to create a barrier between the bulbs and potential pests. Dig a hole and bury the wire mesh beneath the planting area to prevent critters from reaching the bulbs from underneath.
- Plant bulbs deep enough: Ensure that you plant the bulbs at the recommended depth, as specified on the packaging or instructions. Planting them at an appropriate depth can make it more challenging for pests to detect and access them.
- Add repellents: Apply organic or chemical pest repellents around the perimeter of the planting area. These repellents can deter pests from coming near the bulbs. Some natural deterrents include garlic, onion, or cayenne pepper sprays.
- Use physical deterrents: Consider adding physical deterrents, such as plastic netting or chicken wire, on top of the soil surface after planting the bulbs. These barriers can prevent animals or birds from digging up or pecking at the bulbs.
- Utilize companion planting: Intercropping bulbs with natural pest repellent plants like marigolds or alliums can help deter pests. The strong scent of these companion plants can confuse or repel pests.
- Monitor regularly: Keep a close eye on the planting area for any signs of pest activity. If pests are still causing damage, take appropriate action like setting up traps or using organic pest control methods.
By following these steps, you can minimize the risk of pests damaging your bulbs when using a bulb planter and increase the chances of successful growth.