Best Bulb Planting Tools to Buy in July 2026
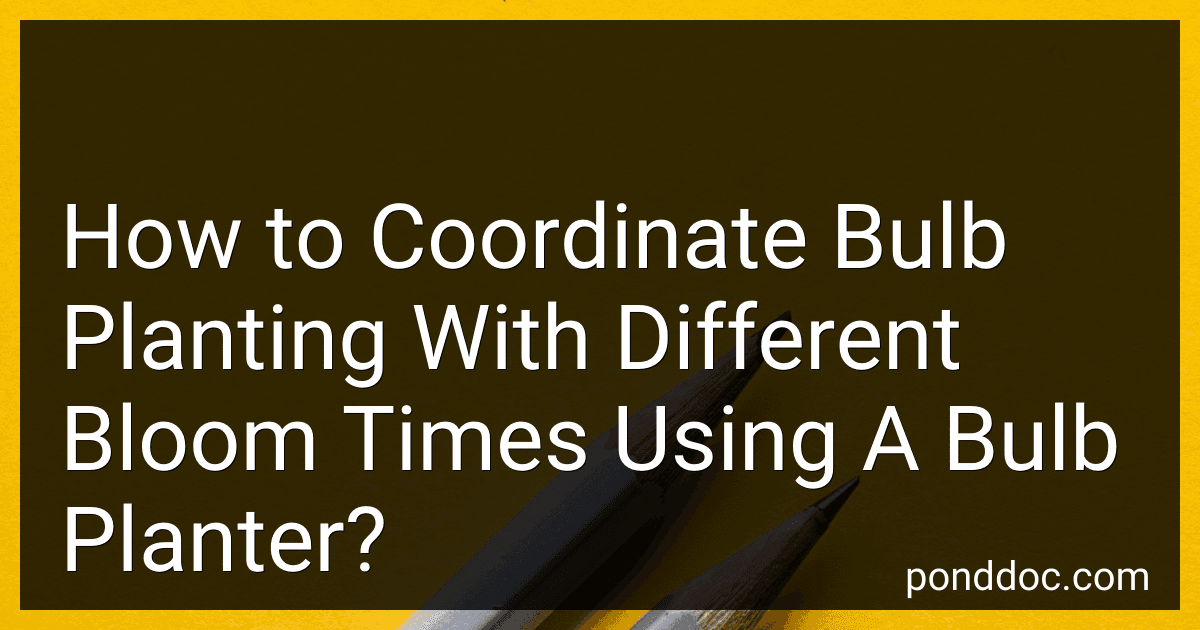
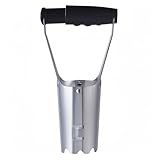
Edward Tools Bulb Planter - Bend Free Tool for Planting Bulbs, Depth Marker for More consistent Planting Tulips, Daffodils, Dahlias (Assorted)
- QUICK PLANTING WITH AUTOMATIC SOIL RELEASE FEATURE!
- DURABLE REINFORCED STEEL FOR EFFORTLESS DIGGING IN TOUGH SOIL.
- DEPTH MARKER ENSURES CONSISTENT PLANTING FOR PERFECT BLOOMS.


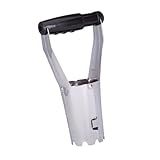
ProPlugger 5-in-1 Planting Tool - Sod Plugger, Bulb and Flower Planter
- EFFORTLESSLY PLANT WITH THE 5-IN-1 TOOL-NO BENDING REQUIRED!
- ACHIEVE PERFECT HOLE DEPTH WITH INCLUDED ADJUSTABLE DEPTH RINGS.
- VERSATILE TOOL: PLANT BULBS, VEGGIES, AND EVEN REMOVE WEEDS EASILY!
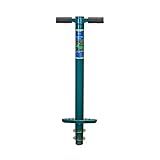
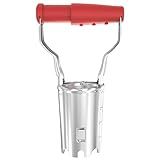
Colwelt Bulb Planter Tool Long Handle, Serrated Base Gardening Bulb Transplanter with Soft Grip, Heavy Duty Long Handled Bulb Planter Sod Plugger for Digging Holes to Plant Tulips, Iris, Daffodils
-
EFFORTLESS PLANTING: STEP, TWIST, AND PULL FOR QUICK HOLE DIGGING!
-
COMFORTABLE DESIGN: LONG HANDLE LETS YOU PLANT WITHOUT BENDING.
-
DURABLE CONSTRUCTION: HEAVY-DUTY STEEL ENSURES YEARS OF RELIABLE USE.
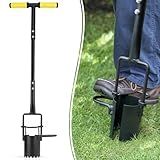
Toresano Bulb Planter, Bulbs Transplanter Designed for Automatic Soil Release with Depth Marker for Dgging Holes and Planting Tool for Tulips, Daffodils, Dahlias
- DURABLE STEEL FRAME: REINFORCED CONSTRUCTION HANDLES TOUGH SOILS EASILY.
- PRECISION PLANTING: DEPTH SCALE ENSURES UNIFORM PLANTING EVERY TIME.
- QUICK & EFFICIENT: AUTOMATIC SOIL RELEASE SPEEDS UP YOUR PLANTING PROCESS.
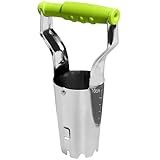
FLORA GUARD Bulb Planter with Depth Markers - Automatic Soil Releasing Seed Bulb Transplanter for Planting/Digging Tulips, Daffodils, Dahlias and More
-
EFFORTLESS PLANTING: ERGONOMIC DESIGN REDUCES STRAIN FOR QUICK PLANTING.
-
DURABLE QUALITY: STURDY MATERIALS ENSURE LONG-LASTING PERFORMANCE.
-
VERSATILE USE: PERFECT FOR BULBS, SEEDLINGS, AND VARIOUS PLANTS!
GREBSTK Sturdy Stainless Steel Gardening Bulb Transplanter Tool with Depth Mark and Soil Release Handle for Planting Bulbs
- QUICK SOIL RELEASE: SAVE TIME WITH AUTOMATIC MECHANISM!
- DURABLE STAINLESS STEEL: BUILT TO LAST THROUGH EVERY SEASON!
- VERSATILE DESIGN: PERFECT FOR BULBS, FLOWERS, AND VEGETABLES!
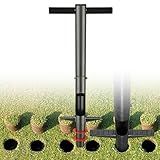
Bulb Planter Tool, 33.5 inch Long Handle Garden Sod Plugger to Dig Hole, Heavy Duty Metal Garden Tools for Soil Test Planting or Weeding Spring Flowers Bulbs,Bedding Plants,Tulips, Lilies, Potato
-
ERGONOMIC DESIGN ELIMINATES BENDING, REDUCING FATIGUE FOR EFFORTLESS USE.
-
FOOT PEDAL BOOSTS EFFICIENCY, CREATING CONSISTENT PLANTING PITS QUICKLY.
-
DURABLE, RUST-RESISTANT STEEL ADAPTS TO ANY SOIL CONDITION FOR LONGEVITY.
Coordinating bulb planting with different bloom times using a bulb planter can allow for a well-planned and continuously blooming garden. By selecting bulbs that bloom at different times, you can create a visually appealing and colorful landscape.
To begin, choose bulbs of various types that have different flowering periods. For example, tulips bloom in the early spring, while daffodils bloom in late winter or early spring, and lilies bloom in the summer. This variety will provide a succession of blooms throughout the seasons.
When using a bulb planter, you should first prepare the soil by loosening it and removing any weeds or debris. This helps create a suitable environment for the bulbs to grow and flourish. You can use a hand trowel or a garden fork to accomplish this.
Next, determine the appropriate planting depth for each type of bulb. Most bulbs come with instructions indicating the ideal depth. Insert the bulb planter into the soil to the required depth, twist it slightly, and lift out a small plug of soil.
Place the bulb into the hole, ensuring that the pointed end faces upwards. This is crucial for proper growth and blooming. If you are unsure about the orientation, bulbs usually have a flatter or wider end (the roots) and a pointed end (the shoot). Positioning them correctly is essential.
Gently press the soil back into the hole, covering the bulb completely. Repeat this process for each bulb, spacing them according to the recommended distance on the packaging or following your desired design.
To ensure an attractive arrangement and prevent overcrowding, consider creating groupings of bulbs. Planting bulbs closer together will result in a more intense display of color, while spreading them out can create a more natural and relaxed look.
It can be helpful to make a map or take notes of the bulb locations to track the bloom times and better plan for future years. This way, you'll know which bulbs will bloom first, last, or simultaneously.
After planting, water the bulbs thoroughly to encourage root growth. Watering deeply will also help settle the soil. Additionally, applying a layer of mulch can help regulate soil temperature and retain moisture, promoting healthy growth.
Coordinating bulb planting with different bloom times using a bulb planter requires some initial planning but offers the reward of a beautiful, ever-changing garden landscape throughout the year.
How to choose the right bulb planter for different types of bulbs?
To choose the right bulb planter for different types of bulbs, consider the following factors:
- Size of the bulb: Bulb planters come in various sizes. The size of the hole created by the planter should match the size of the bulb you are planting. Smaller bulbs may require a narrower and shallow planter, while larger bulbs may need a wider and deeper planter.
- Depth requirements: Some bulbs need to be planted at specific depths in the soil to thrive. Check the planting instructions for the particular bulb you are working with. Choose a bulb planter that allows you to dig the hole at the recommended depth.
- Soil type and condition: The type of soil you have in your garden can also influence your choice of bulb planter. For heavy or compacted soil, a planter with a sturdy and sharp cutting edge would be more suitable. Clay soil may require a bulb planter that can easily penetrate it. Alternatively, if your soil is loose or sandy, a planter with a wider diameter may be beneficial.
- Ergonomics: Consider the ergonomics of the bulb planter, particularly if you have any physical limitations. Look for a planter with comfortable handles and an overall design that suits your needs. Some planters may have features like a long handle or a foot pedal for easier use.
- Durability and quality: Ensure that the bulb planter you choose is made from durable materials that can withstand repeated use. Look for stainless steel or heavy-duty plastic options that won't rust or break easily.
- Special features: Some bulb planters come with additional features, such as depth markings or spring-loaded mechanisms, which can make planting bulbs easier. Consider whether any of these features would be helpful for your specific needs.
Ultimately, choosing the right bulb planter involves considering the size, depth, soil type, and your own physical requirements. By considering these factors, you can select a bulb planter that will efficiently and effectively plant your bulbs, leading to successful growth and bloom.
How to remove spent bulbs efficiently using a bulb planter?
To remove spent bulbs efficiently using a bulb planter, follow these steps:
- Start by selecting a suitable bulb planter. Look for one with a sharp, cylindrical cutting edge.
- Identify the area where the spent bulbs are located. This is usually where you planted bulbs previously or where the plant foliage has died back.
- Insert the bulb planter into the soil at a slight angle, ensuring that the cutting edge is pushed down into the soil.
- Apply downward pressure on the handle of the bulb planter to penetrate the soil and create a cylindrical hole around the spent bulb.
- Twist the bulb planter slightly to loosen the soil and create space for the bulb to be lifted out.
- Lift the bulb planter out of the hole, taking care not to disturb the surrounding soil.
- Gently tap the bulb planter on the ground or a hard surface to dislodge the spent bulb from the planter. If necessary, use your fingers or a small tool to remove the bulb from the planter.
- Dispose of the spent bulb appropriately, whether that be in a compost pile or as green waste.
- Repeat the process for each spent bulb, moving from one planting area to the next until all bulbs have been removed.
- Once all bulbs have been removed, it is essential to replenish the soil with nutrients or amend it as needed before replanting new bulbs.
By following these steps, you can efficiently remove spent bulbs using a bulb planter, making way for new plantings and maintaining a tidy garden.
How to ensure continuous blooming when coordinating bulbs with different bloom times using a bulb planter?
To ensure continuous blooming when coordinating bulbs with different bloom times using a bulb planter, follow these steps:
- Choose bulbs with staggered bloom times: Select bulbs that bloom at different times throughout the spring or fall seasons. This will help create a continuous display of flowers.
- Plan your bulb placement: Determine the layout and placement of the bulbs in your garden or flower bed. Consider the height, color, and blooming time of each bulb variety to create an aesthetically pleasing arrangement.
- Use a bulb planter: Use a bulb planter tool to dig precise holes for planting bulbs. This tool ensures proper depth and spacing, which is essential for giving each bulb plenty of room to grow and preventing overcrowding.
- Plant the bulbs according to their bloom times: Place bulbs with earlier bloom times closer to the front or center of the flower bed, and bulbs with later bloom times towards the back or edges. This will create a natural flow of blooming flowers.
- Add organic matter and fertilizer: Before planting, amend the soil with compost or well-rotted manure to improve its fertility and drainage. Additionally, incorporate a slow-release bulb fertilizer into the soil to provide essential nutrients for healthy growth and continuous blooming.
- Water and mulch the bulbs: After planting, water the bulbs thoroughly to ensure good soil contact and promote root establishment. Apply a layer of organic mulch, such as shredded leaves or wood chips, around the planted bulbs to conserve moisture, suppress weeds, and regulate soil temperature.
- Provide proper care: Regularly water the bulbs as needed, keeping the soil evenly moist but not waterlogged. Monitor for any signs of pests or diseases and take appropriate measures to control them. Additionally, remove spent flowers or foliage to redirect the plant's energy towards bulb development.
- Plan for future seasons: Keep track of your bulb varieties and their bloom times, so you can make adjustments or additions in the following seasons. This will help you plan for a continuous display of flowers year after year.
By following these steps and carefully coordinating bulb planting and care, you can enjoy a garden with a prolonged and continuous blooming period.
What is the best way to clean and maintain a bulb planter for long-term use?
To clean and maintain a bulb planter for long-term use, follow these steps:
- After each use, remove any soil or debris from the bulb planter. Use a brush or soft cloth to wipe away dirt from the blades or mechanism.
- Rinse the bulb planter with water to remove any remaining soil or residue. Ensure that all parts, including the handle and blades, are thoroughly cleaned.
- If there are any stubborn stains or clogged soil, soak the bulb planter in warm, soapy water for a few minutes. Gently scrub the affected areas with a brush or sponge, then rinse it again with water.
- Dry the bulb planter completely after cleaning. Moisture can promote rust or corrosion, so make sure to remove all traces of water. Use a clean, dry cloth to wipe it down, or leave it to air dry in a well-ventilated area.
- Check for any signs of wear or damage. Inspect the blades, handle, and locking mechanism to ensure everything is in proper working condition. Replace any worn-out parts or seek repairs if necessary.
- Store the bulb planter in a cool, dry place when not in use. Keep it away from extreme heat, humidity, or direct sunlight, as these conditions can cause damage or deterioration.
- Periodically lubricate the moving parts of the bulb planter to keep them functioning smoothly. Use a light oil or silicone lubricant, following the manufacturer's recommendations.
By regularly cleaning, inspecting, and storing your bulb planter properly, you can ensure its long-term use and maintain its efficiency in planting bulbs.
What is the best time of year to use a bulb planter for planting bulbs?
The best time to use a bulb planter for planting bulbs is typically in the fall, specifically during the months of September, October, and November. This is because most bulbs prefer to be planted in cooler temperatures before the ground freezes in winter. Planting bulbs in the fall allows them to establish roots and prepare for growth in the following spring.
However, the exact timing can vary depending on your specific location and the type of bulbs you are planting. It is recommended to check the specific planting guidelines for the particular bulbs you are using, as some may have different requirements or may be better suited for spring planting.
Overall, early to mid-fall is generally the ideal time for using a bulb planter to plant bulbs.