Best Propane Grills for Cooking Ribs to Buy in July 2026
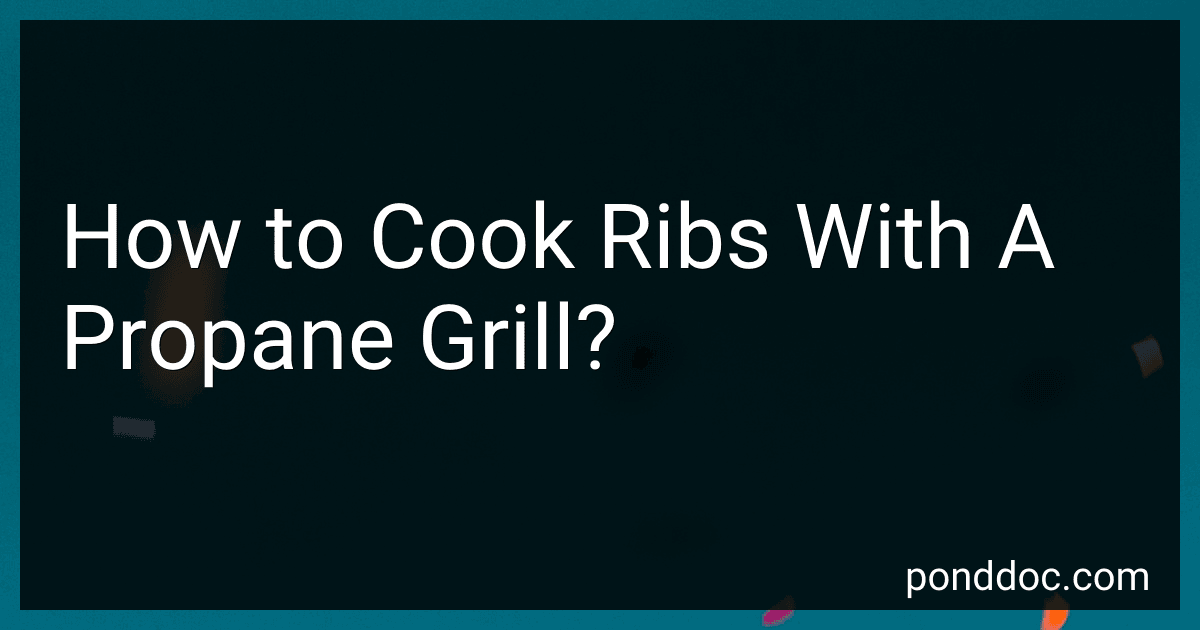
Weber SPIRIT 3-Burner Grill E-325 Liquid Propane Black
-
40% MORE POWER FOR BOLD SEARING IN THE LARGEST SEAR ZONE!
-
EASY IGNITION & CLEANUP FOR PERFECT GRILLING EVERY TIME!
-
DURABLE DESIGN WITH 10-YEAR WARRANTY FOR LASTING PERFORMANCE!


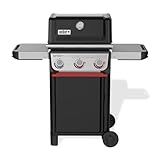
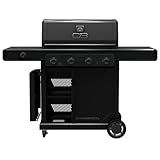
Royal Gourmet GA5403B 5 Burner Propane Gas Grill with Side Burner & Rear Burner, Cabinet Style Design BBQ Grill with 74,000 BTUs Output for Barbecue Grilling & Backyard Cooking, Blue
- ACCOMMODATES 34 BURGERS SIMULTANEOUSLY WITH 738 SQ. IN. COOKING SPACE.
- SEVEN BURNERS DELIVER 74,000 BTU FOR EXCEPTIONAL COOKING PERFORMANCE.
- PREP SPACE WITH FOLDABLE SIDE SHELF FOR CONVENIENCE AND VERSATILITY.

Char-Broil® Classic Series™ Convective 3-Burner with Side Burner Propane Gas Stainless Steel Grill - 463773817-P2
- QUICK HEAT & EVEN COOKING: REACHES HIGH TEMPS FAST FOR GREAT GRILLING.
- SPACIOUS COOKING AREA: GRILL 14 BURGERS OR 5 STEAKS AT ONCE!
- CONVENIENT SIDE BURNER: HEAT SIDES OR BREW COFFEE WHILE GRILLING.
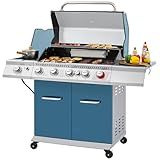
MASTER COOK 3 Burner BBQ Propane Gas Grill, Stainless Steel 30,000 BTU Patio Garden Barbecue Grill with Two Foldable Shelves
-
POWERFUL COOKING PERFORMANCE: 30,000 BTU FROM 3 STAINLESS STEEL BURNERS.
-
DURABLE & STYLISH DESIGN: CHROMED KNOBS AND STURDY STAINLESS STEEL BODY.
-
VERSATILE OUTDOOR USE: IDEAL FOR ANY BACKYARD, GARDEN, OR PATIO SPACE.
Charbroil Pro Series with Amplifire Infrared Technology 4-Burner Propane Gas Grill Cabinet with Side Burner, Black - 463281024
-
TRANSITION FROM GRILLING TO GRIDDLING IN UNDER 90 SECONDS!
-
535 SQ. INCHES OF COOKING SPACE FOR FEEDING LARGE GATHERINGS.
-
10-YEAR BURNER WARRANTY ENSURES LONG-LASTING PERFORMANCE!
To cook ribs with a propane grill, you will need the following ingredients and equipment:
Ingredients:
- Rack(s) of ribs
- Dry rub seasoning of your choice
- Barbecue sauce (optional)
Equipment:
- Propane grill
- Aluminum foil
- Tongs
- Grill brush or scraper
- Meat thermometer
Instructions:
- Preheat your propane grill by turning on the burners to medium heat. Close the lid and let it heat up for 10-15 minutes.
- Meanwhile, prepare the rack(s) of ribs by removing the membrane from the bone side. This can be done by using a butter knife to loosen one corner of the membrane, then gripping it with a paper towel and pulling it off. This step is optional but removing the membrane helps the seasoning penetrate the meat better.
- Season the ribs generously with your chosen dry rub seasoning. Ensure both sides of the ribs are coated, patting the rub into the meat to help it adhere.
- Once the grill is preheated, reduce the heat to low or medium-low. Place the rack(s) of ribs on the grill, bone side down. Close the lid and let them cook for approximately 1.5 to 2 hours. Make sure the grill maintains a temperature of around 225-250°F (107-121°C) during this time.
- Every 30 minutes or so, check the ribs and rotate them for even cooking. You can also use this opportunity to lightly baste them with barbecue sauce if desired. Avoid adding sauce too early, as it may burn or char before the ribs are fully cooked.
- After about 1.5 to 2 hours, start checking the internal temperature of the ribs using a meat thermometer. For tender ribs, aim for an internal temperature of around 190-203°F (88-95°C). The meat should be tender but not falling off the bone.
- Once the desired temperature is reached, carefully remove the rack(s) of ribs from the grill using tongs. Tent them with aluminum foil and let them rest for about 10 minutes. This allows the juices to redistribute and the meat to become even more tender.
- After resting, slice the ribs into individual portions and serve them with your preferred barbecue sauce on the side.
Remember, cooking times may vary depending on the thickness of the ribs and the heat of your grill. It is always recommended to use a meat thermometer to ensure the ribs are cooked to your desired level of tenderness. Enjoy your delicious homemade grilled ribs!
Can I add a dry rub to the ribs before applying the marinade?
Yes, you can definitely add a dry rub to the ribs before applying the marinade. The dry rub will add an extra layer of flavor and create a delicious crust on the ribs. Simply apply the dry rub evenly on all sides of the ribs, and let it sit for a few hours or overnight in the refrigerator. Afterward, you can apply the marinade and proceed with cooking or grilling the ribs according to your recipe's instructions.
Can I add wood chips or chunks to my propane grill for a smoky flavor?
Yes, you can add wood chips or chunks to your propane grill for a smoky flavor. This method is called "smoking" and is commonly done by using a smoker box or foil pouch to hold the wood chips or chunks. Pre-soak the wood chips in water for about 30 minutes before using them to ensure they produce smoke instead of catching fire. Place the soaked wood chips or chunks in the smoker box or foil pouch, poke holes in the foil to allow smoke to escape, and then place it directly on the heat source of your propane grill. As the wood chips or chunks heat up, they will start to smoke and infuse your food with a smoky flavor.
Can I freeze cooked ribs for later consumption?
Yes, you can freeze cooked ribs for later consumption. However, it's important to properly store the cooked ribs to maintain their quality. Here's the recommended process:
- Allow the cooked ribs to cool down completely.
- Wrap the ribs tightly with plastic wrap or aluminum foil to prevent freezer burn and maintain moisture.
- Place the wrapped ribs in airtight freezer bags or freezer-safe containers.
- Label the packaging with the date and contents for easy identification.
- Place the ribs in the freezer and ensure they are stored at a consistent temperature of 0°F (-18°C) or below.
When you're ready to consume the frozen cooked ribs, thaw them in the refrigerator overnight before reheating. Reheating can be done in an oven, grill, or microwave, following your preferred method.
How do I know when the ribs are done cooking on the grill?
There are a few methods to determine when ribs are done cooking on the grill:
- Temperature: Use a meat thermometer to check the internal temperature of the ribs. For pork ribs, it should reach 145°F (63°C). For beef ribs, aim for a higher temperature of around 160°F (71°C). Insert the meat thermometer into the thickest part of the meat, avoiding the bones.
- Bend Test: Pick up the rack of ribs with a pair of tongs and gently bounce it. If the meat starts to crack slightly and pull away from the bone, it's a good indication that the ribs are cooked and tender. Be careful not to drop or squeeze the ribs too hard.
- Visual Check: Look for visual signs of doneness. The meat should have pulled back from the bones, exposing them slightly. Additionally, the surface of the meat should have a nice caramelized crust, often referred to as a "bark." The color should be browned but not burned.
- Knife Test: Insert a sharp knife between the ribs and twist gently. If the knife easily goes through the meat and pulls out with little resistance, the ribs are likely done. If you encounter significant resistance, they may need more cooking time.
Remember to rest the ribs for a few minutes before slicing and serving. Resting allows the juices to redistribute, resulting in more flavorful and tender ribs.
How long should I let the ribs rest after grilling before serving?
It is recommended to let the ribs rest for about 10-15 minutes after grilling before serving. This resting period allows the juices to redistribute and the meat to relax, resulting in a more tender and flavorful eating experience.