Best Egg Cookers for Poached Eggs to Buy in July 2026
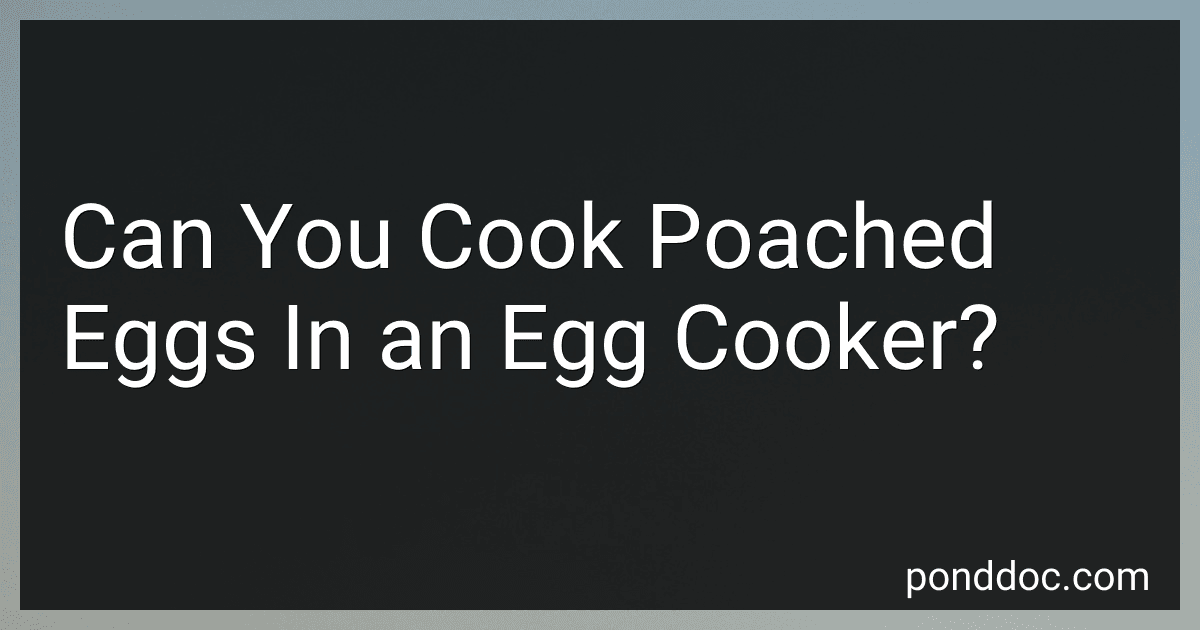
Dash Rapid Egg Cooker, 7 Hard Boiled Eggs, Black
- COOK VARIOUS EGG STYLES IN MINUTES: HARD, SOFT, POACHED, AND MORE!
- PRECISION THERMAL SENSOR ENSURES PERFECTLY COOKED EGGS EVERY TIME.
- SPACE-SAVING DESIGN WITH DISHWASHER-SAFE PARTS FOR EASY CLEANUP.


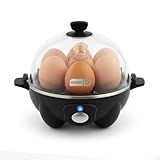
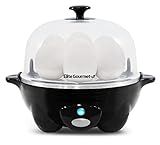
Elite Gourmet EGC115B Easy Egg Cooker, 7-Egg, BPA-Free, Classic Black
- COOK UP TO 7 EGGS PERFECTLY WITH EASY PEEL AND MINIMAL CLEANUP!
- USER-FRIENDLY DESIGN: JUST ADD WATER, PRESS POWER, AND ENJOY!
- COMPACT AND VERSATILE: IDEAL FOR KITCHENS, DORMS, AND RVS!
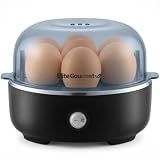
Dash Rapid Egg Cooker, 7 Hard Boiled Eggs, Cream
- COOK ALL EGG STYLES QUICKLY: HARD-BOILED, POACHED, SCRAMBLED, AND MORE!
- PRECISION THERMAL SENSOR ENSURES PERFECT EGGS EVERY TIME, EFFORTLESSLY!
- EASY CLEANUP AND COMPACT STORAGE MAKE COOKING A BREEZE AT HOME!
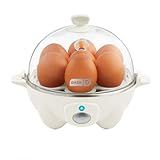
Elite Gourmet EGC-007B# Rapid Egg Cooker, 7 Easy-To-Peel, Hard, Medium, Soft Boiled Eggs, Poacher, Omelet Maker, Auto Shut-Off, Alarm, 16-Recipe Booklet, Black
- RAPID BOILING FOR PERFECT EGGS IN MINUTES-EASY FOR ALL AGES!
- ENJOY CONSISTENTLY EASY-TO-PEEL SHELLS AND QUICK CLEAN-UP!
- VERSATILE COOKER FOR BOILING, POACHING, AND STEAMING EGGS & VEGGIES!
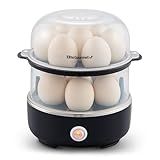
Elite Gourmet EGC1215B Easy Egg Cooker, Two-Tiered, 14-Egg, Black
-
COOK 14 EGGS PERFECTLY WITH EASE-SOFT, MEDIUM, OR HARD-BOILED!
-
FAST, FUN, AND SAFE EGG COOKING FOR THE WHOLE FAMILY!
-
COMPACT DESIGN FITS ANYWHERE-PERFECT FOR HOME, DORMS, OR RVS!
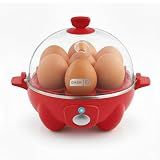
Dash Rapid Egg Cooker, 7 Hard Boiled Eggs, Red
- COOK ANY STYLE OF EGGS IN MINUTES WITH PRECISION & EASE!
- SPACE-SAVING DESIGN; STORE ACCESSORIES RIGHT IN THE COOKER!
- EFFORTLESS CLEANUP WITH DISHWASHER-SAFE PARTS FOR ULTIMATE CONVENIENCE!
Yes, you can cook poached eggs in an egg cooker, although the process might vary slightly depending on the model you have. Some egg cookers come with a specific tray or attachment designed for poaching eggs. Typically, you'll need to add a certain amount of water to the base of the cooker, place the poaching tray on top, and then crack the eggs into the designated poaching sections. The egg cooker uses steam to cook the eggs gently, resulting in poached eggs. It's essential to follow the manufacturer's instructions for your specific egg cooker to achieve the best results, as cooking times and water measurements may vary between different brands and models.
How to get the perfect yolk in poached eggs?
Achieving the perfect yolk in poached eggs involves a few crucial steps to ensure that the yolk remains runny while the whites are fully cooked and set. Here’s a step-by-step guide:
- Fresh Eggs: Start with the freshest eggs possible. Fresh eggs have tighter egg whites, which hold their shape better when poaching.
- Preparation: Fill a saucepan or deep skillet with about 3-4 inches of water and bring it to a gentle simmer, not a rolling boil. Add a small splash of vinegar (1-2 tablespoons) to the water to help the egg whites coagulate faster. Avoid using salt as it can cause the whites to spread out.
- Crack the Egg: Crack the egg into a small bowl or cup first. This makes it easier to slide the egg gently into the water without breaking the yolk.
- Create a Gentle Whirlpool: Use a spoon to stir the water in one direction to create a gentle whirlpool effect. This helps the egg white wrap around the yolk more efficiently.
- Add the Egg: Gently slide the egg from the bowl into the center of the whirlpool. The swirling water will help the egg stay together, forming a neat oval shape.
- Poaching Time: For a runny yolk with set whites, let the egg poach for about 3-4 minutes. If you prefer a slightly firmer yolk, extend the poaching time to around 5 minutes.
- Remove the Egg: Use a slotted spoon to carefully lift the egg out of the water.
- Drain Excess Water: Let the egg drain briefly on the slotted spoon or place it on a paper towel to remove any excess water before serving.
- Serve Immediately: Poached eggs are best served right away. Top them on toast, eggs Benedict, salad, or any preferred accompaniment.
By following these steps, you should get perfectly poached eggs with a nicely set white and a luscious, runny yolk.
How to clean an egg cooker after use?
Cleaning an egg cooker after use is important to maintain its performance and ensure hygiene. Here are some general steps you can follow:
- Unplug and Cool Down: Ensure the egg cooker is unplugged and has cooled down completely before you start cleaning it.
- Disassemble the Parts: Remove any detachable parts such as the lid, egg tray, poaching tray, and water measuring cup. Check the manufacturer's instructions for any specific disassembly requirements.
- Clean the Base: Use a damp cloth to wipe the base of the egg cooker. Be careful not to immerse it in water or let water enter the electrical components.
- Wash Removable Parts: Wash the lid, egg tray, and poaching tray in warm soapy water. Use a non-abrasive sponge or cloth to avoid scratching. If dishwasher-safe, you can place them in the dishwasher. Check the user manual to confirm whether the parts are dishwasher-safe.
- Remove Mineral Deposits: Over time, mineral deposits from water may build up on the heating plate. To clean this: Mix equal parts of water and vinegar. Pour the mixture onto the heating plate and let it sit for a few minutes. Wipe the plate clean with a soft cloth. Rinse with a damp cloth to ensure all vinegar residue is removed.
- Dry All Parts: Make sure all parts are thoroughly dried before reassembling to prevent any moisture from causing damage or mold growth.
- Reassemble the Cooker: Once everything is dry, reassemble the egg cooker and store it until your next use.
- Regular Maintenance: To keep your egg cooker in optimal condition, clean it thoroughly after each use and descale it periodically, depending on how frequently you use it and the hardness of your water.
Remember, for the best results, always refer to your specific egg cooker's user manual for any particular cleaning instructions or recommendations.
How to poach eggs using vinegar?
Poaching eggs with vinegar is a classic and effective method to achieve perfectly cooked eggs with firm whites and runny yolks. Here’s a step-by-step guide:
Ingredients:
- Fresh eggs
- Water
- White vinegar (about 1 tablespoon)
- Salt (optional)
Equipment:
- Saucepan or deep skillet
- Slotted spoon
- Small bowls or ramekins
Instructions:
- Prepare the Water: Fill a saucepan or deep skillet with about 3-4 inches of water. Add a tablespoon of white vinegar to the water; this will help the egg whites coagulate more quickly. Optionally, add a pinch of salt.
- Heat the Water: Bring the water to a gentle simmer over medium heat. You should see small bubbles forming on the bottom of the pan, but the water should not be boiling, as a rolling boil can break the egg apart.
- Prepare the Eggs: Crack each egg into a small bowl or ramekin. This helps you gently slide the egg into the water later and ensures no broken yolks.
- Create a Swirl: Use a spoon to stir the simmering water in a circular motion to create a gentle whirlpool effect. This step is optional but can help the egg whites wrap around the yolk nicely.
- Poach the Eggs: Carefully slide the egg from the bowl into the center of the whirlpool (or directly into the water if you skipped the whirlpool step). Allow the egg to cook uninterrupted. Depending on your preference, poaching typically takes about 3-4 minutes. The whites should be set but the yolk still soft when you touch it gently with a spoon.
- Remove the Eggs: Use a slotted spoon to carefully lift the poached egg out of the water. Gently shake off any excess water and place the egg on a paper towel to absorb any remaining water.
- Serve: Trim any ragged edges of the egg whites, if desired, for a neat presentation. Serve immediately on toast, with avocado, or use for dishes like Eggs Benedict.
Tips:
- Fresh eggs are crucial for the best results, as they hold together better during poaching.
- Vinegar can leave a slight taste; adjust the amount to your liking or rinse the eggs briefly in warm water if the taste is too strong.
- If poaching multiple eggs simultaneously, space them well apart or use separate small ramekins to slide them into different sections of the pan.
Enjoy your perfectly poached eggs!
What is the best method for poaching eggs?
Poaching eggs can be a bit tricky, but with the right technique, you can achieve perfectly poached eggs with set whites and runny yolks. Here’s a tried-and-true method to poach eggs effectively:
Ingredients
- Fresh eggs
- Water
- Vinegar (optional, about 1 tablespoon per quart of water)
- Salt (optional, for seasoning)
Equipment
- Saucepan or deep skillet
- Slotted spoon
- Small bowls or ramekins
- Paper towels or a clean kitchen towel
Method
- Prepare the Water: Fill a saucepan or deep skillet with at least 3 inches of water. Heat the water over medium heat until it reaches a gentle simmer (approximately 180°F or 82°C). There should be constant small bubbles rising to the surface, but not a rolling boil.
- Add Vinegar (Optional): Add about 1 tablespoon of vinegar per quart of water. While optional, vinegar can help the egg whites coagulate more effectively.
- Crack the Eggs: Crack each egg into a small bowl or ramekin. This makes it easier to gently slip the egg into the water and reduces the risk of breaking the yolk.
- Create a Water Vortex (Optional): Using a spoon, stir the water in the pot to create a gentle circular motion, forming a vortex. This technique can help the egg whites wrap around the yolk more neatly, especially useful when poaching a single egg.
- Poach the Eggs: Carefully slide the eggs one at a time into the simmering water. If using the vortex method, gently pour the egg into the center. If poaching multiple eggs, ensure they are spaced apart in the water. Let the eggs cook for about 3-4 minutes, or until the whites are set but the yolks are still soft.
- Remove the Eggs: Use a slotted spoon to gently lift the poached eggs from the water. Look for set whites and a slight jiggle in the yolk, indicating it is runny inside.
- Drain the Eggs: Place the poached eggs on a paper towel or a clean kitchen towel to drain excess water. This will also help remove any lingering strands of egg white.
- Serve: Season with salt and pepper to taste. Enjoy the poached eggs on toast, in salads, or as part of a breakfast dish.
By following these steps, you should consistently achieve well-poached eggs. Adjust the cooking time slightly if you prefer firmer yolks. Practice makes perfect, so don't be discouraged by initial attempts!
What is the purpose of an egg cooker?
An egg cooker is a kitchen appliance designed to simplify and perfect the process of cooking eggs. Its primary purpose is to provide a convenient and efficient way to cook eggs with consistent results. Here are some specific purposes and benefits of using an egg cooker:
- Consistency: Egg cookers are designed to cook eggs uniformly, ensuring consistent results in terms of doneness, whether you prefer soft-boiled, medium-boiled, or hard-boiled eggs.
- Convenience: Using an egg cooker is generally straightforward and requires minimal effort. You can set it up, turn it on, and walk away without having to watch a pot on the stove.
- Versatility: Many egg cookers come with options to cook different styles of eggs, such as poached eggs or omelets, in addition to boiled eggs.
- Time-saving: Egg cookers can often cook multiple eggs simultaneously and tend to be faster than traditional stove methods.
- Energy Efficiency: Egg cookers typically use less water and energy compared to boiling eggs in a pot on the stove.
- Automatic Shut-off: Most egg cookers have an automatic shut-off feature, preventing overcooking and ensuring safety.
Overall, an egg cooker is a handy appliance for anyone who frequently cooks eggs and values efficiency and consistency in their kitchen.