Best Air Purifier Troubleshooting Guide to Buy in July 2026
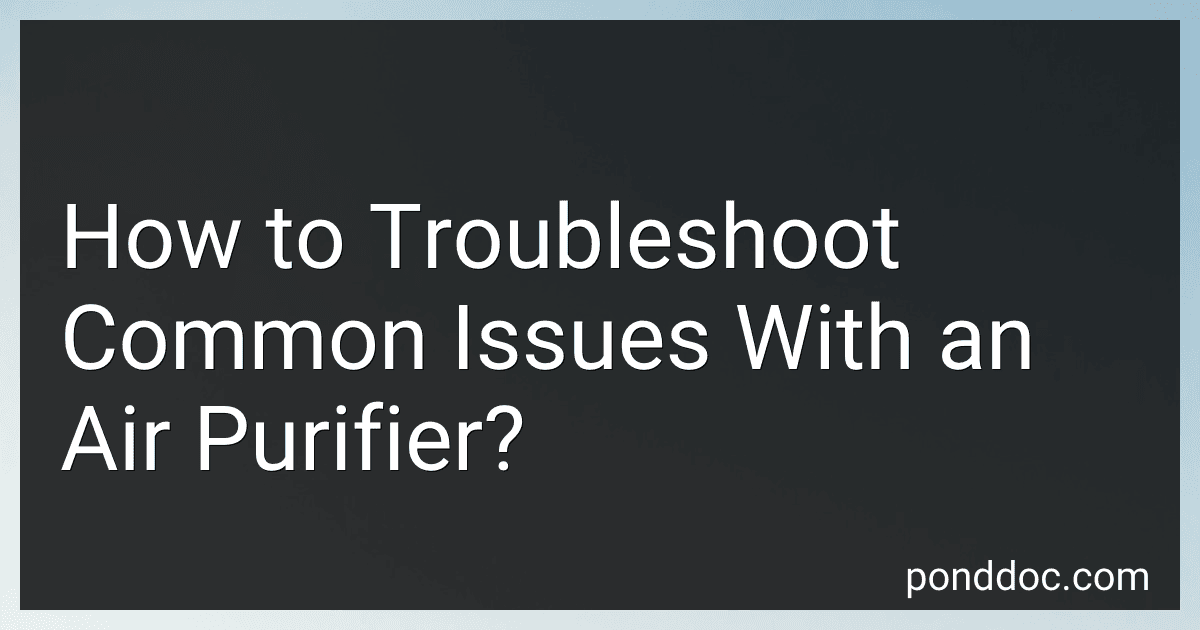
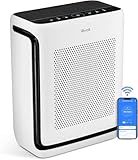
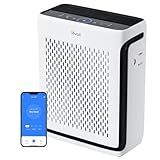
LEVOIT Air Purifier for Home Allergies Pet Hair in Bedroom, Covers Up to 1073 ft² by 56W High Torque Motor, AHAM VERIFIDE, 3-in-1 Filter with HEPA Sleep Mode, Remove Dust Smoke Odor, Core300-P, White
- AHAM VERIFIED: TRUSTED SEAL ENSURES EFFECTIVE AIR QUALITY IMPROVEMENT.
- HIGH PERFORMANCE: CLEANS LARGE ROOMS SWIFTLY WITH 143 CFM CADR RATING.
- WHISPER-QUIET: SLEEP MODE OPERATES AT JUST 24DB FOR UNDISTURBED NIGHTS.


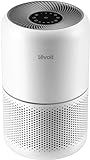
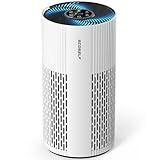
LEVOIT Air Purifiers for Bedroom Home Dorm, 3-in-1 Filter Cleaner with Fragrance Sponge for Better Sleep, Filters Smoke, Allergies, Pet Dander, Odor, Dust, Office, Desktop, Core Mini-P, White
-
ELIMINATE ALLERGENS EFFECTIVELY: CAPTURE LINT, HAIR, AND SMOKE PARTICLES.
-
BREATHE FRESH AIR: ACTIVATED CARBON FILTER NEUTRALIZES ODORS AND FUMES.
-
VERSATILE USE ANYWHERE: IDEAL FOR HOME, OFFICE, WITH CALMING AROMATHERAPY.
Coway Airmega AP-1512HH(W) True HEPA Purifier with Air Quality Monitoring, Auto, Timer, Filter Indicator, and Eco Mode, 16.8 x 18.3 x 9.7, White
- 4-STAGE FILTRATION CAPTURES 99.97% OF AIRBORNE ALLERGENS AND POLLUTANTS.
- REAL-TIME POLLUTION SENSOR WITH LED DISPLAY ENSURES OPTIMAL AIR QUALITY.
- QUIET OPERATION AND ENERGY-SAVING ECO MODE FOR EFFICIENT AIR PURIFICATION.
LEVOIT Air Purifiers for Home Large Room Up to 1875 Ft² with Washable Pre-Filter, AHAM VERIFIDE, Air Quality Monitor, HEPA Sleep Mode for Allergies, Pet Hair in Bedroom, Vital 200S-P, White
-
AHAM CERTIFIED: TRUSTWORTHY AIR PURIFICATION FOR YOUR HOME.
-
ALLERGY-FRIENDLY: CAPTURES ALLERGENS FOR CLEANER INDOOR AIR.
-
SMART CONTROL: MANAGE SETTINGS EASILY WITH THE VESYNC APP!
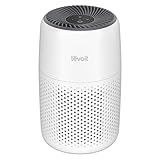
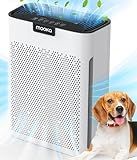
Air Purifiers for Home Large Room Cover Up to 1500 Ft² with True HEPA Filter, 20dB Sleep Mode, 360° Air Intake & Outlet, Air Cleaner for Bedroom Pets, 7 Color Light, HAP604, Bright White
- RAPID PURIFICATION FOR LARGE SPACES: REFRESH AIR 5X PER HOUR IN 300 FT².
- ADVANCED HEPA FILTRATION: 99.97% EFFICIENT AT CAPTURING 0.3ΜM PARTICLES.
- WHISPER-QUIET OPERATION: ENJOY SERENE SLEEP WITH ULTRA-LOW 20DB NOISE.
BLUEAIR Air Purifiers for Large Rooms, Cleans 3,048 Sqft In One Hour, HEPASilent Smart Air Cleaner For Home, Pets, Allergies, Virus, Dust, Mold, Smoke - Blue Pure 211i Max
- FASTER CLEAN & QUIETER OPERATION: UP TO 83% FASTER, 50% LESS NOISE!
- ADVANCED FILTRATION: CAPTURES 99.97% OF AIRBORNE PARTICLES EFFORTLESSLY.
- SMART & EASY CONTROL: SCHEDULE, MONITOR, AND CONTROL VIA APP OR ALEXA!

WINIX 5510 Air Purifier (New Generation of 5500-2 with App Support) for Home Large Room Up to 1881 Ft² in 1 Hr, True HEPA, High Deodorization Carbon Filter and Auto Mode, Captures Pet Allergies, Smoke
- CLEANS LARGE AREAS QUICKLY: 1,881 SQ FT IN JUST 1 HOUR!
- CAPTURES 99.99% ALLERGENS: ENSURES FRESH AIR FOR YOUR HOME.
- ADVANCED ODOR CONTROL: ELIMINATES SMOKE, COOKING, AND PET SMELLS.
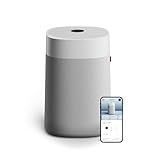
Air Purifiers for Home Large Room 2200 Ft² with Washable Filters, MOOKA HEPA Filter Pet Air Purifier for Bedroom with Fragrance, Air Cleaner for Smoke Dust Pollen Pets Hair Odor, KJ190L White
-
POWERFUL COVERAGE: CLEANS UP TO 2200 FT² PER HOUR-PERFECT FOR PET OWNERS!
-
EFFICIENT FILTRATION: WASHABLE 3-STAGE FILTER TRAPS 0.3-MICRON PARTICLES.
-
QUIET SLEEP MODE: OPERATES AT JUST 20DB FOR UNDISTURBED RESTFUL NIGHTS.
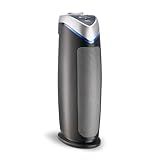
GermGuardian 4-In-1 HEPA Air Purifier for Home, Large Rooms Up To 743 Sq. Ft. with HEPA Air Filter, UV-C Light & Odor Reduction, AC4825E, 22" Tower, Gray
- CAPTURES 99.97% OF ALLERGENS FOR CLEANER, FRESHER AIR!
- CIRCULATES AIR 4.8X PER HOUR FOR OPTIMAL ROOM FILTRATION.
- DESIGNED IN THE USA, CERTIFIED FOR SAFETY AND EFFECTIVENESS.
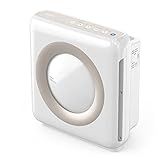
LEVOIT Air Purifier for Home Large Room Up to 1073Ft² with Air Quality Monitor, AHAM VERIFIDE, Smart WiFi, Washable Pre-Filter, HEPA Sleep Mode for Pets, Allergies, Dust, Pollen, Vital 100S-P, White
-
AHAM VERIFIED: TRUSTED, INDEPENDENTLY TESTED FOR TOP AIR QUALITY PERFORMANCE.
-
PET-FRIENDLY MODES: EFFECTIVELY TRAPS FUR WHILE CONSERVING ENERGY.
-
SMART CONTROL: EASILY MANAGE SETTINGS, SCHEDULES, AND FILTERS VIA APP.
Troubleshooting common issues with an air purifier can help you identify and fix the problem without the need for professional assistance. Here are some steps you can follow:
- No Power: If your air purifier is not turning on, check if it is properly plugged into a power source. Ensure that the power outlet is working by testing it with another device. If the outlet is fine, inspect the power cord of the air purifier for any damage. If the cord is damaged, it may need to be replaced.
- Filter Issues: The filter in an air purifier plays a crucial role in air purification. If you notice a decrease in air quality or weak airflow, the filter may be clogged. Refer to the user manual and locate the filter. Remove it and check for buildup or debris. Clean or replace the filter as necessary.
- Strange Noises: Unusual noises coming from the air purifier might indicate a problem. First, check if any foreign objects have accidentally fallen into the unit and remove them. Inspect the fan for any obstructions. If the noise persists, it could indicate an issue with the motor or other internal components, requiring professional attention.
- Odor Issues: If your air purifier is emitting unpleasant odors, it could be due to a dirty filter or a buildup of dust, pet dander, or other contaminants. Clean or replace the filter following the manufacturer's instructions. Clean the outer casing of the unit with a damp cloth as well.
- Inadequate Performance: If you feel that your air purifier is not effectively cleaning the air, make sure it is placed in an appropriate location. Check if the unit is the correct size for the room as per the manufacturer's recommendations. Ensure that doors and windows are closed when the air purifier is in use, and avoid placing it near potential sources of pollution.
- Indicator Lights: Many air purifiers have indicator lights to show when filters need cleaning or replacement. If these lights are blinking or indicating an issue, consult the user manual to understand what the specific light pattern means. Follow the recommended actions accordingly.
Remember to always refer to the user manual that comes with your specific air purifier model for accurate troubleshooting instructions. If the problem persists or requires technical expertise, contact the manufacturer's customer support or seek assistance from a professional.
How to troubleshoot an air purifier with a blinking light?
If your air purifier's light is blinking, it generally indicates an issue that needs troubleshooting. Here are steps you can follow:
- Check the user manual: Review the manual that came with your air purifier. It may contain specific troubleshooting steps for blinking lights and error codes.
- Reset the air purifier: Often, a blinking light can be resolved by resetting the device. Unplug it from the power source, wait for a few minutes, and then plug it back in.
- Check the filter: A dirty or clogged filter can cause a blinking light. Remove the filter according to the instructions in the manual, and inspect it for debris or excessive dirt buildup. Clean or replace the filter if necessary.
- Clean the unit: Dust and debris can interfere with the functioning of an air purifier. Open the unit and carefully clean the internal components using a soft cloth or brush. Pay attention to any sensors or areas that may be obstructed.
- Check for blockages: Ensure that there are no blockages in the air intake or outlet vents of the purifier. Clear away any dirt, dust, or objects obstructing the airflow.
- Reset the indicator light: Some air purifiers have a diagnostic feature that activates the blinking light to indicate when the filter needs replacing. After cleaning or replacing the filter, look for a reset button or switch to turn off the blinking light.
- Contact customer support: If you have exhausted all troubleshooting steps and the blinking light persists, consider reaching out to the manufacturer's customer support. They can assist you in resolving the issue or provide guidance on next steps, including repairs or replacements.
Remember to always prioritize your safety while troubleshooting. Follow the specific safety instructions provided with your air purifier to avoid any accidents or electrical hazards.
What is the purpose of a pre-filter in an air purifier?
The purpose of a pre-filter in an air purifier is to capture large particles and coarse contaminants present in the air before they reach the main filter. These particles typically include dust, pet hair, lint, and other visible impurities. By trapping these larger particles, the pre-filter helps to increase the lifespan and efficiency of the main filter, as it doesn't have to deal with larger debris that could clog or prematurely block it. Additionally, the pre-filter helps to improve the overall air purification process by enhancing the overall air quality and ensuring that the subsequent filtration stages can focus on removing smaller and more harmful particles such as allergens, bacteria, viruses, and odors.
How to troubleshoot an air purifier with a clogged filter?
If you have an air purifier with a clogged filter, you can follow these troubleshooting steps to address the issue:
- Check the filter indicator: Many air purifiers have built-in filter indicators that notify you when the filter needs to be cleaned or replaced. Check if the indicator light is on or consult the product manual to see if there is any indication of a clogged filter.
- Power cycle the purifier: Turn off and unplug the air purifier from the power source. Wait for a few minutes before plugging it back in and turning it on. Sometimes, a power cycle can reset the device and resolve minor issues.
- Remove and inspect the filter: Consult the product manual to locate the filter and understand the proper way to remove it. Take out the filter and visually inspect it for any visible dirt, dust, or blockage. If it's visibly dirty or clogged, it's time to clean or replace the filter.
- Clean or replace the filter: Depending on the type of air purifier and filter, you may have the option to clean or replace it. If the filter is washable, clean it according to the manufacturer's instructions. If it's not washable, you will need to purchase a new filter and replace the clogged one.
- Clean the purifier's internals: While the filter is removed, use a dry cloth or brush to gently dust off any accumulated dirt or debris inside the air purifier. Pay attention to the fan blades, vents, and other parts that may have collected dust over time.
- Reset the filter indicator: If the air purifier has a filter indicator light, follow the steps in the product manual to reset it after cleaning or replacing the filter. This will ensure the indicator accurately reflects the filter's cleanliness going forward.
- Monitor performance: Once you've addressed the clogged filter, observe the air purifier's performance. Pay attention to the air quality, airflow, and any unusual sounds or odors. If you still encounter issues, it may be necessary to contact the manufacturer's customer support for further assistance or consider professional maintenance.
How to troubleshoot an air purifier with excessive vibration?
If your air purifier is vibrating excessively, here are a few troubleshooting steps you can follow:
- Check for loose components or filters: Start by ensuring that all the components, including filters and panels, are securely in place. Sometimes, loose parts can cause vibrations.
- Clean the air purifier: Over time, dust and debris can accumulate on the fan or motor, leading to imbalances and vibrations. Turn off the device, unplug it from the power source, and gently clean the fan and motor with a soft brush or cloth.
- Verify the fan blades: Damaged or out-of-balance fan blades can cause excessive vibrations. Carefully inspect the blades for any cracks or deformities. If you find any issues, consult the manufacturer's manual or contact customer support for guidance on replacing or correcting the fan blade balance.
- Ensure a stable surface: Make sure the air purifier is placed on a stable and level surface. If it is placed on an uneven or unstable surface, it can cause vibrations. Consider moving the purifier to a more stable area or use rubber pads or mats to absorb vibrations.
- Check for motor issues: If the motor is malfunctioning or not functioning optimally, it can result in excessive vibrations. In such cases, reach out to the manufacturer's customer support for advice on repairing or replacing the motor.
- Replace worn-out filters: Clogged or worn-out filters can restrict airflow and cause the motor to work harder, leading to vibrations. Follow the manufacturer's instructions to replace the filters regularly.
- Reduce fan speed: Some air purifiers have adjustable fan speeds. Lowering the fan speed can help reduce vibrations, but it may also affect the air purifying efficiency. Find a balance that suits your needs.
- Seek professional help: If none of the above steps resolves the excessive vibration issue, it may be best to contact the manufacturer's customer support or a professional technician for further assistance or to request a warranty claim if applicable.
Remember, always refer to the manufacturer's manual for specific troubleshooting instructions and safety precautions based on your air purifier model.
How to troubleshoot an air purifier that's not eliminating cigarette smoke?
If your air purifier is not effectively eliminating cigarette smoke, there are a few troubleshooting steps you can take to improve its performance. Here are some suggestions:
- Check the filter: Ensure the filters in your air purifier are clean and properly installed. Over time, filters can become clogged with particles and contaminants, hindering their effectiveness. Follow the manufacturer's instructions to clean or replace the filters as needed.
- Increase the fan speed or adjust settings: Some air purifiers have adjustable fan speeds or different operation modes. If the purifier is not eliminating smoke efficiently, try increasing the fan speed or activating a higher intensity mode. This will enhance the airflow and allow more smoke to be captured and filtered.
- Close windows and doors: Make sure all windows and doors in the room where the air purifier is located are closed. Keeping the room sealed will prevent external smoke from entering and allow the purifier to focus solely on the indoor air quality.
- Give it time: If you have recently started using your air purifier, or if there is excessive smoke in the environment, it may take some time for it to purify the air completely. Give the air purifier a few hours to continuously circulate and filter the air in the room.
- Position the purifier correctly: Ensure that the air purifier is placed in an optimal location. It should be positioned in the room to maximize its air intake. Place it away from obstructions like furniture or walls, as this can limit proper air circulation.
- Consider the size and capacity: Verify that your air purifier is suitable for the room size and capacity it needs to handle. Different purifiers have different coverage areas, and using an underpowered purifier in a large room may not effectively eliminate smoke. Refer to the manufacturer's recommendations for the appropriate purifier size in relation to the room area.
- Clean the air sensor: Some air purifiers have built-in air quality sensors that can become dirty or clogged. Clean the sensor according to the manufacturer's instructions, as a dirty sensor could affect the purifier's performance.
- Replace or upgrade the purifier: If you have exhausted all troubleshooting options and your air purifier is still ineffective against cigarette smoke, it may be time to consider upgrading to a more powerful model or investing in a purifier specifically designed for smoke removal.
Remember to consult your air purifier's user manual for specific troubleshooting steps and recommendations, as different models may have unique features or requirements.