Best Air Purifier Modes to Buy in July 2026
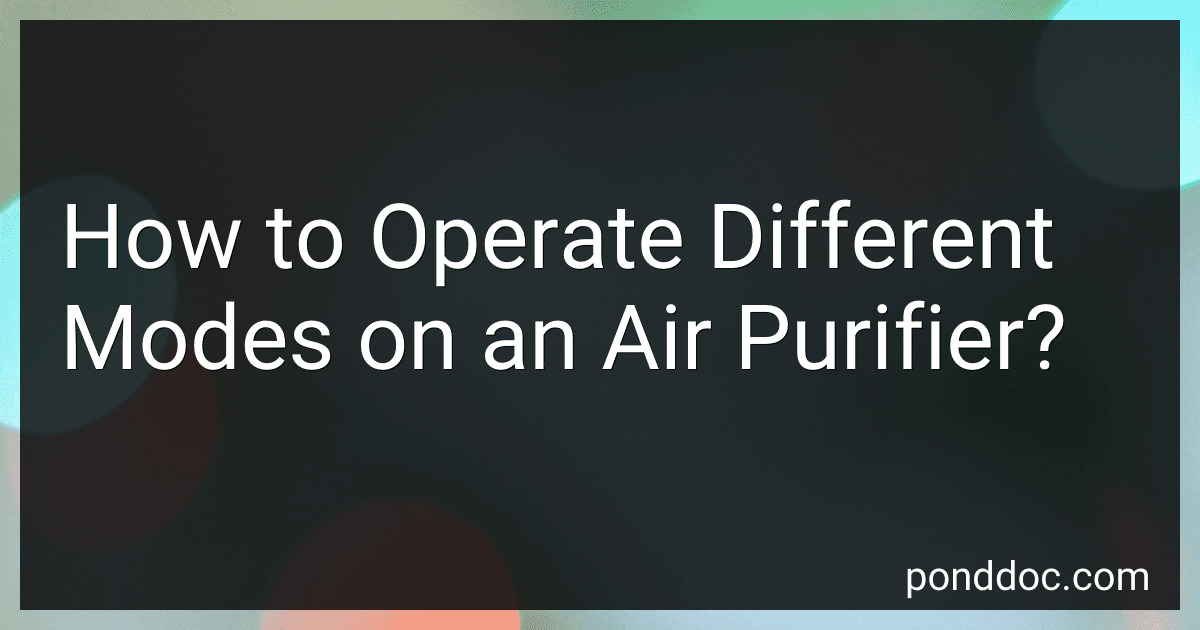
LEVOIT Air Purifier for Home Allergies Pet Hair in Bedroom, Covers Up to 1073 ft² by 56W High Torque Motor, AHAM VERIFIDE, 3-in-1 Filter with HEPA Sleep Mode, Remove Dust Smoke Odor, Core300-P, White
- AHAM VERIFIED FOR TRUSTED, RELIABLE AIR QUALITY ASSURANCE.
- POWERFUL 56W MOTOR CLEANS LARGE ROOMS QUICKLY AND EFFECTIVELY.
- WHISPER-QUIET SLEEP MODE FOR UNDISTURBED REST ALL NIGHT LONG.


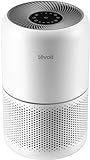
LEVOIT Air Purifiers for Bedroom Home Dorm, 3-in-1 Filter Cleaner with Fragrance Sponge for Better Sleep, Filters Smoke, Allergies, Pet Dander, Odor, Dust, Office, Desktop, Core Mini-P, White
- CAPTURES POLLUTANTS FOR A CLEANER HOME ENVIRONMENT.
- NEUTRALIZES ODORS FOR FRESHNESS AND COMFORT.
- PORTABLE DESIGN FITS SEAMLESSLY IN ANY SPACE.

Coway Airmega AP-1512HH(W) True HEPA Purifier with Air Quality Monitoring, Auto, Timer, Filter Indicator, and Eco Mode, 16.8 x 18.3 x 9.7, White
-
REAL-TIME AIR QUALITY MONITORING WITH BRIGHT LED FOR INSTANT FEEDBACK.
-
4-STAGE FILTRATION CAPTURES 99.97% OF ALLERGENS AND POLLUTANTS.
-
ENERGY-SAVING ECO MODE AND QUIET OPERATION FOR PEACEFUL LIVING.

LEVOIT Air Purifiers for Home Large Room Up to 1875 Ft² with Washable Pre-Filter, AHAM VERIFIDE, Air Quality Monitor, HEPA Sleep Mode for Allergies, Pet Hair in Bedroom, Vital 200S-P, White
-
AHAM VERIFIED: TRUSTED AIR PURIFICATION FOR HEALTHIER HOMES!
-
POWERFUL FOR LARGE ROOMS: CLEANS UP TO 1875 SQ FT EFFICIENTLY!
-
SMART CONTROL: EASILY MANAGE WITH THE VESYNC APP ANYTIME!

Air Purifiers for Home Large Room Cover Up to 1500 Ft² with True HEPA Filter, 20dB Sleep Mode, 360° Air Intake & Outlet, Air Cleaner for Bedroom Pets, 7 Color Light, HAP604, Bright White
-
RAPID 5X AIR REFRESH IN LARGE ROOMS (1500 FT²) WITH 360° AIRFLOW!
-
99.97% PURE AIR WITH PREMIUM H13 HEPA 3-STAGE FILTRATION SYSTEM.
-
WHISPER-QUIET AT 20DB: ENJOY SLEEP WHILE AIR PURIFIES!

BLUEAIR Air Purifiers for Large Rooms, Cleans 3,048 Sqft In One Hour, HEPASilent Smart Air Cleaner For Home, Pets, Allergies, Virus, Dust, Mold, Smoke - Blue Pure 211i Max
- FASTER CLEANING, LESS NOISE: UP TO 83% QUICKER, 50% QUIETER OPERATION!
- SMART & EASY CONTROL: APP MONITORING, GEOFENCING & VOICE CONTROL!
- 99.97% PARTICLE REMOVAL: CAPTURES VIRUSES, ALLERGENS, AND ODORS EFFICIENTLY!
WINIX 5510 Air Purifier (New Generation of 5500-2 with App Support) for Home Large Room Up to 1881 Ft² in 1 Hr, True HEPA, High Deodorization Carbon Filter and Auto Mode, Captures Pet Allergies, Smoke
- CLEAN UP TO 1,881 SQ FT IN AN HOUR-FAST AND EFFICIENT AIR PURIFICATION.
- TRUE HEPA FILTERS CAPTURE 99.99% OF ALLERGENS FOR HEALTHIER AIR QUALITY.
- ADVANCED CARBON FILTER REDUCES ODORS AND PROLONGS HEPA FILTER LIFE.
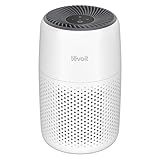
Air Purifiers for Home Large Room 2200 Ft² with Washable Filters, MOOKA HEPA Filter Pet Air Purifier for Bedroom with Fragrance, Air Cleaner for Smoke Dust Pollen Pets Hair Odor, KJ190L White
- EFFICIENT PET AIR PURIFICATION: CLEANS UP TO 2200 FT²/HOUR!
- WASHABLE & LONG-LASTING FILTER: SAVE MONEY WITH EASY MAINTENANCE.
- WHISPER QUIET SLEEP MODE: ENJOY PEACEFUL NIGHTS AT JUST 20DB!
Operating different modes on an air purifier involves adjusting the settings and functions to suit your specific needs. Here's a description of how to operate various modes on an air purifier:
- Auto Mode: This mode allows the air purifier to automatically adjust its fan speed and operation based on the air quality it detects. It constantly monitors the air quality and increases or decreases the fan speed accordingly. In auto mode, the air purifier will work harder when it detects higher levels of pollutants in the air and reduce its operation when the air quality improves.
- Manual Mode: In manual mode, you have control over the fan speed and other settings. You can typically choose from different fan speed options, such as low, medium, and high, based on your preferences. Adjusting the fan speed allows you to control the airflow and filtration efficiency. Higher fan speeds typically result in faster air purification but can be noisier.
- Sleep Mode: Sleep mode is designed to operate the air purifier quietly while you sleep. In this mode, the fan speed is typically reduced to the lowest level to create minimal noise disturbance. The lights on the air purifier may also dim or turn off entirely, ensuring a calm sleeping environment. Sleep mode maintains adequate air purification without disturbing your sleep.
- Turbo Mode: Turbo mode is a high-powered setting that increases the fan speed and maximizes the air purifier's filtration effectiveness. It is useful when you need quick air purification or when you know there is a high level of pollutants in the air. However, turbo mode can be louder due to the increased fan speed.
- Timer Mode: Many air purifiers come with a timer function, allowing you to set a specific operating time. This feature is helpful if you want the purifier to run for a certain duration, such as while you're away or only during specific hours of the day. You can set the timer for a few hours or even schedule it to operate for an extended period.
It's important to read the instruction manual provided by the manufacturer for your specific air purifier model. This will give you a detailed understanding of the different modes available and their specific operating procedures.
How to activate the bacteria and virus elimination mode on an air purifier?
To activate the bacteria and virus elimination mode on an air purifier, follow these general steps:
- Read the user manual: Familiarize yourself with the specific instructions provided by the manufacturer. This will ensure you understand the features and functions of your particular air purifier.
- Locate the control panel: Identify the control panel or interface on your air purifier. It may consist of buttons, knobs, or a touch-screen display.
- Power on the air purifier: Connect the air purifier to a power source and switch it on using the power button or switch. Ensure it is connected properly and that it has a functional power supply.
- Select the mode: Look for a mode selection button or option on the control panel. It may be labeled as "Mode," "Settings," or by specific names like "Bacteria/Virus Elimination" or "Sterilization Mode."
- Choose the bacteria and virus elimination mode: Press the designated button or navigate through the options to select the mode that targets bacteria and viruses. The mode may be indicated by an icon or name on the display.
- Adjust settings (if required): Some air purifiers allow you to further customize the bacteria and virus elimination mode. You may be able to adjust the intensity, fan speed, or duration of this mode. Refer to the user manual for specific instructions.
- Confirm and activate: Once you have selected the appropriate mode and adjusted any desired settings, confirm your selection and activate it by pressing the corresponding button or option.
- Monitor and evaluate: Observe the air purifier to ensure it is functioning properly in bacteria and virus elimination mode. Check the display for any notifications or indicators related to this mode.
Note: The exact method of activating bacteria and virus elimination mode may vary depending on the model and brand of your air purifier. Always consult the user manual or manufacturer's instructions for accurate and specific guidance.
How to operate the ionizer function on an air purifier?
The operation of the ionizer function on an air purifier may vary based on the model and brand, but here is a general guide:
- Locate the ionizer control: On the control panel of the air purifier, look for a button or switch labeled "Ionizer" or "Negative Ion Generator." It may be a separate button or integrated into the main power switch.
- Turn on the ionizer: Press the ionizer button or switch to activate the function. This will start the emission of negative ions into the air.
- Understand the ionizer indicator: Some air purifiers have an indicator light that shows whether the ionizer is active. The light may turn on or change color when the ionizer is turned on.
- Adjust ionizer settings (if applicable): Depending on the model, you might have control over the intensity or duration of the ionizer function. Check if the air purifier has different speed settings or timer options for the ionizer, and adjust them according to your preference.
- Note safety precautions: Ionizers emit charged particles into the air, which may settle on surfaces. It's important to regularly clean the air purifier and nearby surfaces to prevent a build-up of these particles. Additionally, if you have respiratory conditions or sensitivities, it's advisable to ensure the ionizer doesn't aggravate your symptoms. Refer to the manufacturer's instructions and safety recommendations for further details.
Remember, if you're uncertain about operating the ionizer function on your specific air purifier model, consult the user manual provided by the manufacturer for accurate instructions and guidelines.
How to operate the auto-off feature on an air purifier?
To operate the auto-off feature on an air purifier, you will typically need to follow these steps:
- Locate the control panel: Find the control panel of your air purifier. It is usually located on the front or top of the unit.
- Identify the auto-off option: Look for the auto-off or sleep mode option on the control panel. It may be represented by a moon or sleep icon, or the label "Auto-off."
- Press the button: Once you've found the auto-off option, press the button. This will activate the feature.
- Set the duration: Some air purifiers allow you to set the duration of the auto-off feature. If applicable, use the designated buttons to select the desired time, such as 1 hour, 2 hours, or more. If there is no duration setting, the purifier will usually turn off automatically after a certain period of inactivity.
- Confirm the setting: After setting the auto-off duration, confirm the setting by pressing the appropriate button or following any on-screen prompts if applicable. The display or indicator lights should show that the auto-off feature is activated.
- Monitor the air purifier: Once the auto-off mode is enabled, the air purifier will operate normally for the set duration. After that time elapses, the unit will shut off automatically. You can also manually turn it on again if needed.
Remember to consult your air purifier's user manual for specific instructions as different models may have variations in their operation.
How to use the timer function on an air purifier?
To use the timer function on an air purifier, follow these steps:
- Locate the control panel or remote control of your air purifier. Most modern air purifiers come with a built-in timer function that can be accessed either through the control panel or a dedicated button on the remote.
- Press the timer button or navigate to the timer option on the control panel or remote. It is often represented by a clock or a timer icon.
- Set the desired time duration you want the air purifier to run. This can usually be done by pressing the "+" or "-" buttons or by using the arrow keys to increase or decrease the timer interval. Some air purifiers might offer pre-set timer options, such as 1 hour, 2 hours, 4 hours, etc., which can be selected directly.
- Once you have set the desired time duration, press the "Start" or "On" button to activate the timer. The air purifier will now operate for the specified time period before automatically turning off.
- If you want to cancel or change the timer settings, you can typically do so by accessing the timer function again and adjusting or turning off the timer as needed.
Remember that the timer function allows you to set a specific amount of time for the air purifier to operate, helping you conserve energy and ensuring its operation when needed.
How to activate the auto mode on an air purifier?
The process of activating the auto mode on an air purifier varies depending on the specific model and brand. However, here are general steps that may help you activate the auto mode on most air purifiers:
- Locate the control panel: Look for the control panel or display screen on your air purifier. It is usually found on the front or top of the unit.
- Power on: Turn on the air purifier by pressing the power button. The unit should boot up and display various modes or options.
- Select auto mode: Look for the auto mode option on the control panel. This mode may be labeled as "Auto," "Smart," or indicated by a symbol representing automatic operation.
- Press the auto mode button: Once you find the auto mode option, press the corresponding button to activate it. The control panel display may change to reflect that the purifier is now in auto mode.
- Adjust settings (optional): Some air purifiers allow you to customize the auto mode settings. Look for additional buttons or options that let you adjust factors such as fan speed, sensitivity to air quality, or timer settings. Follow the manufacturer's instructions to make any desired adjustments.
- Monitor and let it function: Once the auto mode is activated, your air purifier will automatically adjust its purification levels based on the air quality in the room. It will typically monitor the air quality through sensors and make necessary adjustments to maintain clean and healthy air.
It's important to consult the user manual specific to your air purifier model for detailed instructions on activating the auto mode, as some models may have different buttons or settings.