Best Garden Systems to Buy in July 2026
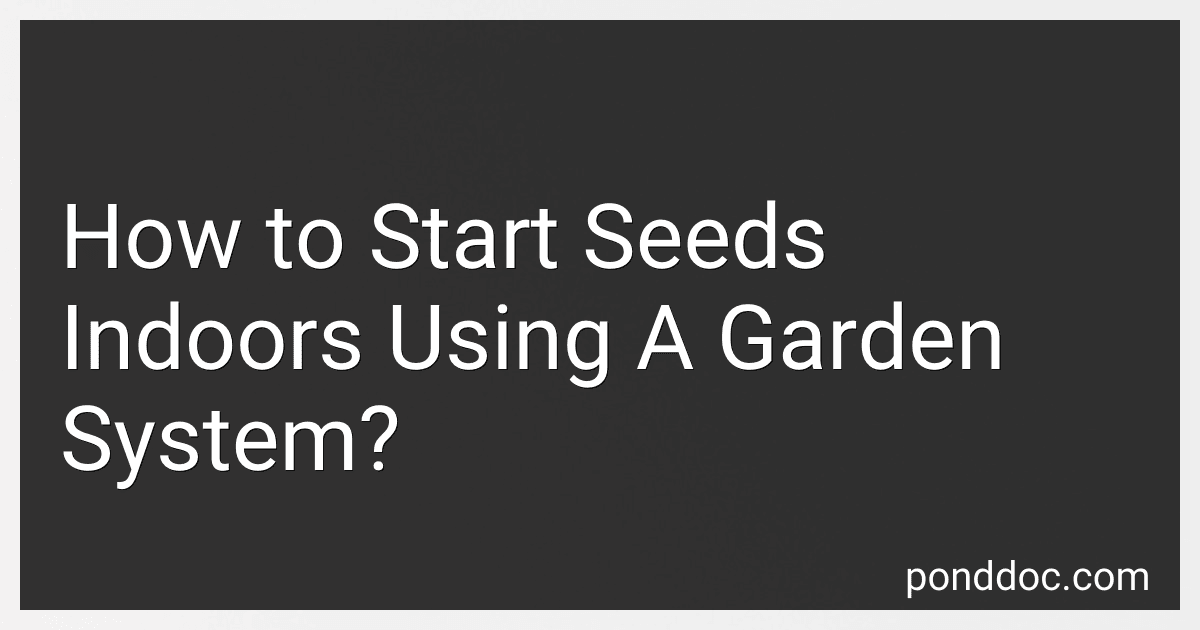
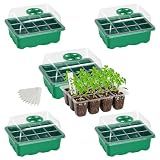
BlumWay Seed Starter Tray with Grow Light,2 Pack 80 Cells Seedling Tray Kit with Humidity Dome/Indoor Plant Starter Kit, Adjustable Brightness Plant Germination Trays-Green
-
VIBRANT GROWTH: 360° SPECTRUM AND 4 GROW LIGHTS BOOST SEEDLING HEALTH.
-
CUSTOMIZABLE CONTROL: 3 LIGHTING MODES & 3 TIMING OPTIONS FOR OPTIMAL GROWTH.
-
DURABLE DESIGN: LIGHTWEIGHT, CLEAR TRAYS ARE EASY TO CLEAN AND REUSABLE.


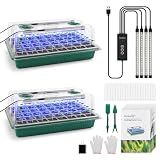
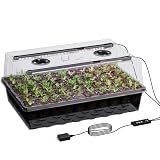
SOLIGT 60 Cell Seed Starter Kit with Grow Light and Heat Mat, Seed Starter Tray with Higher 4.3” Humidity Dome, Flexible Light Positioning for Seed Starting & Seedling Growth
-
ALL-IN-ONE KIT: EVERYTHING NEEDED FOR SUCCESSFUL SEED STARTING INDOORS.
-
RELIABLE HEAT MAT: ENSURES EVEN WARMTH FOR FAST, HEALTHY GERMINATION.
-
CUSTOMIZABLE GROW LIGHT: 5 BRIGHTNESS LEVELS AND FLEXIBLE DESIGN FOR GROWTH.
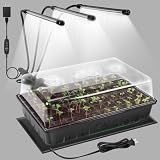
Bonviee 5 Packs Seed Starter Tray with Grow Light, Elevated Seedling Starter Trays Kits with Adjustable Humidity Domes and Clear Cell Tray, 12 Full Spectrum led lamp Beads for Plants Indoor-Clear
-
🌞 FULL SPECTRUM LED MIMICS SUNLIGHT FOR FASTER PLANT GROWTH.
-
🌼 ELEVATED LID DESIGN FOSTERS GROWTH FOR A WIDE VARIETY OF PLANTS.
-
♻️ STURDY, REUSABLE PVC TRAYS ENSURE DURABILITY AND LONG-TERM USE.
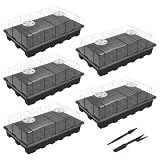
Bonviee 5-Pack Seed Starter Trays, Humidity Dome, Base, 12-Cell Tray, Green
-
OBSERVE GROWTH EASILY: CLEAR TRAYS LET YOU MONITOR PLANTS WITHOUT DISRUPTION.
-
CONTROL GERMINATION: ADJUSTABLE VENTS ENSURE OPTIMAL TEMPERATURE & HUMIDITY.
-
DURABLE & VERSATILE: STRONG ENOUGH FOR HEAT MATS; IDEAL FOR LARGE SEEDS.
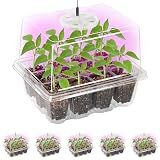
Patigrow 60-Cell Self-Watering Seed Starter Tray with Grow Light, Seed Starter Kit with 4.07” Humidity Dome, Indoor Seedling Starter Tray, Seed Starting Trays for Plant Germination, Seeds Growing
- OPTIMIZED GROWTH: 56 LED BEADS MIMIC SUNLIGHT FOR THRIVING PLANTS.
- HASSLE-FREE GARDENING: SELF-WATERING SYSTEM ENSURES MOISTURE CONSISTENCY.
- DURABLE DESIGN: HIGH-DENSITY MATERIALS GUARANTEE LONGEVITY AND RELIABILITY.
Gardzen 5-Set Seed Starter Tray Kits, Durable Plant Germination Trays with Humidity Vented Domes and Bases, Ideal for Seed Starting, Indoor Gardening, and Greenhouse (Total 200 Cells)
- ADJUSTABLE VENTILATION FOR OPTIMAL SEED GROWTH!
- DURABLE, HIGH-QUALITY MATERIAL ENSURES LONGEVITY!
- 40-CELL CAPACITY FOR AMPLE SEED SPROUTING SPACE!
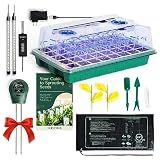
GROWFRIEND Seed Starter Kit with Grow Lights & Heat Mat – 40-Cell Seed Starter Tray, Humidity Dome, Soil Moisture Meter & Sticky Gnat Traps – Indoor Greenhouse & Plant Propagation Station
- 🌟 COMPLETE KIT: GROW HERBS, FLOWERS & VEGGIES FROM YOUR WINDOWSILL!
- 🌱 LED LIGHTS & HEAT MAT ENSURE FAST GROWTH FOR THRIVING PLANTS!
- 🎁 IDEAL GIFT FOR ANY GARDENER-PERFECT FOR BEGINNERS & PROS ALIKE!

joyhalo 40 Cell Seed Starter Kit with Grow Light and Heating Mat
-
ACCELERATE GERMINATION WITH OUR FAST-HEATING GRAPHENE MAT.
-
ENHANCE GROWTH USING FULL-SPECTRUM LIGHTS WITH 3 MODES.
-
MONITOR SEEDLINGS EASILY WITH DURABLE, CLEAR, REUSABLE TRAYS.
Starting seeds indoors using a garden system is a popular approach to give your plants an early head start before you transplant them into your outdoor garden. It allows you to control the growing conditions and ensures a successful germination process. Here's a step-by-step guide on how to start seeds indoors using a garden system:
- Select your garden system: Choose a garden system that suits your needs. There are various options available, such as seed-starting trays, peat pellets, or planting cells. Each system has its own advantages, so select the one that works best for you.
- Prepare the containers: Before sowing the seeds, clean and sterilize the containers to prevent any diseases or pathogens from affecting your seeds. This can be done by washing them with hot soapy water or using a mild bleach solution.
- Fill the containers with seed-starting mix: Use a good quality seed-starting mix, which provides adequate drainage and nutrients for your seeds. Fill each container with the mix, leaving a small gap at the top.
- Moisten the soil: Gently moisten the soil in your containers, ensuring that it is evenly damp but not soaking wet. Excess water can lead to rot or mold issues.
- Sow the seeds: Follow the instructions on the seed packet for the recommended depth and spacing. Make small holes in the soil, place the seeds inside, and cover them gently with more soil.
- Label the containers: It's essential to label each container with the plant variety and the date of sowing. This helps you keep track of your plants' progress and identify them correctly.
- Provide light and warmth: Place the containers in a location that receives ample sunlight or use grow lights if natural light is limited. Seeds generally require temperatures between 60-75°F (15-24°C) to germinate, so ensure the environment is warm enough.
- Water regularly: Keep the soil evenly moist but not waterlogged. Use a spray bottle to mist the soil or water gently from the bottom to avoid disturbing the seeds.
- Monitor and provide care: Regularly check the containers for any signs of growth or issues like pests or diseases. If overcrowding occurs, thin out the weaker seedlings to give the stronger ones room to grow.
- Harden off seedlings: Once the seedlings have reached a suitable size, gradually expose them to outdoor conditions to acclimate them. Start with a few hours outside in a sheltered area and gradually increase the time and exposure over a week or two before transplanting.
Remember to follow specific instructions for each plant variety, as they may have specific requirements or timelines. Starting seeds indoors using a garden system is an exciting way to begin your gardening journey while giving your plants the best chance to thrive once they are transplanted outdoors.
What is the role of light in starting seeds indoors?
Light plays a crucial role in starting seeds indoors. When starting seeds indoors, there might not be enough natural sunlight available for the seeds to properly germinate and grow. Inadequate light can lead to weak and leggy seedlings.
Light is essential for the process of photosynthesis, which is the main source of energy for plants. It helps in the production of chlorophyll, which is necessary for the conversion of light energy into chemical energy. Without sufficient light, the seedlings will have stunted growth, pale yellow leaves, and weak stems.
Moreover, light helps in regulating plant development and essential physiological processes. It influences the direction of growth, the formation of leaves, and the development of root systems. Proper light exposure also helps in ensuring the right balance of nutrients and encourages healthy root development.
Therefore, when starting seeds indoors, providing adequate light through grow lights or fluorescent lights is necessary to mimic natural sunlight and provide the seeds with the energy they need to grow strong and healthy.
How to avoid overwatering seedlings when using a garden system?
To avoid overwatering seedlings when using a garden system, consider the following tips:
- Understand the water requirements: Different types of plants have varying water needs. Research and understand how much water your particular seedlings require. It is often better to underwater than overwater seedlings initially.
- Use a well-draining growing medium: Ensure the soil or growing medium in your garden system has good drainage. This prevents water from accumulating at the bottom, which can lead to root rot and overwatering.
- Monitor moisture levels: Regularly check the moisture levels in the garden system. Stick your finger about an inch into the soil to determine if it is dry or damp. Only water the seedlings when the soil feels dry.
- Use watering techniques: Instead of heavy and direct watering, consider using gentler techniques such as misting or using a watering can with a fine nozzle. Avoid spraying water over the entire plant, as this can lead to excess moisture.
- Water at the right time: Water seedlings early in the morning so that excess moisture can evaporate during the day. This minimizes the risk of fungal diseases caused by wet leaves during the night.
- Create proper drainage: Make sure your garden system has appropriate drainage holes or cups to allow excess water to escape. This prevents the accumulation of water around the seedlings' roots.
- Consider self-watering systems: If using a garden system with an automated watering feature, ensure it has a smart sensor or timer that regulates the water supply. This will prevent overwatering by providing the right amount of water at the right time.
- Observe the seedlings closely: Watch for signs of overwatering, such as yellowing leaves, wilting, or a foul smell. Adjust your watering routine accordingly.
- Use mulch: Apply a layer of organic mulch around the seedlings. Mulch helps retain soil moisture and prevent excessive evaporation, reducing the need for frequent watering.
Remember that different plants have different water requirements, so it is crucial to research and understand the specific needs of your seedlings. Regular observation, adjusting watering practices, and providing appropriate drainage will help prevent overwatering and ensure healthy growth.
What is the importance of starting seeds indoors?
Starting seeds indoors is important for several reasons:
- Extended growing season: By starting seeds indoors, you give them a head start before the outdoor growing season begins. This allows plants to grow larger and become stronger before being transplanted outside. As a result, you can enjoy a longer growing season and potentially harvest earlier.
- Greater control over growing conditions: Indoor seed starting allows you to carefully control various environmental factors such as temperature, humidity, and lighting. This ensures an optimal growth environment for the seeds, promoting healthy germination and seedling development.
- Variety availability: Starting seeds indoors allows you to grow a wide variety of plants that may not be readily available or restricted to specific regions in seedling form. This gives you the flexibility to experiment with different crops, varieties, and hybrids that you may not find at local nurseries.
- Cost-effectiveness: Growing your own seedlings from seeds is generally more cost-effective compared to purchasing established plants from nurseries. It is a cheaper alternative, especially when growing a large number of plants for a garden or farm.
- Customization and personalization: Starting seeds indoors allows you to customize and personalize your garden by choosing specific cultivars, heirloom varieties, or unique plants that suit your preference and needs. This level of customization may not be readily available when buying pre-grown plants.
- Education and involvement: Starting seeds indoors can be a great educational activity, especially for kids. It provides an opportunity to learn about plant life cycles, germination, and the importance of nurturing plants. It can also foster a sense of ownership and involvement in the entire gardening process, from seed to harvest.
Overall, starting seeds indoors is an important step in successful gardening, offering numerous benefits such as an extended growing season, greater control over growing conditions, wider variety selection, cost-effectiveness, customization opportunities, and educational engagement.
What is the best method for hardening off indoor seedlings?
The best method for hardening off indoor seedlings involves gradually acclimating them to the outdoor environment over a period of 7-10 days. Follow these steps:
- Start the process when outdoor temperatures are consistently above freezing, preferably during cloudy days or late afternoons to minimize stress on the seedlings.
- Begin by placing the seedlings in a sheltered and shaded outdoor area, preferably on a porch, balcony, or under a tree. Expose them to outdoor conditions for 1-2 hours.
- Increase the time each day by an hour or two gradually, over the course of a week. Monitor the seedlings for any signs of stress or wilting. Be cautious of windy or extremely hot days.
- As the days progress, gradually expose the seedlings to more direct sunlight. Move them to a partially shaded area for a few days, then gradually increase the sun exposure until they can handle full sun.
- Ensure the seedlings receive adequate water during the hardening-off process. Outdoor environments may dry out faster than indoors, so monitor soil moisture levels closely and adjust watering accordingly.
- Introduce gentle airflow to the seedlings during the hardening-off period. A gentle breeze or a fan set on low speed can help strengthen the seedlings' stems and prepare them for outdoor conditions.
- Gradually decrease the protection offered to the seedlings during the hardening-off period. If using a cold frame or row cover, gradually open them up more each day until the seedlings are fully exposed to the elements.
By following these steps, you will gradually expose the indoor seedlings to the outdoor conditions, helping them adjust and become stronger, which increases their chances of thriving when transplanted into the garden.