Best Garden Shovels for Edging to Buy in July 2026
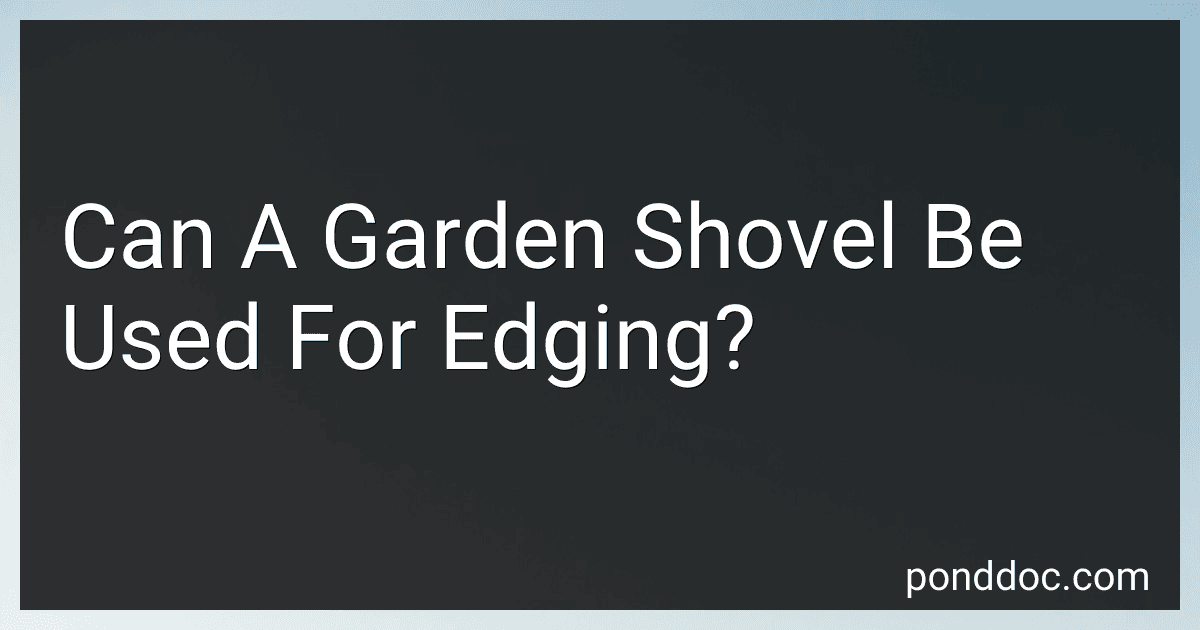
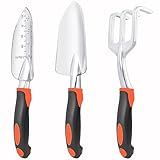
Fiskars Ergo Garden Trowel for Digging and Planting, Heavy Duty Gardening Hand Tool with Hanging Hole
-
HEAVY-DUTY DESIGN FOR TOUGH SOIL AND VERSATILE GARDENING TASKS.
-
ERGONOMIC HANDLE REDUCES FATIGUE, ENSURING MAXIMUM CONTROL.
-
DURABLE, RUST-RESISTANT CAST-ALUMINUM FOR LONG-LASTING USE.


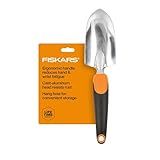
Garden Shovel Garden Hand Trowel, Heavy Duty Hand Shovel with Ergonomic Handle, Small Gardening Tools for Digging, Rust Resistant Gardening Spade Trowel Tools, Orange
- DURABLE ALUMINUM ALLOY: STURDY DESIGN ENSURES LONG-LASTING PERFORMANCE.
- ERGONOMIC COMFORT: REDUCES FATIGUE WITH A NON-SLIP RUBBER GRIP HANDLE.
- VERSATILE & CONVENIENT: IDEAL FOR VARIOUS GARDENING TASKS; EASY TO STORE.

Hooyman Spade Shovel with Heavy Duty Carbon Steel Head Construction, Ergonomic No-Slip H-Grip Handles, D Handle, and Oversized Steps for Gardening, Land Management, Yard Work, Farming and Outdoors
-
TOUGH 1050MN CARBON STEEL FOR UNMATCHED DURABILITY AND LONGEVITY.
-
SECURE NO-SLIP H-GRIP HANDLE ENSURES COMFORT IN ANY WEATHER.
-
INNOVATIVE SERRATED BLADE CUTS ROOTS EFFORTLESSLY FOR EFFICIENT YARDWORK.
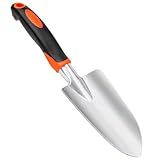
Garden Weasel Potting Scoop - Oversized | Dig and Transport | Planting and Gardening Hand Digging Tools, Heavy Duty Soil Scoop, Mini Gardening Shovel | 91362
- SERRATED TIP FOR EASY DIGGING, CUTTING, AND SCOOPING!
- PROFESSIONAL GRADE TOOL: PROVEN DESIGN, UNMATCHED PERFORMANCE!
- LIFETIME GUARANTEE: QUALITY YOU CAN TRUST WITH EVERY PURCHASE!
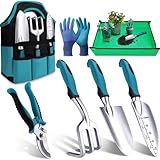
Garden Tools Set, 3 Pack Heavy Duty Gardening Tools Set Include Garden Shovel, Transplant Trowel and Hand Rake with Ergonomic Handle, Aluminum Alloy Lawn for Planting, Orange
-
DURABLE ALUMINUM ALLOY: RUST-RESISTANT TOOLS BUILT FOR TOUGH GARDENING TASKS.
-
ERGONOMIC COMFORT: CONTOURED GRIPS REDUCE STRAIN, ENHANCING GARDENING JOY.
-
PERFECT GIFT SET: IDEAL FOR ALL GARDENING ENTHUSIASTS-MEN, WOMEN, SENIORS!
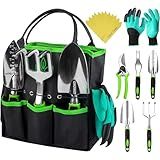
GROWIT Heavy Duty Gardening Tools - 22-Piece Gardening Gifts for Women, Men, Mom, Dad - Durable, Ergonomic Garden Tools Set
- ULTIMATE GIFT FOR GARDEN LOVERS-PERFECT FOR ANY SPECIAL OCCASION!
- COMPLETE 22-PIECE SET-EVERYTHING NEEDED FOR A FLOURISHING GARDEN!
- DURABLE, ERGONOMIC TOOLS REDUCE FATIGUE-GARDEN COMFORTABLY AND EASILY!
Kynup Garden Tools 7-Piece, Gardening Hand Tools, Gardening Tools Set Cultivators with Rust-Proof,Stainless Steel, Aluminum Alloy Material, Gardening Supplies Set Ideal Gift
- COMPREHENSIVE SET: ALL-IN-ONE TOOLS FOR EFFORTLESS GARDEN MAINTENANCE!
- DURABLE & LIGHTWEIGHT: HIGH-QUALITY ALUMINUM ENSURES LONG-LASTING USE.
- ERGONOMIC COMFORT: DESIGNED FOR EASY GRIP, REDUCING HAND FATIGUE.
Heavy Duty Gardening Hand Trowel - Carbon Steel Garden Trowel with Rubberized Handle, Ideal for Soil Planting, Digging, Transplanting
- QUENCHED STEEL WITHSTANDS TOUGH SOIL, GRASS, AND ROCKY YARDS.
- ERGONOMIC RUBBER HANDLE OFFERS COMFORT AND ANTI-SLIP GRIP.
- HAND-WELDED DESIGN ENSURES UNMATCHED DURABILITY AND STRENGTH.
A garden shovel can technically be used for edging, but it might not be the most efficient or precise tool for the job. Shovels are designed primarily for digging and moving soil, which makes them less ideal for the clean, straight lines that are often desired when edging. That being said, if you don't have access to a specialized edging tool, you can use a garden shovel with a straight edge to create an edge, although it may require more effort and might not produce as neat a result. It's important to note that maintaining control and precision with a shovel can be challenging, especially in areas with hard or compacted soil. Therefore, while a garden shovel can work in a pinch, for best results, it's advisable to use a tool specifically designed for edging.
What is a garden dibber?
A garden dibber, also known as a dibble, is a simple gardening tool used to make holes in the soil to plant seeds, bulbs, or seedlings. It typically consists of a handle with a pointed, tapered end. Dibbers can come in various shapes and sizes, often made from wood, plastic, or metal. The design of a dibber allows gardeners to easily create uniform planting holes in terms of depth and spacing, which helps ensure consistent growth and optimal spacing for plants in a garden. They are particularly useful for ensuring that seeds and small plants are planted at the correct depth.
How to edge a garden bed effectively?
Edging a garden bed can give your garden a neat and defined look while also helping to separate different areas of your garden and keep grass and weeds from invading the bed. Here’s a step-by-step guide on how to edge a garden bed effectively:
Tools and Materials Needed:
- Garden spade or half-moon edger
- Garden hose or rope (for marking)
- Lawn edging material (optional, such as metal, plastic, stone, or brick)
- Mulch or soil
- Gardening gloves
- Kneeling pad (optional)
- Wheelbarrow (optional for soil removal)
- Rake
Steps:
- Plan Your Edge: Decide on the shape of your garden bed. Curved edges tend to look more natural, while straight lines give a formal appearance. Use a garden hose or rope to lay out the desired shape of your edge as a guide.
- Cut the Edge: Use a garden spade or a half-moon edger to cut along your guide. Insert the tool into the ground about 4-6 inches deep, and then rock it back and forth to create a clean cut. If cutting a curved edge, take small cuts to maintain control and create smooth curves.
- Remove Turf: Dig out the strip of sod or grass from the garden side of the edge. You may need to use the spade to cut and lift sections of sod out. Place the removed turf in a wheelbarrow if you want to relocate it or dispose of it.
- Enhance the Edge: Angle the cut side of the trench so that it forms a V-shape. This helps to prevent grass from growing back into the garden bed. Ensure the bottom of your edge trench is flat and the sides are smooth.
- Add Edging Material (Optional): If you choose to use edging material, install it according to the product instructions. Common materials include bricks, stones, metal, and plastic. Ensure that the top of the edging is level and even with the adjacent ground.
- Backfill and Tidy: Backfill the garden side of the trench with soil or mulch, sloping it gently towards the bottom of the trench. This will keep the edging in place and improve the appearance. Smooth the soil or mulch with a rake to create an even surface.
- Maintain the Edge: Regularly check and tidy the edge to prevent grass from creeping back. Re-cutting the edge a few times per growing season may be necessary. Add mulch as needed to keep the garden bed looking fresh.
By following these steps, you will be able to create neat and effective garden bed edges that enhance your garden’s appearance and functionality.
How to use a hoe for weeding?
Using a hoe for weeding is an effective way to manage unwanted plants in your garden. Here’s a step-by-step guide to help you use a hoe properly:
- Choose the Right Hoe: There are different types of hoes, such as stirrup hoes, draw hoes, and scuffle hoes. Each has its specific uses. For weeding, a stirrup hoe or scuffle hoe is often recommended because it allows you to cut weeds just below the soil surface with a back-and-forth motion.
- Timing and Conditions: Ideally, weed when the soil is dry. Wet soil can stick to the hoe, making weeding less efficient. Early morning or late afternoon is a good time to avoid the heat and reduce plant moisture loss.
- Stance and Grip: Stand with your feet shoulder-width apart to maintain balance. Hold the hoe with both hands, keeping one hand near the top of the handle for control and the other about midway down.
- Angle and Motion: Hold the hoe at a shallow angle to the soil, approximately a 20 to 30-degree angle. This helps to slice through weeds rather than uprooting them, which can disturb the soil and bring more weed seeds to the surface.
- Use a Slicing Motion: Push and pull the hoe just below the soil surface to cut the weed roots. The goal is to sever the stems from the roots without pulling up excess soil. Maintain a consistent rhythm to make the task easier and more effective.
- Target Young Weeds: Focus on young, small weeds before they become established. They are easier to remove and less likely to regrow.
- Check the Soil: Regularly check the soil surface while weeding. If you’re cutting more than 1-2 inches deep, adjust your angle to ensure you’re not digging too deeply.
- Clear Debris: After weeding, remove the severed weed tops from the garden to prevent them from taking root again or dropping seeds.
- Maintenance: Keep your hoe clean and sharp. A sharp blade makes cutting easier and more efficient. Wipe down the hoe after use and occasionally sharpen the blade to maintain its edge.
By following these steps, you can efficiently use a hoe to manage weeds and maintain a healthy garden.
What is the best tool for transplanting plants?
The best tool for transplanting plants can depend on the size and type of plant you are working with, but here are some commonly used tools:
- Trowel: Ideal for small to medium-sized plants, a trowel is a hand tool with a pointed, scoop-shaped metal blade that's perfect for digging holes and moving plants from one location to another.
- Transplanting Spade: Also known as a transplanting shovel, this tool typically has a longer, narrow blade designed for digging deep and precise holes, which is helpful for transplanting larger plants or those with deeper root systems.
- Garden Fork: Useful for loosening soil around plant roots, garden forks can help lift plants with minimal root disturbance.
- Root Knife: Also called a soil knife or Hori Hori, this versatile tool can be used for cutting through tough roots and dividing plants.
- Potting Scoop: This is specifically useful for transplanting in containers. Its wide and deep shape makes it easy to move large amounts of soil quickly.
- Garden Gloves: While not a tool for digging, gloves can protect your hands from soil and thorns and give you a better grip on plants and tools.
- Watering Can or Hose: Essential for watering the plant immediately after transplanting to help settle the soil around the roots.
- Ball Cart or Plant Dolly: For very large or heavy plants, a ball cart can be used to move them around without injuring yourself or damaging the plant.
When choosing tools, it’s important to consider the specific needs of your gardening project and the types of plants you are working with. Investing in high-quality tools can also improve efficiency and ease of use.