Best Under Cabinet LED Lighting Options to Buy in July 2026
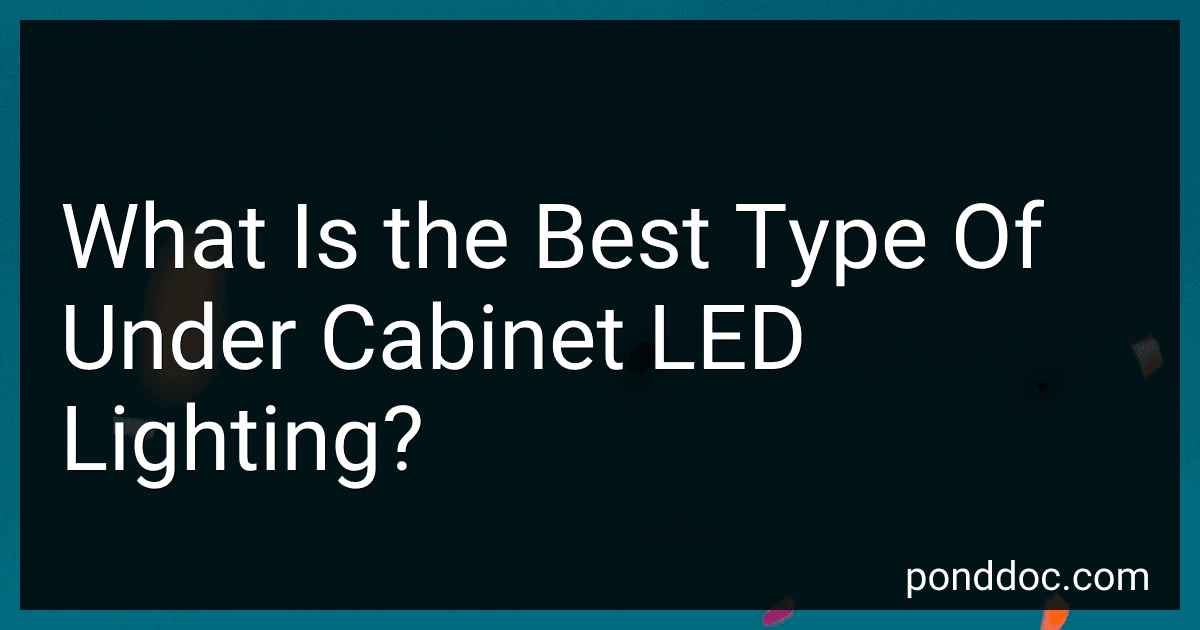
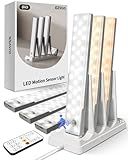
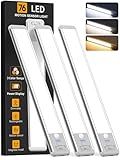
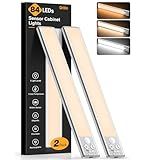
MCGOR 10inch Under Cabinet Lighting, 2 Pack Rechargeable Motion Sensor Light Indoor, 5 Levels Dimmable Magnetic Closet Lights, Wireless Under Counter Lights for Kitchen, Stairs
- MOTION SENSOR AUTO-ON/OFF: NO MORE FUMBLING IN THE DARK!
- ALWAYS-ON MODE: IDEAL FOR READING, CAMPING, OR FLASHLIGHT USE.
- DIMMABLE BRIGHTNESS: CUSTOMIZE LIGHT LEVELS FOR ANY ACTIVITY!


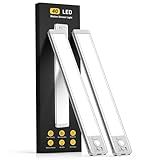
EZVALO 6-Pack Under Cabinet Lighting with Charging Station, 2000mAh Rechargeable Wireless Motion Sensor Lights, 3 Color Temps, Dimmable, Timer, Magnetic, with Remote Control for Kitchen, Closet, Stair
-
VERSATILE MODES: NIGHT, ALL-DAY, AND ALWAYS-ON FOR EVERY LIGHTING NEED.
-
QUICK 3-PORT CHARGING: POWER 3 LIGHTS SIMULTANEOUSLY-NO MESSY CABLES!
-
REMOTE CONTROL CONVENIENCE: ADJUST SETTINGS FROM 16 FT WITH EASE!
Under Cabinet Lighting, 14.7" Rechargeable Motion Sensor Light Indoor, 2 Pack Magnetic Dimmable Closet Lights, Wireless Under Counter Lights for Kitchen, Stairs,Hallway
- AUTO-ON MOTION DETECTION IN LOW LIGHT FOR ULTIMATE SAFETY AND CONVENIENCE.
- ALWAYS-ON MODE FOR VERSATILE USE: READING, CAMPING, OR AS A FLASHLIGHT.
- DIMMABLE WITH 5 BRIGHTNESS LEVELS FOR PERSONALIZED ILLUMINATION ANYWHERE.
Under Cabinet Lighting Wireless, Rechargeable 10inch Motion Sensor Light Indoor, 3 Color Closet Light Battery Operated with LED Power Display, Magnetic Under Counter Lights for Kitchen, Home (3Pack)
-
SMART MOTION ACTIVATION: LIGHTS TURN ON/OFF AUTOMATICALLY, ENSURING CONVENIENCE.
-
VERSATILE COLOR OPTIONS: CHOOSE FROM 3 TEMPERATURES AND ADJUSTABLE BRIGHTNESS.
-
EASY INSTALLATION: MAGNETIC DESIGN ALLOWS QUICK SETUP IN ANY SPACE.
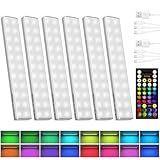
EZVALO 80RGB Color Changing Under Cabinet Lighting Wireless, 1800mAh Rechargeable Led Strip Shelf Lights, Timer & Dimmable Bar Light with Remote for Kitchen, Bedroom, Display Case, 6Pack
- PRECISION CONTROL: MANUAL DESIGN ENSURES NO UNEXPECTED ACTIVATIONS.
- VIBRANT VERSATILITY: 80 LIGHTING OPTIONS FOR EVERY MOOD AND OCCASION.
- EFFORTLESS INSTALLATION: EASILY SET UP ANYWHERE WITH WIRELESS CONVENIENCE.
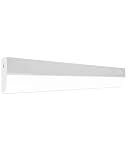
24” LED Direct Wire Under Cabinet Light - Dimmable Undercounter LED Lights for Kitchen - Selectable CCT 2700K-5000K, 612-648 Lumens, 9W - UCB Series Hardwired Under Cabinet Lighting by NICOR Lighting
-
CUSTOMIZABLE MOOD LIGHTING: 21 CCT OPTIONS TO MATCH EVERY SETTING PERFECTLY.
-
BRIGHT & EFFICIENT: 9W LIGHTS OFFER 612-648 LUMENS; DIMMABLE FOR FLEXIBILITY.
-
SIMPLE INSTALLATION: EASY DIRECT-WIRE SETUP WITH MULTIPLE MOUNTING OPTIONS.
MCGOR 10inch Under Cabinet Lighting, 2 Pack Rechargeable Motion Sensor Light Indoor, 5 Levels Dimmable Magnetic Closet Lights, Wireless Under Counter Lights for Kitchen, Stairs
- AUTO-ON/OFF MOTION SENSING FOR SAFE NAVIGATION IN DARK SPACES.
- 5 BRIGHTNESS LEVELS FOR TAILORED LIGHTING IN VARIOUS TASKS.
- USB-C RECHARGEABLE WITH LONG-LASTING BATTERY FOR CONVENIENCE.
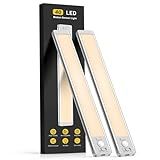
Gritin 10.2inch Under Cabinet Lighting Rechargeable 2 Pack
- SMART MOTION SENSORS: AUTO-OFF AFTER 20S, ENSURING EFFORTLESS USE.
- CUSTOMIZABLE LIGHTING: 3 COLOR TEMPS AND 5 BRIGHTNESS LEVELS FOR EVERY NEED.
- EASY INSTALLATION: STRONG MAGNETS AND ADHESIVE PLATES FOR HASSLE-FREE SETUP.
Maylit Under Cabinet Lights Plug in, 3 Pcs 12 Inch Ultra Thin Under Cabinet Lighting, Super Bright Daylight White Under Counter Lights for Kitchen, Dimmable Light for Cabinet, Counter, Workbench, Desk
-
SUPER BRIGHT LEDS: 1200 LUMENS TO ILLUMINATE ANY SPACE PERFECTLY!
-
SMART TOUCH DIMMER: EASILY ADJUST BRIGHTNESS WITH A SIMPLE TOUCH!
-
ULTRA THIN DESIGN: SLEEK 0.25” PROFILE HIDES NEATLY UNDER SURFACES!
The best type of under cabinet LED lighting depends on various factors, including personal preferences, specific needs, and the kitchen or workspace setup. Generally, LED strip lights and LED puck lights are popular choices. LED strip lights offer versatility and even lighting distribution, making them suitable for covering long stretches under cabinets. They are often flexible, allowing for easy installation and adaptation to different cabinet shapes and sizes. Strip lights also tend to have a low profile, making them less visible, which can be aesthetically pleasing. On the other hand, LED puck lights provide focused and concentrated light, ideal for task lighting in specific areas. They can create a more dramatic and illuminated effect, often used in areas where direct light is required for tasks like food preparation. Both types offer a range of color temperatures, from warm to cool, and may include dimming features, allowing customization of the ambiance and functionality. Energy efficiency and long lifespan are common advantages with LED lighting, making it an eco-friendly and cost-effective choice in the long run. Therefore, choosing the best under cabinet LED lighting involves considering the desired effect, budget, ease of installation, and how the lights will integrate with existing designs and purposes.
What is the best way to fit under cabinet LED lights in small spaces?
Fitting under-cabinet LED lights in small spaces can significantly enhance the ambiance and functionality of the area. Here are some tips to ensure a successful installation:
- Choose the Right Type of LED Lights: LED Strips: These are flexible and can be cut to length, making them ideal for small or irregularly shaped spaces. LED Bars: These are rigid and provide even lighting, suitable for uniform spaces. Puck Lights: These are small, round lights that can be spaced out for targeted illumination.
- Plan the Layout: Measure the available space under the cabinets. Decide on the spacing and placement to ensure even illumination and avoid shadows.
- Prepare the Surface: Clean the area where the lights will be installed to ensure good adhesion. Consider light diffusers to spread the light evenly and reduce glare.
- Power Source: Identify the nearest power outlet or junction box. Consider using a LED driver or transformer if your lights require low voltage. Plan the routing of the power cables to keep them hidden.
- Installation: For LED strips, use adhesive backing or mounting clips. Ensure the surface is clean and dry for proper adherence. For LED bars or puck lights, use screws or mounting brackets for a secure fit. Integrate a dimmer switch if desired, for adjustable lighting levels.
- Wiring: Use cable trunking or channels to hide and organize any visible wires. If inexperienced with electrical work, consider hiring a professional electrician to avoid safety hazards.
- Finishing Touches: Check the lights for any flickering or inconsistent illumination. Test the switch and any dimming functionality.
By carefully planning and choosing the right products, you can successfully fit under-cabinet LED lights in small spaces, adding both practicality and aesthetic appeal to your area.
How to maintain under cabinet LED lighting?
Maintaining under cabinet LED lighting is relatively straightforward due to the energy efficiency and longevity of LED lights. Here are some steps to ensure they remain in good condition:
- Regular Cleaning: Turn off the lights and ensure they have cooled down before you start cleaning. Wipe the LED strips or fixtures with a soft, damp cloth to remove dust and grime. If using a cleaning solution, ensure it is non-abrasive and suitable for electronics.
- Inspect for Damage: Regularly check the LED strips or fixtures for any signs of wear, such as frayed wires or loose contacts. Ensure the adhesive backing (if applicable) remains securely attached. If it's coming loose, consider using a suitable adhesive to reattach.
- Verify Connections: Check that all electrical connections are tight and secure to ensure proper functionality. Inspect connectors, plugs, and the power supply for any signs of damage or corrosion.
- Test the Functionality: Regularly switch the lights on and off to ensure they are functioning correctly. Test any dimmers or remote controls to confirm they are operating as expected.
- Address Overheating: Ensure there is adequate ventilation around the LEDs to prevent overheating, which can reduce their lifespan. If you notice any heat-related issues, consider repositioning the lights or reducing wattage with a suitable replacement.
- Replace Components When Necessary: If an LED fixture or strip is not working, replace only the faulty section if possible. LED systems often allow for modular replacements. Always use replacement parts that match the specifications of the original components to avoid electrical issues.
- Upgrade When Appropriate: As technology improves, consider upgrading to newer models that might offer better efficiency or features, such as smart controls.
By following these maintenance steps, you can ensure your under cabinet LED lighting remains functional, efficient, and aesthetically pleasing for years to come.
How to dim under cabinet LED lighting?
Dimming under-cabinet LED lighting can enhance the ambiance and functionality of your kitchen, and there are several methods to achieve this. Here are some common approaches:
- Use a Compatible Dimmer Switch: Ensure your LED lights are dimmable. Check the product specifications or manufacturer instructions. If your LEDs are dimmable, replace your existing light switch with a compatible LED dimmer switch. Look for one that supports LED lighting, as not all dimmer switches are suitable for LEDs.
- Install an Inline Dimmer: Purchase an inline dimmer designed for LED lighting. These are small devices that connect directly into the power supply line of the LEDs. Follow the manufacturer's instructions to install the inline dimmer, which usually involves inserting it between the power source and the LED fixture.
- Use Remote or Wi-Fi Controlled LED Strips: Some LED systems come with built-in wireless or remote control dimming features. If you have LED strips with these capabilities, simply use the accompanying remote control or app to adjust the brightness.
- Smart Home Integration: If your LEDs are smart home compatible (e.g., compatible with systems like Philips Hue, LIFX, etc.), you can use a smart home hub or dedicated app to adjust brightness. This method often offers additional benefits like scheduling, voice control, and integration with other smart devices.
- Adjustable Power Adapter: Some LED lights utilize an adjustable power adapter that can dim the lights by controlling the voltage or current to the LEDs. This might be a plug-and-play solution depending on the LED system you have.
- Contact the Manufacturer: If you're unsure about compatibility with dimming solutions, contact the LED lighting manufacturer for guidance. They may have specific recommendations or products designed to work with their lighting systems.
By selecting a suitable method and ensuring compatibility, you can effectively dim your under-cabinet LED lights to suit your preferences and needs.
How to install under cabinet LED lighting?
Installing under cabinet LED lighting is a great way to improve visibility in your kitchen, showcase decorative items, and add ambiance. Here's a step-by-step guide to help you through the installation process:
Materials Needed:
- Under cabinet LED light kit
- Measuring tape
- Power drill
- Screwdriver
- Double-sided tape or mounting clips (if not included in the kit)
- Wire nuts and connectors (if not included)
- Power supply (as specified for your LED lights)
- Cable management clips
Steps:
- Plan Your Layout: Measure the length of the area under your cabinets where you want the lighting installed. Plan the number of LED strips needed to cover the area sufficiently. Determine the location of the power source. This could be an outlet or wired directly into your electrical system.
- Gather Tools and Materials: Ensure you have all the tools and materials needed for installation.
- Prepare the Surface: Clean the underside of the cabinets to ensure proper adhesion. Make sure the surface is dry and free of dust.
- Position the Light Strips: Unroll the LED strips and position them along the underside of the cabinet. Use a pencil to mark where the strips will be mounted. If using tape, cut it to the required length.
- Mount the Light Strips: Depending on your kit, either stick the strips with double-sided tape or mount them using the clips. Ensure they are securely attached and positioned to provide the best lighting.
- Connect the Wiring: Connect the LED strips to the power supply according to the manufacturer’s instructions. If necessary, use wire nuts and connectors to join sections.
- Manage the Cables: Use cable clips to neatly manage and secure excess wiring under the cabinets. Make sure all the connections are tidy and clipped up safely away from any heat sources or sharp edges.
- Test the Lights: Plug in the power supply and test the lights to ensure everything is connected correctly. Make sure the lights turn on and that the dimmers and switches (if included) are functioning as expected.
- Make Adjustments: Adjust the position of the strips if necessary to ensure even lighting. Secure any loose wires or connections.
- Safety Check: Double-check all connections to ensure they are secure. Ensure no wires are exposed or in contact with metal that could cause a short circuit.
- Final Touches: Add any clips or covers provided in your kit for a finished look. Clean any fingerprints or smudges from the LED covers.
By following these steps, you should have a well-lit and aesthetically pleasing under cabinet lighting setup. If you’re not confident in handling electrical work, it’s always a good idea to consult with or hire a qualified electrician.