Best Dishwasher Spray Arm Replacement to Buy in July 2026
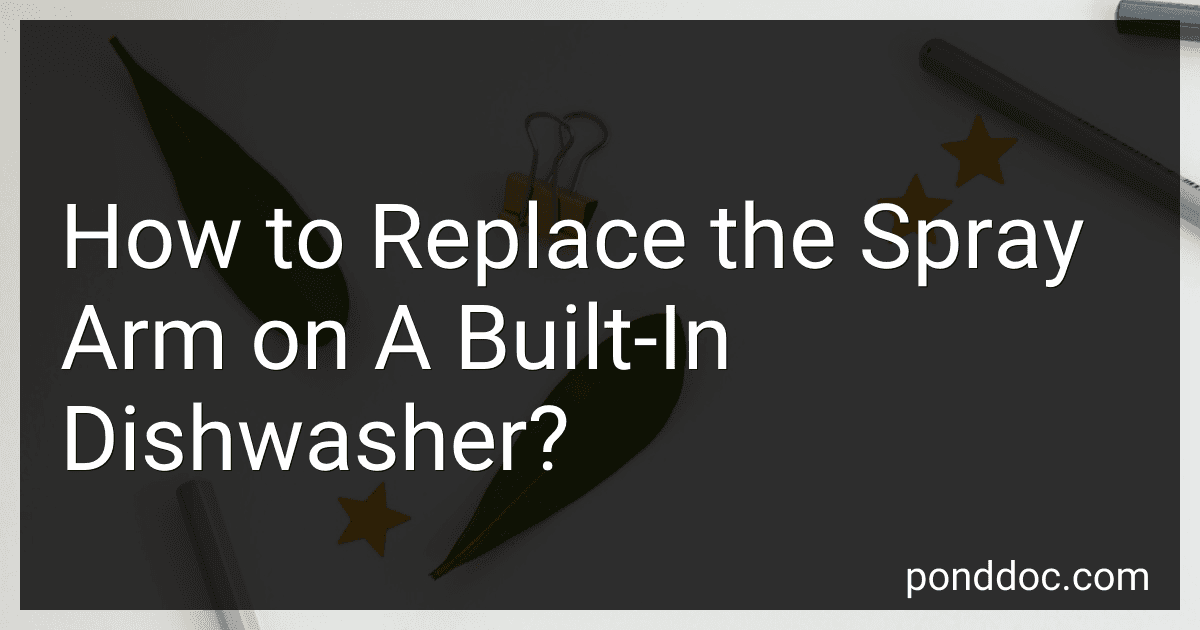
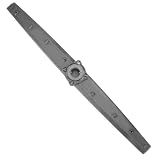
5304517203 Dishwasher Lower Spray Arm Compatible with Frigidaire and Kenmore-Replaces 154568001 154414101 154568002 154250901 PS12585623
- COMPATIBLE WITH MAJOR BRANDS: FRIGIDAIRE, KENMORE, AND MORE.
- REPLACEMENT FOR NUMEROUS MODEL NUMBERS; ENSURES SEAMLESS FIT.
- FIXES COMMON DISHWASHER ISSUES: LEAKS, NOISE, AND POOR CLEANING.


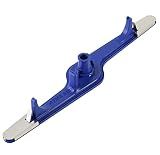
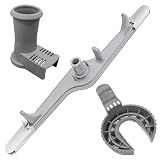
5304517203 1545680 Dishwasher Lower Spray Arm Set-Complete with 5304518968 Support & 5304506518 Filter-Compatible with Frigidaire Kenmore 154568002 154414101 154250901 EAP12585623 4840174 154250801
- OEM-STANDARD PARTS: SEAMLESS FIT WITH ORIGINAL-LEVEL PERFORMANCE.
- BRAND COMPATIBILITY: FITS FRIGIDAIRE, KENMORE, & MORE-VERIFY MODEL!
- DURABLE CONSTRUCTION: HIGH-QUALITY, LONG-LASTING ABS WITH STAINLESS REINFORCEMENTS.
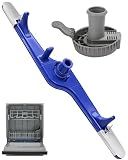
1545680 5304517203 Lower Spray Arm Compatible with Frigidaire Dishwasher
- PERFECT FIT FOR FRIGIDAIRE & KENMORE DISHWASHERS-EASY REPLACEMENT!
- RESOLVES COMMON ISSUES: LEAKS, NOISE, AND POOR CLEANING PERFORMANCE.
- QUICK SNAP-ON INSTALLATION: EFFORTLESS SETUP FOR HASSLE-FREE REPAIRS.
Dishwasher Middle Spray Arm WPW10498900 W10498900 Dishwasher Center Wash Arm Assembly compatible with Amana Maytag Whirlpool Dishwasher Parts Replaces W10448645 AP6022331 2312929 PS11755664
-
PERFECT FIT FOR WHIRLPOOL, AMANA, AND MAYTAG DISHWASHERS.
-
BOOST WASHING POWER: EFFECTIVELY REMOVES SOAP SCUM AND FOOD RESIDUE.
-
EASY INSTALLATION-SOLVE LEAKS AND CLEANING ISSUES QUICKLY!
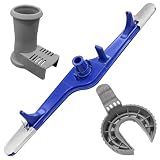
154568002 Dishwasher Lower Spray Arm Assembly with 5304518968 Support & 5304506518 Trap Drain Filter Replacement for Frigidaire Electrolux Kenmore Dishwasher 1545680 5304517203 154568001 154414101
- ALL-IN-ONE KIT: REPLACE ALL KEY PARTS FOR OPTIMAL DISHWASHER PERFORMANCE.
- WIDE COMPATIBILITY: FITS MANY BRANDS; NO NEED FOR MULTIPLE PURCHASES.
- DURABLE DESIGN: PREMIUM MATERIALS ENSURE LONG-LASTING, EFFICIENT CLEANING.
1545680 5304517203 Dishwasher Lower Spray Arm Assembly with 5304518968 Support & 5304506518 Trap Drain Filter Compatible with Frigidaire Kenmore 154568001 154414101 154568002 154250901 PS12585623
-
COMPLETE KIT FOR EASY DIY REPAIRS, SAVES TIME & MONEY!
-
360° DEEP CLEANING POWER FOR SPOTLESS DISHES EVERY TIME!
-
COMPATIBLE WITH MANY MODELS-VERSATILE & RELIABLE REPLACEMENT!
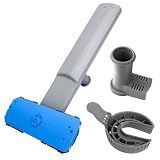
Showingo 5304506660 Dishwasher Lower Spray Arm Replacement for Frigidaire AP6038456 154830302 154830303, with 5304518968 Spray Arm Support & 5304506518 Trap Drain Filter Assembly
- ALL-IN-ONE KIT: COMPLETE REPLACEMENT FOR OPTIMAL DISHWASHER PERFORMANCE.
- BROAD COMPATIBILITY: FITS FRIGIDAIRE, KENMORE, ELECTROLUX MODELS EASILY.
- USER-FRIENDLY DESIGN: SNAP-IN INSTALLATION FOR HASSLE-FREE SETUP.
To replace the spray arm on a built-in dishwasher, first make sure the dishwasher is turned off and the door is securely closed. Next, remove any dishes or racks obstructing access to the spray arm.
Locate the spray arm at the bottom of the dishwasher tub and firmly grasp the arm with both hands. Twist the arm counterclockwise to unscrew it from the hub. Be cautious not to force the arm as it may be stuck due to mineral buildup or debris.
Once the old spray arm is removed, inspect it for any damage or blockages. If necessary, clean the spray arm with warm soapy water or a vinegar solution to remove any residue.
Align the new spray arm with the hub and insert it into place. Twist the arm clockwise to securely attach it to the hub. Make sure the spray arm rotates freely and does not hit any dishes or racks when the dishwasher is in use.
Finally, turn on the dishwasher and run a cycle to test the new spray arm. If the arm is functioning properly and washing dishes effectively, your replacement is successful.
How to prevent damage to the spray arm in a dishwasher?
- Ensure that dishes are properly loaded in the dishwasher and do not block the spray arm. Make sure that dishes are not sticking out or hanging over the top rack, as this can prevent the spray arm from rotating properly.
- Regularly clean the spray arm to remove any debris or buildup that may be blocking the spray holes. Use a toothpick or small brush to unclog any holes if necessary.
- Use a dishwasher-safe cleaner to remove hard water deposits and mineral buildup that can affect the performance of the spray arm.
- Avoid washing items that may damage the spray arm, such as sharp knives or utensils with long handles that may block the arm's movement.
- Use the appropriate amount of dishwasher detergent and rinse aid to prevent excessive suds or residue buildup that can clog the spray arm.
- Check the water temperature and pressure to ensure that the dishwasher is functioning properly. Low water pressure can prevent the spray arm from rotating effectively.
- If you notice any unusual noises or reduced cleaning performance, inspect the spray arm for damage and replace it if necessary. Regular maintenance and prompt repairs can help prevent further damage to the spray arm.
How to identify common signs of wear and tear on the spray arm in a dishwasher?
- Check for cracked or broken spray arm components. Look for any visible cracks, breaks, or damage on the spray arm itself or on any of its components.
- Inspect the spray arm for clogs or blockages. If the spray arm is not spinning properly or if dishes are not getting properly cleaned, it may be due to a clog or blockage in the spray arm.
- Listen for unusual noises during the dishwasher cycle. If you hear any grinding, squeaking, or other unusual noises coming from the dishwasher, it could indicate that the spray arm is not functioning properly.
- Look for wear on the spray arm jets. Over time, the jets on the spray arm may become worn or misaligned, resulting in decreased water pressure and cleaning efficiency.
- Check for loose or wobbly spray arm connections. If the spray arm is loose or wobbly when you touch it, it may be a sign that the connections are worn or damaged.
- Observe any decrease in cleaning performance. If dishes are coming out of the dishwasher still dirty or with food particles stuck on them, it may be due to a worn or damaged spray arm.
- Examine the spray arm for rust or corrosion. Rust or corrosion on the spray arm can indicate that it is nearing the end of its lifespan and may need to be replaced soon.
How to properly clean the spray arm in a dishwasher?
To properly clean the spray arm in a dishwasher, follow these steps:
- Turn off the dishwasher and unplug it from the power source to ensure safety.
- Remove the bottom rack of the dishwasher to access the spray arm.
- Twist or unscrew the spray arm from the base of the dishwasher. Some spray arms may have a locking mechanism that needs to be released before they can be removed.
- Inspect the spray arm for any clogs or debris. Use a toothpick, small brush, or toothbrush to remove any buildup from the spray arm holes.
- Fill a sink or bucket with warm water and a mild detergent. Soak the spray arm in the soapy water for about 15-20 minutes to help loosen any stubborn dirt or food particles.
- Use a brush, sponge, or cloth to scrub the spray arm both inside and out. Pay special attention to the holes and crevices to ensure they are completely clean.
- Rinse the spray arm thoroughly with clean water to remove any soap residue.
- Reattach the spray arm to the base of the dishwasher and secure it in place.
- Run a dishwasher cleaning cycle with a dishwasher cleaner or vinegar to help clean and freshen the entire machine.
- Replace the bottom rack and plug in the dishwasher. Your spray arm should now be clean and ready to use.
What is the process for resetting the spray arm in a dishwasher?
Here are the general steps for resetting the spray arm in a dishwasher:
- Turn off the dishwasher and make sure it is completely disconnected from power.
- Remove the lower rack of the dishwasher to access the spray arm.
- Check for any obstructions or blockages in the spray arm that may be preventing it from spinning properly. Clear out any debris that you find.
- Gently rotate the spray arm to ensure that it moves freely and is not stuck.
- If the spray arm is loose or disconnected, reattach it to the base. Make sure it is securely fastened in place.
- Once the spray arm is reattached and any obstructions are cleared, replace the lower rack and close the dishwasher door.
- Plug the dishwasher back in and turn it on to test if the spray arm is working properly. Run a cycle to see if the dishes are coming out clean.
If the spray arm is still not functioning correctly after following these steps, it may be damaged and need to be replaced. You can contact a professional appliance repair technician for further assistance.
How to differentiate between top and bottom spray arms in a dishwasher?
- Look for labels or markings: Some dishwashers may have labels or markings indicating which spray arm is the top or bottom. Check for any symbols, words, or arrows that specify the placement of each spray arm.
- Size and shape: In most dishwashers, the top spray arm is typically smaller and more compact in size compared to the bottom spray arm. The bottom spray arm is usually larger and covers a bigger area of the dishwasher rack.
- Position in the dishwasher: The top spray arm is usually located near the top of the dishwasher, either attached to the top rack or positioned on the ceiling of the dishwasher. The bottom spray arm is typically located at the bottom of the dishwasher, underneath the bottom rack.
- Spray direction: When the dishwasher is running, observe the direction in which the water sprays out of the spray arms. The top spray arm usually sprays water downwards onto the dishes on the upper rack, while the bottom spray arm sprays water upwards onto the dishes on the lower rack.
- Remove and inspect: If you're still unsure, you can remove the spray arms from the dishwasher (consult the dishwasher's manual for instructions) and compare them visually. The top spray arm will likely have a different design or configuration compared to the bottom spray arm.
How to troubleshoot noise issues related to the spray arm in a dishwasher?
- Check for any obstructions: Remove the spray arm and check for any food particles, debris, or other objects that may be blocking the holes in the spray arm. Clean out any obstructions with a soft brush or toothpick.
- Inspect the spray arm for damage: Examine the spray arm for any cracks, breaks, or other damage that may be causing noise issues. If the spray arm is damaged, it will need to be replaced.
- Check the wash pump and seal: Inspect the wash pump and seal for any signs of wear or damage. If the wash pump or seal is damaged, it may be causing noise issues and will need to be replaced.
- Make sure the spray arm is properly installed: Ensure that the spray arm is properly attached and secured in place. If the spray arm is loose or not installed correctly, it may be causing noise issues.
- Adjust the water pressure: If the water pressure is too high, it may be causing the spray arm to spin too quickly and create noise. Adjust the water pressure on the dishwasher to a lower setting and see if the noise issue improves.
- Check the spray arm bearings: The spray arm bearings may be worn out or damaged, causing the spray arm to spin unevenly and create noise. Replace the bearings if necessary.
- Test the dishwasher with an empty load: Run the dishwasher with an empty load to see if the noise issue persists. If the noise is still present with an empty load, there may be a more serious issue with the dishwasher that requires professional repair.