Best Pool Liner Repair Kits to Buy in July 2026
Pool Liner Repair 408517Boxer - 4 oz Vinyl Swimming Kit
- PREMIUM QUALITY: PROUDLY MADE IN THE USA FOR TRUST AND RELIABILITY.
- PERFECTLY SIZED: COMPACT DESIGN (15.24CM X 5.588CM X 8.382CM) FOR EASY USE.
- VERSATILE FIT: IDEAL DIMENSIONS FOR CONVENIENT STORAGE AND PORTABILITY.


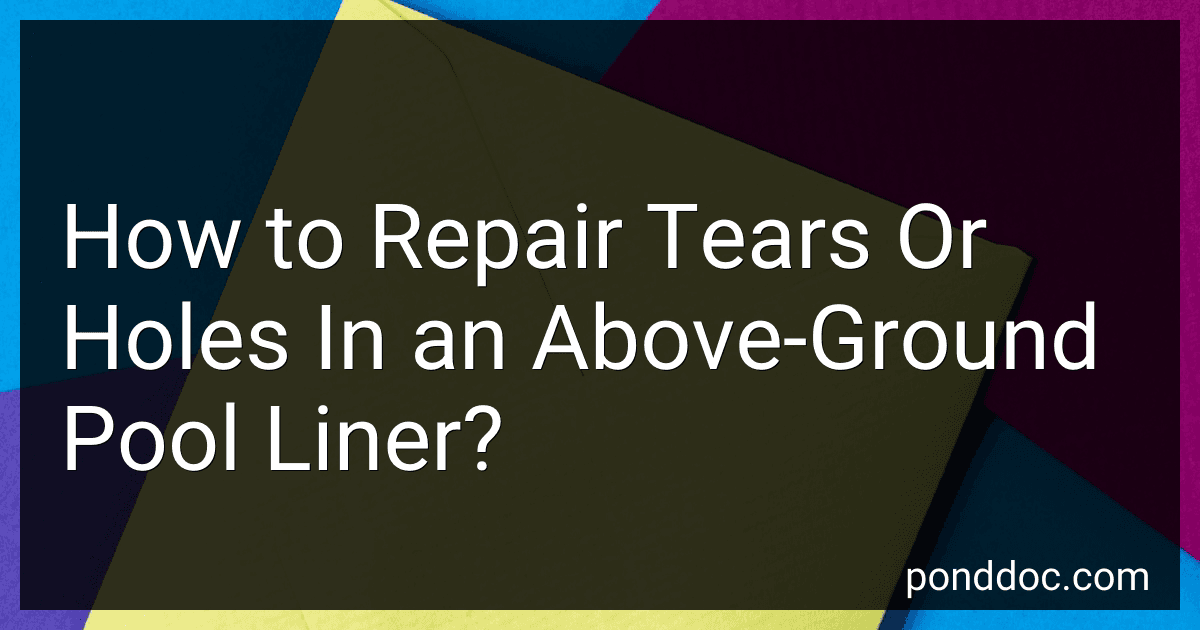
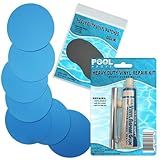
All-in-One Repair Kit for Above-Ground Pools | Fast, Underwater-Capable Peel-and-Stick OR Adhesive Glue-Down Vinyl Patches & for Easy Set and Frame Pools 2-1/2 Inch Peel and Stick
- CHOOSE QUICK OR TOUGH PATCHES FOR TAILORED POOL REPAIRS!
- FIX LEAKS UNDERWATER-NO DRAINING NEEDED, SAVE TIME AND WATER!
- PROFESSIONAL-GRADE FINISH FOR ENDURING, SEAMLESS POOL REPAIRS!
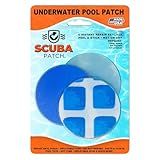
Gorilla Waterproof Patch & Seal Tape, White Tape, 4" x 10' (Pack of 1) - Permanent Weather Resistant Seal for Leaks and Repairs
-
PERMANENT SEAL: INSTANTLY SEALS AIR, WATER, AND MOISTURE FOR DURABILITY.
-
VERSATILE USE: WORKS INDOORS, OUTDOORS, AND EVEN UNDERWATER-ANYWHERE!
-
WEATHER-RESISTANT: WITHSTANDS MOISTURE AND UV RAYS, NO YELLOWING!
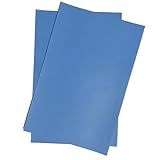
Heavy Duty Vinyl Repair Patch Kit for Above-Ground Pool Liner Repair; Glue and Patch Inflatables; Boat; Raft; Kayak; Air Beds; Inflatable Mattress Repair Blue
- ULTIMATE DURABILITY: HEAVY-DUTY 1100 DENIER PATCHES FOR LASTING REPAIRS.
- VERSATILE USE: PERFECT FOR POOLS, BOATS, RAFTS, AND MORE!
- EASY APPLICATION: INCLUDES ADHESIVE, APPLICATOR, AND VIDEO GUIDE.
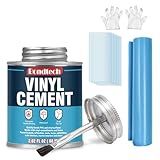
Vinyl Cement with Brush, Pool Patch Repair Kit High Strength, Watertight Seal Vinyl Glue, Flexible Bond for Inflatables, PVC, Pool Liners, Tarps, Hot Tubs, Air Mattresses (2 OZ)
- SUPER STRONG, WATERPROOF BOND FOR DURABLE VINYL AND PVC REPAIRS.
- COMPLETE WITH SCRATCH-RESISTANT SHEETS FOR ALL REPAIR NEEDS.
- SIMPLE BRUSH APPLICATION ENSURES PROFESSIONAL REPAIRS FOR EVERYONE.
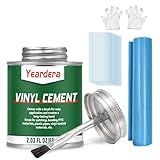
Vinyl Cement, High Strength Vinyl Glue, Waterproof PVC Cement, High Strength Pool Patch Repair Kit Underwater for a Variety of Inflatables, Pool Liners, Tarps, Hot Tubs, Air Mattresses(2.03oz)
-
AIRTIGHT, WATERPROOF BOND FOR DURABLE, LONG-LASTING REPAIRS!
-
VERSATILE USE ON PVC, CANVAS, AND MORE-FIXES VARIOUS SURFACES EASILY!
-
SIMPLE APPLICATION-NO SKILLS NEEDED, JUST CLEAN, APPLY, AND WAIT!
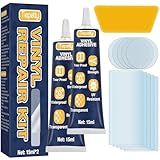
Vinyl Repair Kit Transparent, Air Mattress Patch Kit Heavy Duty, Pool Liner Patch Waterproof, for TPU, EVA, ABS, PVC, Inflatables, Swimming Pool, etc (15ml, 2pack)
- DURABLE LONG-LASTING BOND ENSURES AIRTIGHT, WATERPROOF REPAIRS.
- INVISIBLE, UV-RESISTANT PATCH BLENDS SEAMLESSLY WITH ANY SURFACE.
- VERSATILE FOR ALL MATERIALS-IDEAL FOR MATTRESSES, POOLS, AND TENTS.
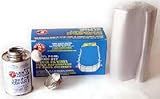
Scuba Patch Heavy Duty Underwater Pool Liner Patches; 2 Pack 5.5"x8.5" | Heavy Duty | Instant | Waterproof | Glue-Less | Peel and Stick | Swimming Pool Liner Repair Patches Blue
- FAST, EASY REPAIRS: NO DRAINING OR MESSY GLUE-JUST PEEL AND STICK!
- VERSATILE用途: IDEAL FOR POOLS, INFLATABLES, BOATS, AND MORE!
- QUALITY GUARANTEE: PROUDLY MADE IN CALIFORNIA WITH CUSTOMER SUPPORT!

Pool Patch Repair Kit, Pool Cover Patch, 4x8 inch Self Adhesive Vinyl (PVH), Swimming Pool Patch Repair Kit, 6 Pack
-
DURABLE VINYL PATCHES ENSURE LONG-LASTING, WEATHER-RESISTANT REPAIRS.
-
QUICK FIX WITH 6 SELF-ADHESIVE PATCHES FOR MEDIUM DAMAGES.
-
SIMPLE, TOOL-FREE APPLICATION FOR EFFORTLESS POOL COVER REPAIRS.
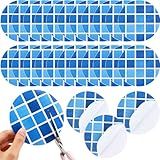
Outus 24 Pcs Vinyl Pool Patch Repair Kit Self Adhesive Pool Liner Plastic Repair Patch Pool Patches for Above Ground Pools Inflatable Boats Air Mattress Products, 4 Inch (Gradient Blue Plaid)
-
24 PATCHES INCLUDED: AMPLE SUPPLY FOR REPAIRS AND SHARING!
-
INVISIBLE DESIGN: BLENDS SEAMLESSLY UNDERWATER FOR A FLAWLESS LOOK.
-
DURABLE & WATERPROOF: STRONG ADHESIVE FOR LONG-LASTING, RELIABLE USE.
Repairing tears or holes in an above-ground pool liner can be done by following a few simple steps. Here's how you can repair it:
- Prepare the area: Start by cleaning the damaged area of the liner to remove any dirt, debris, or algae. Use a soft cloth or sponge and a mild detergent or pool cleaner to gently clean the area around the tear or hole.
- Drain the pool: Lower the water level in the pool to below the damaged area. This will make it easier to access and repair the tear or hole. You can use a submersible pump or a hose to drain the water.
- Locate the tear or hole: Once the pool is drained, identify the exact location of the tear or hole. Inspect the entire liner to ensure there are no other damages that need to be repaired as well.
- Patch the tear or hole: Use a vinyl patch kit specifically designed for pool liners. The kit usually includes a patch and adhesive. Cut the patch into a size that will adequately cover the damaged area, with about an inch or two of extra patch on all sides to ensure proper coverage.
- Apply the adhesive: Apply the adhesive provided with the patch kit to the backside of the patch. Use a generous amount of adhesive to ensure a strong bond. Also, apply a thin layer of adhesive around the edges of the tear or hole on the pool liner.
- Attach the patch: Carefully place the patch over the damaged area, ensuring it is centered and covers the tear or hole completely. Press down firmly to ensure the patch adheres properly. Smooth out any air bubbles or wrinkles in the patch.
- Allow the adhesive to dry: Follow the instructions on the patch kit to determine the drying time required. It is crucial to let the adhesive dry completely before refilling the pool with water. This will ensure a strong and long-lasting repair.
- Refill the pool: Once the adhesive is completely dry, you can refill the pool with water. Ensure the water level reaches the recommended level before resuming normal pool usage.
Remember, it is essential to follow the instructions provided with your specific patch kit, as different kits may have slight variations in the repair process. Additionally, if the tear or hole is extensive or difficult to repair, it may be advisable to consult a professional pool repair service to ensure proper and effective repairs are made.
How to properly clean and store a liner repair kit after use?
Cleaning and storing a liner repair kit properly is essential to ensure it remains effective for future use. Here are the steps to clean and store a liner repair kit:
- Rinse off: After use, rinse the tools or materials used in the repair kit under running water. This will help remove any excess adhesive, sealant, or other substances, preventing them from hardening or clogging the tools.
- Clean with mild detergent: Use a mild detergent or dish soap to clean the tools or materials more thoroughly. This is particularly important if the kit contains brushes, sponges, or other applicators.
- Scrub gently: Use a soft-bristle brush or sponge to gently scrub the tools or materials, ensuring all surfaces are clean and free from residue. Avoid using abrasive materials that could damage or scratch the tools.
- Rinse and dry: Rinse the tools or materials again with water to remove any remaining detergent. Pat them dry with a clean cloth or towel. It's important to dry them thoroughly to prevent any moisture from promoting mold or rust.
- Proper storage: Store the liner repair kit in a cool, dry place to maintain its quality. If the kit came in a container with a lid, make sure it is tightly closed to prevent air, moisture, or dust from entering. This will prolong the shelf life and effectiveness of the repair kit.
Additionally, follow any specific cleaning and storage instructions provided by the manufacturer, as different repair kits may have slightly different requirements.
Remember to regularly check the expiration dates of adhesives or sealants in the kit and replace them if they have expired. This will ensure the repair kit remains effective for future use.
How to repair tears or holes in an above-ground pool liner without draining the pool?
Repairing tears or holes in an above-ground pool liner without draining the pool can be a bit challenging, but it is possible. Here's a step-by-step guide to help you through the process:
- Gather the necessary supplies: You'll need a pool liner repair kit, which typically includes a patching material, adhesive, and an applicator. Additionally, you may need a scrub brush, a towel, and a marker.
- Locate the tear or hole: Carefully inspect the pool liner to identify all the areas that need repair. It's important to mark each spot with a permanent marker so you can easily find them later.
- Clean the damaged area: Use a pool-safe cleaner and a scrub brush to clean the area around each tear or hole. Scrub gently to remove any dirt, debris, or algae that may hinder the repair process. After cleaning, dry the area thoroughly with a towel.
- Prepare the patching material: Cut the patching material from the repair kit into a size that allows at least a 2-inch overlap around the damaged area. Round the corners of the patch to prevent them from peeling.
- Apply the adhesive: Apply a generous amount of adhesive from the repair kit to the backside of the patch. Ensure the adhesive covers the entire surface of the patch evenly.
- Place the patch over the damaged area: Carefully position the patch over the tear or hole, ensuring it covers the damaged area completely. Press down firmly to ensure good adhesion.
- Smooth out the patch: Use your hand or a roller to smooth out any air bubbles or wrinkles that may have formed under the patch. Start from the center and work your way out towards the edges.
- Allow the adhesive to cure: Follow the instructions on the repair kit regarding the drying time required for the adhesive to cure. It's crucial not to disturb the patch until the adhesive is fully cured.
- Test the repair: Once the adhesive has completely dried, fill the pool with water and observe the repaired areas for any signs of leakage. It's recommended to monitor the patched areas closely for the next few days to ensure they hold up well.
Remember, repairing tears or holes without draining the pool is not a permanent solution. It's advisable to schedule a professional repair or replace the liner at the end of the pool season to prevent further damage.
How to find professional help for repairing tears or holes in an above-ground pool liner?
To find professional help for repairing tears or holes in an above-ground pool liner, you can follow these steps:
- Research and make a list: Start by researching local pool repair companies that specialize in liner repairs. Make a list of potential candidates in your area.
- Ask for recommendations: Seek recommendations from friends, neighbors, or local pool supply stores. They may have firsthand experience with reliable professionals who can provide the repair service you need.
- Check online directories: Utilize online directories or platforms that provide listings and reviews for local service providers. Websites like Angie's List, HomeAdvisor, or Yelp can be useful for finding reputable professionals in your area.
- Contact multiple professionals: Reach out to the companies or professionals on your list and inquire about their experience and expertise in above-ground pool liner repairs. Ask for references or photos of previous repair work they have done.
- Get estimates: Request on-site visits or provide detailed information about the damage to the professionals, and ask for estimates for the repair work. Compare the pricing, services offered, and any warranties provided by different professionals.
- Verify licensing and insurance: Before finalizing your decision, ensure that the pool repair company you choose is licensed, insured, and meets any necessary legal requirements. This will protect you from liability in case of any accidents during the repair.
- Check reputation and reviews: Look for online reviews or testimonials from past customers to get an idea of their reputation and quality of work. You can also ask for references and contact previous clients directly to inquire about their experience with the repair professional.
- Schedule the repair: Once you have selected a professional, schedule the repair at a convenient time for both parties. Ensure that the agreement is documented in writing and includes details such as the scope of work, estimated completion time, and cost.
Remember, it is essential to address tears or holes in your above-ground pool liner promptly to prevent further damage and potential water leakage.
What tools are needed to repair holes in an above-ground pool liner?
To repair holes in an above-ground pool liner, you will need the following tools:
- Vinyl patch kit: This kit typically includes vinyl patches, adhesive, and applicators. Make sure the kit is specifically designed for repairing pool liners.
- Scissors or utility knife: These tools will be used to trim and shape the vinyl patches to match the size and shape of the hole.
- Sandpaper or emery board: Use sandpaper or an emery board to roughen the area around the hole. This will help the adhesive bond better to the liner.
- Scrub brush or sponge: It's important to clean the area around the hole before repairing it. A scrub brush or sponge can be used to remove any dirt, debris, or residue.
- Water or pool cleaner: If the hole is located underwater, you will need water or a pool cleaner to access and repair the area.
- Rubber gloves: Wearing rubber gloves will help protect your hands from any adhesive or chemicals used during the repair process.
- Patch roller or hard roller: This tool is used to roll over the applied patch, ensuring it is properly adhered and smooth.
- Pool patching instructions or guidelines: It is important to reference the specific patch kit's instructions or guidelines for step-by-step guidance on repairing the hole in your pool liner.