Best Patio Glider Refinishing Tools to Buy in July 2026
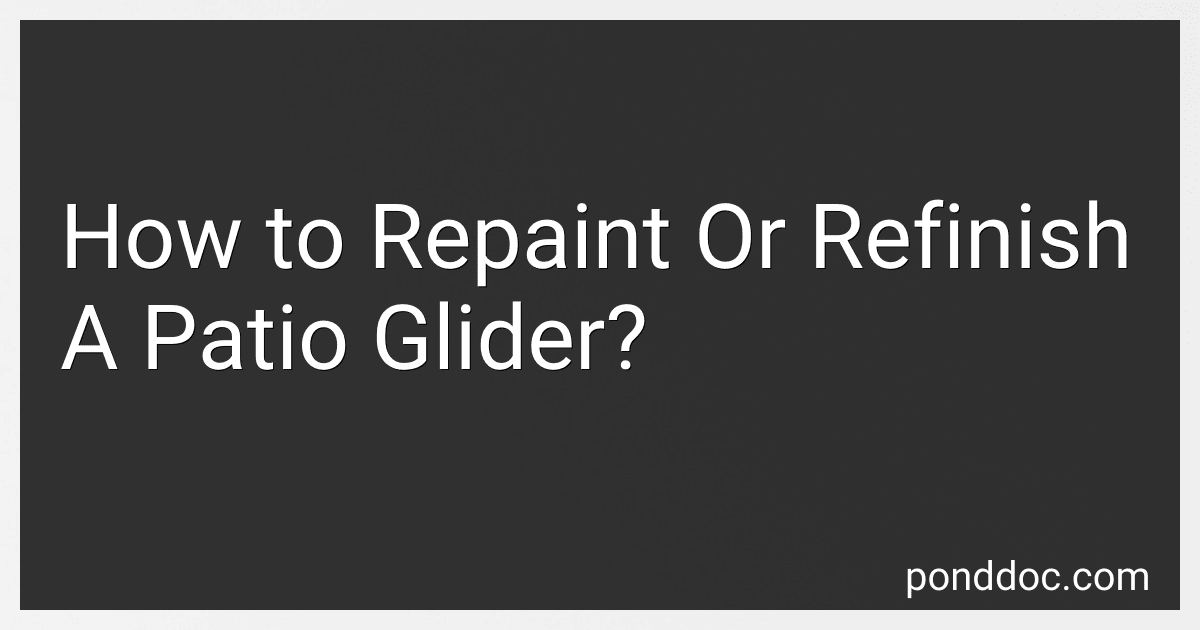
Project Patio Glider Bearing Arm Bracket Replacement Rocker Hardware Parts - 9 Inch Length - 7-1/2 Inch Between Mounting Holes - 4 Pack
- DIY-FRIENDLY KIT FOR EASY REPAIR & RESTORATION OF GLIDER FURNITURE.
- RUST-RESISTANT STEEL ENSURES DURABILITY FOR INDOOR & OUTDOOR USE.
- INCLUDES 4 BRACKET ARMS, PERFECT FOR ENHANCING VINTAGE GLIDERS.


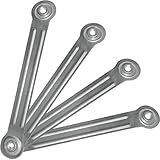
4/Pack Glider Bearing Arm Brackets Replacement Patio Glider Parts Rocker 9" Overall Length, 7-1/2" from Hole to Hole (9 Inch)
- DURABLE STEEL, RUST-RESISTANT ZINC FOR LONG-LASTING USE.
- VERSATILE DESIGN FITS SWINGS, BENCHES, LOVESEATS, AND MORE.
- MADE IN USA FOR QUALITY YOU CAN TRUST AND SUPPORT LOCAL.
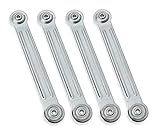
Yaheetech 2-Seat Outdoor Glider with Center Table, Patio Rocking Loveseat with Breathable Mesh Sturdy Metal Frame for Garden Pool Lawn
-
STRONG & SPACIOUS: SUPPORTS 300LBS PER SEAT FOR ULTIMATE RELAXATION.
-
SMOOTH GLIDING: ENJOY GENTLE MOTION WITHOUT SPILLS FOR A CALM EXPERIENCE.
-
QUICK-DRYING COMFORT: BREATHABLE MESH FABRIC KEEPS YOU COOL IN SUMMER.
Repainting or refinishing a patio glider can be a great way to give it a fresh new look and protect it from the elements. Here is a guide on how to repaint or refinish a patio glider:
- Clean the glider: Start by thoroughly cleaning the patio glider to remove any dirt, dust, or grime. Use a mild detergent mixed with water and a scrub brush to scrub the surface. Rinse it off with clean water and allow it to dry completely.
- Sand the surface: Once the glider is dry, use sandpaper or a sanding block to lightly sand the entire surface. This helps create a rough texture for the new paint or finish to adhere to. Sand any rough spots, flaking paint, or peeling finish until the surface feels smooth.
- Repair any damages: Check for any damages such as cracks, dents, or loose parts. Repair them accordingly before proceeding. Use wood filler to fill in any cracks or holes, and tighten any loose screws or bolts.
- Prime the glider: Apply a layer of primer to the entire surface of the glider. Use a paintbrush or a roller to ensure an even application. Primer helps the paint or finish adhere better and provides a smooth base for the final coat.
- Apply paint or finish: Once the primer is fully dry, apply the paint or finish of your choice. Use a paintbrush, roller, or spray paint depending on your preference. Apply multiple thin coats rather than one thick coat to achieve an even and long-lasting finish. Allow each coat to dry before applying the next.
- Protect the glider: Once the final coat is dry, apply a protective sealant or varnish to prolong the life of the paint or finish. This helps protect the glider from UV rays, moisture, and other elements. Apply the sealant according to the manufacturer's instructions.
- Reassemble and enjoy: After the protective sealant has dried, reassemble any removed parts of the glider. Make sure everything is tightened and properly secured. Once done, you can now enjoy your beautifully refinished or repainted patio glider.
Remember to work in a well-ventilated area and wear appropriate safety gear such as goggles and gloves when refinishing or painting your patio glider. Also, follow the instructions provided by the manufacturer for the best results.
What safety precautions should be taken during the repainting process?
- Wear protective clothing such as gloves, goggles, and a mask to protect yourself from potential chemicals, dust, or fumes.
- Ensure proper ventilation by opening windows and doors, or using fans to circulate air. Use exhaust fans or wear a respirator if working in an enclosed space.
- Remove or cover furniture, carpets, and objects that are not required during the painting process to prevent them from being damaged or stained.
- Keep the work area clean and free from clutter to prevent tripping hazards.
- Use appropriate, sturdy ladders or scaffolding if painting high areas. Always ensure proper stability and never overreach while on a ladder.
- Keep paint cans securely closed when not in use, and store them in a cool, dry place away from heat sources or open flames.
- Avoid smoking or open flames near the painting area, as paints and solvents can be highly flammable.
- Follow the manufacturer's instructions for use and disposal of paints, solvents, and other chemicals used during the painting process.
- Ensure that children and pets are kept away from the painting area to prevent accidental exposure to chemicals or hazards.
- In case of accidental ingestion or contact with paint or chemicals, seek immediate medical attention and follow safety data sheets for guidance on first aid procedures.
- Be cautious when using ladders or climbing on surfaces that have been painted, as they can be slippery until fully dried.
- Always follow safety guidelines provided by the paint manufacturer and any local regulations or recommendations.
What are the steps for priming a patio glider?
The steps for priming a patio glider typically involve the following:
- Clean the surface: Start by cleaning the glider thoroughly to remove any dirt, dust, or debris. Use a mild detergent and water to scrub the surface, and then rinse it off with a hose. Allow the glider to dry completely before proceeding.
- Sand the surface: Use a medium-grit sandpaper to lightly sand the entire surface of the glider. This will help to remove any imperfections or rough spots and create a smooth and even surface for the primer to adhere to. After sanding, wipe away any dust with a clean cloth.
- Protect surrounding areas: If necessary, cover or mask off any surrounding areas or parts of the glider that you don't want to be primed. This could include cushions, fabric parts, or any other areas that should remain unpainted.
- Choose the right primer: Select a high-quality primer specifically designed for the material the glider is made of, such as metal or wood. Make sure the primer is suitable for outdoor use and compatible with the paint you plan to apply afterward.
- Apply the primer: Shake the primer can thoroughly before opening, and then apply it to the glider in thin, even coats. Hold the can about 6-8 inches away from the surface and spray in smooth, sweeping motions. Be sure to cover the entire glider, including all nooks and crevices. Allow the primer to dry completely according to the manufacturer's instructions.
- Sand lightly (optional): After the primer dries, you can lightly sand the surface again to remove any raised grain or imperfections. This step will help to create an even smoother finish for the final paint application. Wipe away any dust with a clean cloth.
Once the primer has dried and any optional sanding is completed, the glider is ready for painting with the chosen paint. Follow the instructions for the paint product regarding application, drying time, and any additional steps or coats required.
What tools are required for repainting a patio glider?
Some tools required for repainting a patio glider may include:
- Paintbrushes or paint sprayer: Depending on the size and intricacy of your glider, you may need one or both of these tools to efficiently apply the paint.
- Sandpaper or sanding block: These are needed to remove any old paint, rust, or rough patches on the surface of the glider. Use sandpaper with varying grit levels, starting with a coarse grit and gradually moving to a finer grit.
- Paint scraper: This is helpful for removing any stubborn or peeling paint before sanding.
- Drop cloth or tarp: To protect the surrounding area from paint splatters and drips, lay down a drop cloth or tarp before starting the painting process.
- Primer: Use a quality primer suitable for the type of glider material you are working with. Primer helps create a smooth and even base for the paint to adhere to, enhancing its durability.
- Paint: Choose a high-quality outdoor paint that is specifically formulated for metal or wooden surfaces, depending on the material of your glider. Opt for paint types that are weather-resistant and can withstand outdoor elements.
- Masking tape: If there are any parts of the glider that you want to avoid painting (such as cloth or plastic surfaces), masking tape can be used to protect these areas.
- Cleaning supplies: Before starting the painting process, the glider should be thoroughly cleaned to remove dirt, dust, and grease. You may require soap, water, and brushes for this step.
- Safety equipment: It is important to protect yourself during the process. Wear safety goggles to shield your eyes from paint and debris, as well as gloves and a mask to protect your skin and respiratory system.
- Optional: If you have intricate details or hard-to-reach areas on your glider, small paintbrushes or foam brushes can help ensure accurate and even coverage.
How to prevent paint drips or runs during the application?
To prevent paint drips or runs during the application, follow these steps:
- Prepare the surface: Make sure the surface is clean, dry, and free from any dust or debris. Sand rough areas and repair any imperfections before painting.
- Use a quality paint: Choose a high-quality paint specifically designed for the surface you are painting. Better quality paints are less likely to drip or run during application.
- Check the consistency: Stir the paint thoroughly to ensure uniformity and remove any lumps. If necessary, thin the paint according to the manufacturer's instructions. Thin paint is more likely to drip, so be cautious while thinning.
- Apply the paint in thin coats: Instead of applying thick layers of paint in one go, use thin and even coats. Thin coats dry faster and are less likely to drip or run. Allow each coat to dry completely before applying the next.
- Use the right tools: Choose brushes or rollers appropriate for the type of paint you are using. Quality tools designed for the specific surface can help to minimize drips and runs.
- Pay attention to temperature and humidity: Avoid painting in extreme temperatures or high humidity, as it can affect the drying time and increase the chances of drips. Optimal painting conditions are typically between 50-85°F (10-30°C) with humidity levels around 40-70%.
- Control drips: To control drips from brushes or rollers, gently tap the tool against the side of the paint tray or bucket to remove any excess paint. Don't overload the brush or roller, as too much paint can lead to drips.
- Keep a wet edge: When painting large areas, maintain a wet edge to prevent noticeable brush strokes or roller marks. This means overlapping each stroke slightly while the previous one is still wet. If you let the paint partially dry before applying the next stroke, there is a higher chance of drips and uneven coverage.
- Apply paint in the right direction: Paint in the direction of the grain or in smooth, straight strokes. Avoid going back and forth over an area too many times, as it can disturb the already drying paint and cause drips.
- Clean up drips immediately: If you notice any drips or runs while painting, quickly wipe or brush them away before they dry. It's easier to clean up while the paint is wet.
With proper preparation, technique, and patience, you can significantly reduce the chances of paint drips or runs during your painting project.