Best Outdoor Cooler Accessories to Buy in July 2026
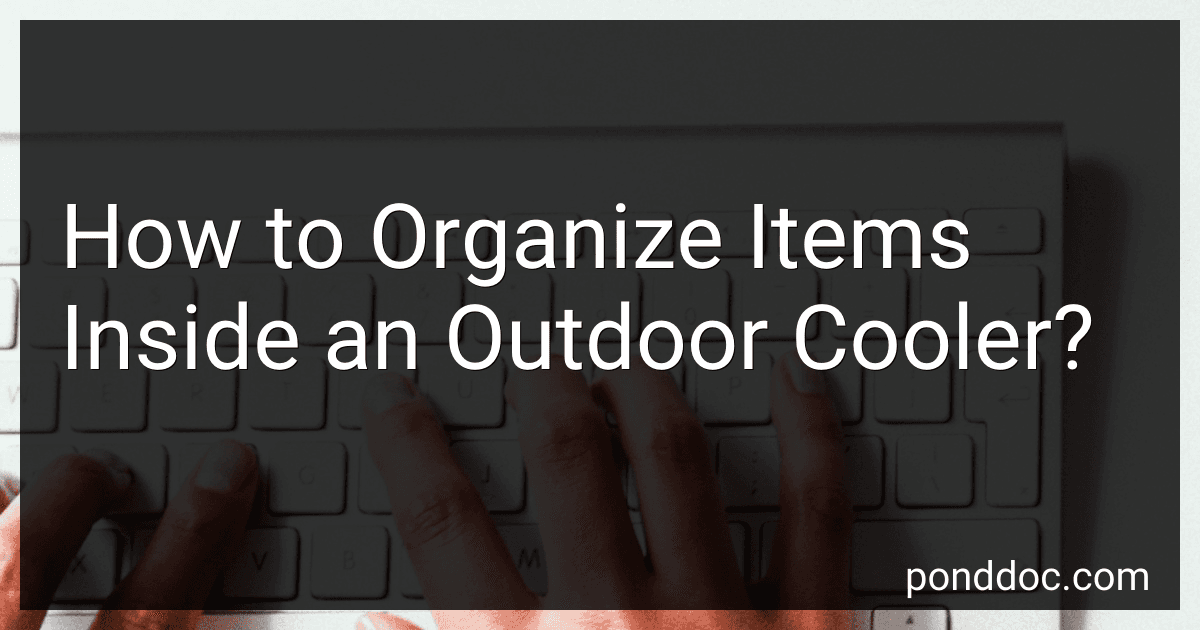
Cool Coolers by Fit & Fresh 4 Pack Slim Ice Packs, Quick Freeze Space Saving Reusable Ice Packs for Lunch Boxes or Coolers, Multi Colored
-
SLIM DESIGN FITS ANY LUNCH BAG: PERFECT FOR PACKED LUNCHES ANYWHERE!
-
DURABLE & LEAKPROOF: IDEAL FOR OUTDOOR ADVENTURES AND SAFE FOOD STORAGE.
-
LONG-LASTING COLD: KEEP DRINKS AND SNACKS FRESH WITHOUT MELTING ICE MESS!


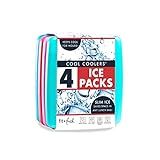
Above Sea Level Cooler Net for Dry Storage and Organization, Compatible with Yeti, Coleman, Igloo, Pelican, and Canyon Ice Chests, Removable and Washable
-
KEEP FOOD DRY: STAYS PUT WITH ULTRA-STRONG HOOK-AND-LOOP DESIGN.
-
STAY ORGANIZED: EASILY FIND ITEMS WITH NEAT, TIDY COOLER STORAGE.
-
DURABLE & VERSATILE: FITS VARIOUS COOLER BRANDS AND WITHSTANDS ELEMENTS.
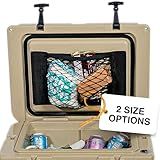
Cool Coolers by Fit & Fresh 4 Pack XL Slim Ice Packs, Quick Freeze Space Saving Reusable Ice Packs for Lunch Boxes or Coolers, Blue, 239ICE, 4 count (Pack of 1)
-
PERFECTLY SIZED: XL ICE PACKS FIT ANY BAG FOR WORK OR OUTINGS!
-
VERSATILE COOLING: STACK MULTIPLE PACKS FOR MAXIMUM FRESHNESS!
-
SAFE & DURABLE: BPA-FREE, LEAKPROOF, AND BREAK-RESISTANT DESIGN!
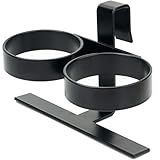
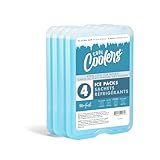
Omoojee Cooler Beverage Holder, Biforous Cooler Cup Holder Compatible with YETI Tundra Coolers, Compatible with RTIC Coolers, Cooler Accessory
-
PERFECTLY FITS YETI & RTIC COOLERS-CHECK COMPATIBILITY BEFORE BUYING!
-
SAVE SPACE AND ORGANIZE DRINKS WITH OUR STURDY COOLER CUP HOLDER!
-
DURABLE IRON DESIGN PREVENTS SPILLS-IDEAL FOR OUTDOOR ADVENTURES!
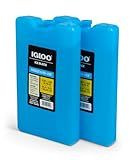
Igloo Large Maxcold 2 Pack Ice Block, Reusable Ice Packs for Coolers, Freezer Pack, Cold Packs for Coolers, Long Lasting Ice Blocks
- NON-TOXIC ULTRATHERM GEL OFFERS LONG-LASTING COOLING POWER.
- REUSABLE GEL BLOCKS FREEZE EASILY FOR QUICK, INTENSE COLD.
- TWO-PACK OPTION ELIMINATES MESS AND PROVIDES MORE VALUE!
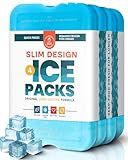
Healthy Packers Ice Packs for Lunch Boxes & Coolers - Freezer Packs - Original Cool Pack | Cooler Accessories for Beach, Camping & Fishing | Slim & Long-Lasting Reusable Ice Pack for Cooler (Set of 4)
-
LONG-LASTING COOLING: KEEPS YOUR COOLER BAG FRIDGE-COLD FOR HOURS!
-
VERSATILE USE: GREAT FOR LUNCHBOXES, PICNICS, AND OUTDOOR ADVENTURES!
-
SAFE & DURABLE: MADE FROM BPA-FREE MATERIALS FOR PEACE OF MIND.
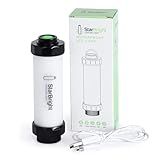
StarBright Rechargeable Cooler Light with USB Charging - Cooler Light for YETI, RTIC, Igloo, Coleman - Waterproof LED - No Installation Required - 5.35x1.61x5.35 Inches - Durable for Outdoor Use
- 60 HOURS OF BRIGHT LIGHTING-PERFECT FOR NIGHT CAMPING AND FISHING!
- FITS MOST COOLERS; ENJOY EASY ACCESS IN LOW-LIGHT CONDITIONS!
- WATERPROOF DESIGN ENSURES RELIABLE USE IN EXTREME OUTDOOR CONDITIONS!
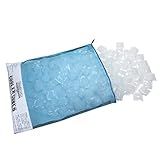
Cooler Cubes 5 lb Bag of Ice - Refreezable Reusable Ice Cubes
- ECO-FRIENDLY, REUSABLE ICE CUBES FOR MESS-FREE COOLING ON THE GO!
- LONG-LASTING COOLING POWER-JUST FREEZE AND PACK FOR YOUR ADVENTURES!
- DURABLE, BPA-FREE DESIGN MADE IN THE USA FOR ULTIMATE RELIABILITY!
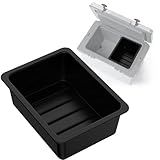
Jmoe USA Dry Basket for RTIC 52QT & 72QT Ultra-Light Cooler | BPA-Free Tough Plastic | Specially Designed, Durable, Food-Safe | Storage Tray for Electronics, Utensils, Dry Goods, and More | 1-Pack
- PERFECT FIT: DESIGNED FOR RTIC 52QT & 72QT COOLERS, INCLUDING WHEELED!
- DURABLE & BPA-FREE: STURDY, MOISTURE-PROOF DESIGN PROTECTS YOUR ITEMS.
- FOOD-SAFE & EASY CLEAN: 100% FOOD-SAFE, DISHWASHER-SAFE FOR CONVENIENCE!
Organizing items inside an outdoor cooler is essential to make the most efficient use of space and keep everything easily accessible. Here are some tips on how to do it:
- Categorize items: Before packing the cooler, categorize your items into groups such as beverages, fruits, vegetables, condiments, and meats. This will help you pack and find items more quickly.
- Layering: Start by placing a layer of ice or ice packs at the bottom of the cooler to ensure the contents stay cold. Then, begin with the items that you will need last, like raw meats, and place them at the bottom to avoid cross-contamination.
- Insulation: Use insulating materials like blankets or towels to provide an additional layer of insulation inside the cooler. This helps maintain the temperature and prevent items from shifting during transportation.
- Space optimization: Utilize the available space wisely. Fill any gaps with additional ice packs or ice to ensure consistent cooling and minimize air pockets that can lead to temperature fluctuation.
- Proper packaging: Package items properly to prevent leaks or spills. Seal liquids in airtight containers or zipper bags, and use sealed plastic bags to contain any potential mess.
- Accessibility: Place frequently needed items, like drinks or snacks, near the top or in a separate compartment for easy access without having to dig through the cooler.
- Group similar items: Group items together based on usage. For example, keep all beverage bottles together or group cold cuts and cheeses in one section. This way, you can easily locate what you need without disturbing other items.
- Temperature-sensitive items: Keep items that are more sensitive to temperature fluctuations, such as dairy products or perishable fruits, closer to the ice source to ensure they stay cool for longer.
Remember to secure the lid tightly to keep the cooler insulated and maintain the temperature. By following these tips, you can efficiently organize your items inside an outdoor cooler for a well-managed and hassle-free experience.
What is the recommended method for cleaning and sanitizing a cooler?
The recommended method for cleaning and sanitizing a cooler is as follows:
- Empty the cooler and dispose of any leftover food, drinks, or ice.
- Rinse the cooler with warm water to remove any loose dirt or residue.
- Mix a solution of mild dish soap and warm water in a bucket or sink.
- Use a sponge or soft cloth soaked in the soapy water to scrub the interior and exterior of the cooler. Pay attention to the corners, seams, and handles.
- Rinse the cooler thoroughly with clean water to remove any soap residue.
- Prepare a sanitizing solution by mixing water and a food-safe sanitizer, such as a mixture of 1 tablespoon of bleach per gallon of water. Follow the instructions on the sanitizing product for proper dilution.
- Use a clean cloth or sponge soaked in the sanitizing solution to wipe down the entire cooler, including the interior and exterior surfaces.
- Allow the sanitizing solution to sit on the surfaces for the recommended contact time specified by the sanitizer's instructions. This ensures that any bacteria or germs are effectively killed.
- Rinse the cooler again with clean water to remove any traces of the sanitizing solution.
- Leave the cooler open to air dry completely before using it again.
It's important to check the manufacturer's instructions or guidelines for specific cleaning recommendations, as some coolers may have specific requirements or materials that need special attention.
What is the best technique for stacking items in an outdoor cooler?
The best technique for stacking items in an outdoor cooler is to follow these steps:
- Preparation: Before stacking, make sure your cooler is clean and dry. Ensure that perishable items are properly sealed or wrapped to prevent any leakage or cross-contamination.
- Ice or Ice Packs: Start by placing a layer of ice or ice packs at the bottom of the cooler. This helps maintain a low temperature and keeps everything cold.
- Layering Technique: Divide your items into different categories like drinks, meats, fruits, etc. This way, you can stack them more efficiently. Place heavier items at the bottom and lighter ones on top.
- Cold Zones: Designate one section of the cooler as the "cold zone" by placing foods that are more prone to spoilage, like meats and dairy products, in this area. This section should be closer to the ice or ice packs.
- Organization: Arrange your items strategically, creating a stable and organized stack. Place large and bulky items towards the bottom and arrange smaller items around them. Avoid leaving any empty spaces, as these can lead to warm air circulation.
- Insulation: Use towels or additional layers of insulation (such as bubble wrap or extra ice packs) to fill any gaps between the items and ensure the cooler is tightly packed. This minimizes the amount of warm air that enters when the cooler is opened.
- Top Layer: Finish by adding an extra layer of ice packs or loose ice on the top. This helps maintain a consistent temperature inside the cooler, especially when it's opened frequently.
- Proper Closing: Close the cooler lid tightly to create a good seal. Ensure that the cooler remains shaded from direct sunlight and is not exposed to excessive heat.
By following these steps, you can optimize the space in your outdoor cooler and maintain a consistent temperature, keeping your items chilled for longer periods.
What is the best practice for storing raw meat in an outdoor cooler?
When storing raw meat in an outdoor cooler, there are a few best practices to ensure food safety and prevent bacterial contamination:
- Keep the temperature below 40°F (4°C): It is crucial to maintain a cool temperature to slow down bacterial growth. Use a reliable cooler with sufficient insulation to maintain a temperature below 40°F (4°C).
- Separate and wrap the meat properly: To prevent cross-contamination, wrap each type of raw meat individually or keep them in separate leak-proof containers to avoid any contact between different meats. Use proper food-grade plastic bags or airtight containers.
- Place raw meat on bottom: Always place the raw meat at the bottom of the cooler to prevent any juices from dripping onto other food items. Juices from raw meat can contain harmful bacteria that may contaminate other foods.
- Use ice or gel packs: Pack the cooler with enough ice or gel packs to maintain a cold temperature throughout the storage duration. The general guideline is to use one pound (around half a kilogram) of ice or gel packs for every three pounds (around 1.5 kilograms) of food.
- Monitor and refresh the ice regularly: Check the temperature regularly and add more ice or ice packs as needed. It is essential to keep the cooler well-chilled to ensure the meat stays at a safe temperature.
- Limit the storage time: If possible, limit the storage time for raw meat in an outdoor cooler. It is best to consume or cook the meat within two to three days. Beyond that, there is an increased risk of bacterial growth and foodborne illnesses.
Remember, these recommendations are general guidelines, and it's always recommended to follow any specific instructions provided by the meat manufacturer or local food safety regulations.
How to pack a cooler to keep items cold for an extended period?
To pack a cooler and keep items cold for an extended period, you can follow these steps:
- Pre-chill the cooler: Before packing, store your cooler in a cool place, or fill it with ice and let it sit for a while to cool down the interior.
- Use ice blocks or frozen items: Instead of loose ice or ice packs, opt for large ice blocks or pre-frozen containers such as water bottles or juice cartons. These frozen items will melt more slowly and keep everything colder for long durations.
- Layering: Start by placing a layer of ice blocks or frozen items at the bottom of the cooler. This will create a cold foundation for your other items. Avoid placing perishable food directly on the ice.
- Organize items strategically: Sort and pack the items in an organized manner. Group similar items together to make it easier to find them later. Place items that you will need first on top to minimize the time spent with the cooler open.
- Fill void spaces: Fill any empty spaces in the cooler with crumpled newspaper, towels, or additional ice packs. The more you fill the empty spaces, the better insulation you will achieve.
- Keep cooler out of sunlight: Protect the cooler from direct sunlight or extreme heat by storing it in a shaded area or covering it with a tarp or reflective blanket.
- Limit opening the cooler: Whenever possible, avoid opening the cooler unnecessarily. Every time you open it, warm air enters, and cold air escapes, reducing the overall cooling efficiency.
- Maintain the temperature: If you need to extend the cooling time further, you can add additional ice or cold packs as necessary. Drain excess water as it accumulates to prevent items from getting soaked.
Remember, the duration your cooler will keep items cold depends on various factors like the ambient temperature, insulation quality of the cooler, and the type of items being stored. Following these tips will maximize the cooling efficiency, but for the longest periods, it's advisable to use specialty coolers designed for extended cooling, such as electric coolers or those with extra insulation.