Best Smart Thermostat Controllers to Buy in July 2026
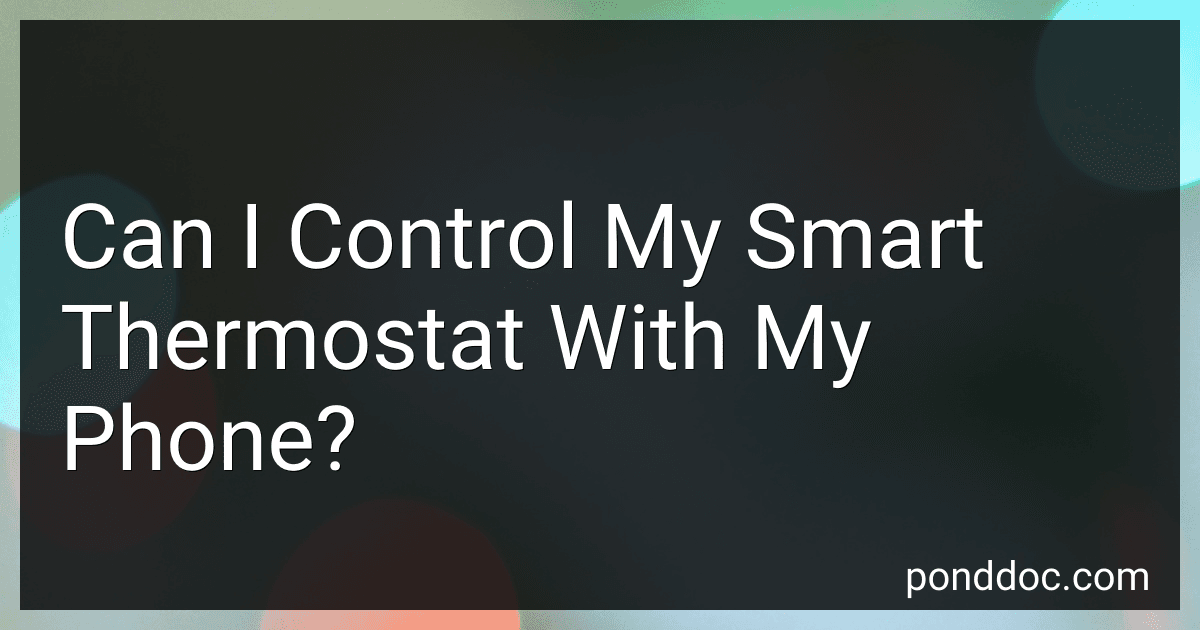
Google Nest Thermostat - Smart Thermostat for Home - Programmable Wifi Thermostat - Snow
- SAVE ENERGY AUTOMATICALLY WITH SMART SCHEDULING AND REMOTE CONTROL.
- HVAC MONITORING ALERTS ENSURE YOUR SYSTEM RUNS EFFICIENTLY.
- CONTROL TEMPERATURE VIA VOICE WITH GOOGLE ASSISTANT OR ALEXA!


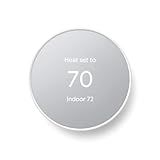
Honeywell Home RTH9585WF1004 Wi-Fi Smart Color Thermostat, 7 Day Programmable, Touch Screen, Energy Star, Alexa Ready, Gray
- PERSONALIZE YOUR THERMOSTAT-CHOOSE COLORS TO MATCH YOUR DÉCOR!
- SAVE ENERGY & EARN REWARDS WITH UTILITY DEMAND RESPONSE PROGRAMS.
- INTUITIVE TOUCHSCREEN FOR EASY SCHEDULING AND ADJUSTMENTS ON-THE-GO.
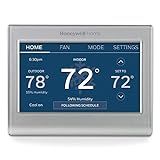
ecobee Smart Thermostat Essential - Energy Star Certified programmable Wi-Fi Thermostat - Works with Siri, Alexa, and Google Assistant
-
SAVE UP TO 23% ANNUALLY ON HEATING AND COOLING COSTS EFFORTLESSLY!
-
EASY COMPATIBILITY WITH 85% OF SYSTEMS; CHECK YOURS ONLINE NOW!
-
CONTROL TEMPERATURE VIA TOUCHSCREEN OR APP FOR ULTIMATE CONVENIENCE!
Amazon Smart Thermostat – Save money and energy - Works with Alexa and Ring - C-wire required
- EFFORTLESS ENERGY SAVINGS WITH AMAZON SMART THERMOSTAT AND ALEXA!
- MAXIMIZE COMFORT BY CREATING PERSONALIZED ZONES WITH SMART TECH!
- UNLOCK POTENTIAL REBATES TO SAVE EVEN MORE ON YOUR ENERGY BILLS!
Google Nest Thermostat - Smart Thermostat for Home - Programmable Wifi Thermostat - Charcoal
-
SAVE ENERGY AND COSTS WITH ENERGY STAR CERTIFIED SMART THERMOSTAT.
-
CONTROL TEMPERATURE REMOTELY VIA GOOGLE HOME AND MOBILE DEVICES.
-
PROGRAMMABLE SCHEDULES MAXIMIZE EFFICIENCY AND SAVINGS EFFORTLESSLY.
ecobee Smart Thermostat Enhanced - Programmable Wifi Thermostat - Works with Siri, Alexa, Google Assistant - Energy Star Certified - Smart Home
- SAVE 26% ANNUALLY ON HEATING & COOLING COSTS EFFORTLESSLY!
- PREHEAT/COOL YOUR HOME FOR PERFECT COMFORT UPON ARRIVAL.
- EASY INSTALLATION; CONTROLS COMFORT FROM ANYWHERE WITH YOUR DEVICE!
Honeywell Home RTH9600WF Smart Color Thermostat ENERGY STAR Wi-Fi Programmable Touchscreen Alexa Ready - C-Wire Required
-
SAVE ENERGY WITH ENERGY STAR CERTIFICATION & PERSONALIZED TIPS!
-
CONTROL YOUR HOME COMFORT ANYWHERE WITH SMART DEVICE INTEGRATION!
-
CUSTOMIZABLE COLOR SCREEN & ON-SCREEN WEATHER FOR EASY ACCESS!
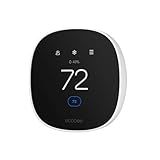
ecobee Smart Thermostat Premium with Smart Sensor and Air Quality Monitor - Programmable Wifi Thermostat - Works with Siri, Alexa, Google Assistant
- SAVE 26% YEARLY ON HEATING/COOLING WITH ENERGY STAR CERTIFICATION!
- SMARTSENSOR OPTIMIZES COMFORT BY ADJUSTING TEMPS IN KEY ROOMS.
- BUILT-IN SECURITY ALERTS & SMART SPEAKER FOR ULTIMATE HOME CONTROL!
Yes, you can control your smart thermostat with your phone. Most modern smart thermostats come equipped with mobile app compatibility, allowing you to manage and adjust your home's temperature remotely. By downloading the corresponding app on your smartphone, you can access features such as setting temperature schedules, monitoring energy usage, and receiving notifications about system performance. The app typically connects to your thermostat via Wi-Fi, providing you with the convenience of managing your thermostat from anywhere with an internet connection. This integration not only enhances convenience but also makes it easier to optimize energy efficiency and comfort in your home.
How to set up a smart thermostat with a mobile app?
Setting up a smart thermostat with a mobile app typically involves several steps, which can vary depending on the brand and model of the thermostat. Here's a general guide to get you started:
1. Check Compatibility
- Before you proceed, ensure that your heating and cooling system is compatible with the smart thermostat you're installing.
2. Gather Tools and Equipment
- You might need a screwdriver, a drill (if new holes are required), and your smartphone or tablet with internet access.
3. Turn Off Power
- Turn off the power to your HVAC system by switching off the appropriate circuit breaker. This will ensure your safety and prevent any electrical damage.
4. Remove the Old Thermostat
- Remove the cover of the old thermostat and take a picture of the wiring for reference.
- Label the wires using the included labels in your smart thermostat package.
- Disconnect the wires and remove the old thermostat.
5. Install the New Thermostat Base
- Attach the new thermostat base to the wall. Use the existing holes if possible, or drill new ones if necessary.
6. Connect the Wires
- Connect the wires to the appropriate terminals on the new thermostat base following the labels you applied earlier.
7. Attach the Thermostat
- Once the wiring is complete, attach the thermostat display unit to the mounted base.
8. Restore Power
- Turn the power back on to the HVAC system at the circuit breaker.
9. Download the Mobile App
- Download the manufacturer’s app from the App Store (iOS) or Google Play Store (Android) onto your smartphone or tablet.
10. Create an Account or Sign In
- Open the app and create an account if you don't already have one. If you do, simply sign in.
11. Follow In-App Instructions
- Follow the on-screen instructions in the app to connect the thermostat to your Wi-Fi network. This usually involves connecting to the thermostat’s temporary Wi-Fi network first, then transitioning it to your home’s Wi-Fi.
12. Finish Setup in the App
- Complete the setup process in the app, which may include setting your preferences, scheduling, and other custom settings like Home/Away Assist.
13. Test Your Thermostat
- Confirm that your thermostat is working by adjusting the temperature through the app and checking that the HVAC system responds accordingly.
14. Explore Advanced Features
- Once setup is complete, explore any advanced features your thermostat might offer, such as energy reports, geofencing, or integration with smart home systems.
Troubleshooting Tips:
- Poor Wi-Fi Connectivity: Make sure your Wi-Fi network is stable and that your phone is connected to it during setup.
- Password Entry: Double-check the Wi-Fi password is correct.
- Compatibility Issues: If problems persist, refer to the user manual or contact customer support.
Each brand-such as Nest, Ecobee, Honeywell-has its own specific instructions, so it’s recommended to consult the user manual that comes with your thermostat for any brand-specific instructions.
How to disable a smart thermostat's data collection?
Disabling data collection on a smart thermostat involves a few steps, which can vary depending on the brand and model. Here are some general guidelines to help you:
- Check the User Manual or Online Resources: Start by consulting the user manual that came with your thermostat. It might have specific instructions for disabling data collection. Alternatively, the manufacturer's website or support forums might also provide guidance.
- Access the Thermostat’s Settings: Navigate to the settings menu on the thermostat itself. This usually involves interacting with the touchscreen or physical buttons.
- Look for Privacy Settings: Modern smart thermostats often have a section dedicated to privacy or data management. Within this section, you might find options to limit or turn off data collection.
- Disable Wi-Fi Connectivity: One way to stop data transmission is by disconnecting the thermostat from your Wi-Fi network. This can often be done through the connectivity settings. However, doing this might limit some smart features.
- Adjust App Settings: If you use a companion app on your smartphone, check the app's settings for privacy controls. You might be able to adjust what data is shared or disable certain features that require data collection.
- Opt-out of Data Sharing: Some manufacturers allow you to opt-out of data sharing programs directly from the thermostat or through their customer support.
- Contact Customer Support: If you're having trouble finding the right settings, contact the thermostat manufacturer for guidance on disabling data collection.
- Consider Factory Settings: As a last resort, you can perform a factory reset on the thermostat, which might revert it to a state where you can set it up without enabling data collection features again.
Remember, disabling data collection might limit certain functionalities, such as remote control via smartphone, energy usage reports, and adaptive learning features. Consider the trade-offs before proceeding.
How to customize temperature settings for multiple zones?
Customizing temperature settings for multiple zones typically involves the use of a zoned HVAC (Heating, Ventilation, and Air Conditioning) system or smart thermostats tailored for multi-zone management. Here's a general guide on how you can achieve this:
- Zoned HVAC System: Installation: Ensure you have a zoned HVAC system, which includes multiple dampers and thermostats installed for each zone. If not, you might need a professional HVAC contractor to set it up. Control Panel: Familiarize yourself with the central control panel, which allows you to manage individual zones. This panel might be a physical device or a digital interface. Thermostats: Make sure each zone has its own thermostat. This allows localized control over the temperature in each area. Set Temperatures: Program each thermostat to the desired temperature specific to each zone. You can often set schedules for different times and days. Adjustments: Use the control panel to make real-time adjustments or schedule changes across the zones as required.
- Smart Thermostats: Device Setup: Install smart thermostats compatible with your system. Ensure they support zoned heating and cooling if you are installing them in multiple zones. App or Hub Control: Use the smartphone app or smart home hub associated with your thermostats. This provides centralized control over all devices. Programming and Automation: Set custom schedules and automation for different zones. You can often program these in the app to adjust automatically based on time of day, occupancy, or external weather conditions. Remote Access: Take advantage of the ability to control and customize temperatures remotely via the app.
- Integration with Smart Home Systems: Voice Control: If your smart thermostats are compatible, integrate them with voice assistants (like Alexa, Google Home, or Apple HomeKit) to manage zones with voice commands. IFTTT and Automation Rules: Use services like IFTTT (If This, Then That) to create custom automation rules that can trigger temperature changes based on various conditions, like leaving home or returning.
- Usage Tips: Zone Prioritization: Identify high-priority zones where comfort is most important and adjust settings accordingly. Energy Efficiency: Balance comfort with efficiency by lowering temperatures in unused areas or during times when those zones are not occupied. Regular Updates: Periodically review and update your temperature settings to accommodate changes in your routine or seasonal weather shifts.
Remember that the specific steps may vary depending on the make and model of your HVAC system or thermostats, so consulting the user manuals or manufacturer support can provide more tailored guidance.
What is two-factor authentication for smart thermostat apps?
Two-factor authentication (2FA) for smart thermostat apps is a security measure that adds an extra layer of protection to your account beyond just a username and password. When 2FA is enabled, accessing the smart thermostat app requires two forms of verification. Here's how it typically works:
- Primary Factor – Password: The user starts by entering their usual login credentials, which typically consist of a username (or email) and a password. This is the first layer of security.
- Secondary Factor – Additional Verification Step: After the initial login credentials are entered correctly, the user must provide a second form of verification. This may involve: A One-Time Code (OTP): Sent to the user through an authenticating app, text message (SMS), or email. The user must enter this code within a short time frame to gain access. App-Based Authentication: Using an authenticator app (like Google Authenticator or Authy) that generates time-based, one-time passcodes. Biometrics: Some smart devices might use biometric data, such as fingerprint scanning or facial recognition, as the second factor.
The purpose of two-factor authentication is to ensure that even if someone else obtains your password, they still cannot access your account without having access to the second factor. This is particularly important for smart thermostat apps, as these apps often allow remote control of a home's heating and cooling system, making them a potentially attractive target for unauthorized access. Implementing 2FA helps to significantly reduce the risk of unauthorized access and provides users with enhanced security and peace of mind.